Installing an over-the-range microwave can free up counter space and make your kitchen look even more sleek and contemporary. If you’re comfortable with DIY projects, the good news is that installing this type of microwave is relatively straightforward.
Follow the steps in this guide to install an over-the-range microwave and enhance your kitchen and cooking capabilities.
Browse the collection of over-the-range microwaves from Whirlpool brand to find the right model for your household and kitchen.
Select a link below to jump to a section.
Step-by-Step Instructions for Installing an Over-the-Range Microwave
Over-the-Range Microwave Installation FAQs
Step-By-Step Instructions for Installing an Over-The-Range Microwave
Follow the steps provided in this guide to install an over-the-range microwave successfully. Give yourself roughly two hours to complete this process, and you might need the help of a second person.
Keep in mind that these steps consider the typical space above a range with the correct electrical connections and ventilation. In some instances, you may need to add electrical connections or ductwork for the microwave to vent to the exterior of your house.
It’s recommended to consult your owner’s manual for specific instructions for installing an over-the-range microwave.
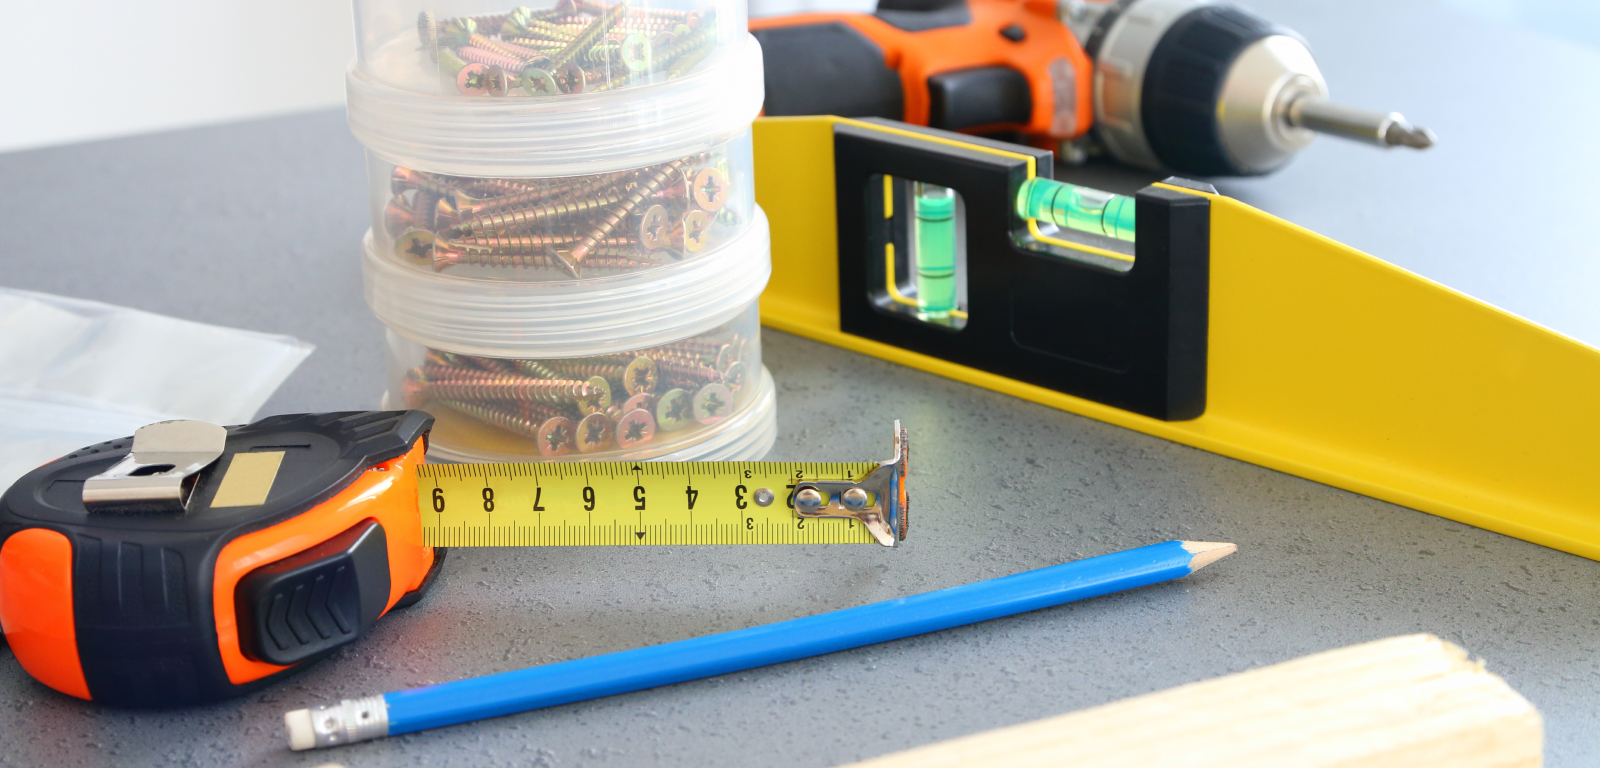
Tools and Supplies for Installing an Over-the-Range Microwave
Supplies:
- Cardboard mounting templates. For some models, a mounting bracket may be used as a template.
Tools:
- Pencil
- Level
- Scissors
- Drill & drill bits
- Stud finder
- Measuring tape
- Masking tape
- Drop cloth or towel
Step 1: Prep the Installation Area
Unplug your range and remove it from the space carefully. Then, place a towel or drop cloth on the floor to avoid any mess getting on the floor.
Step 2: Locate the Studs in the Wall
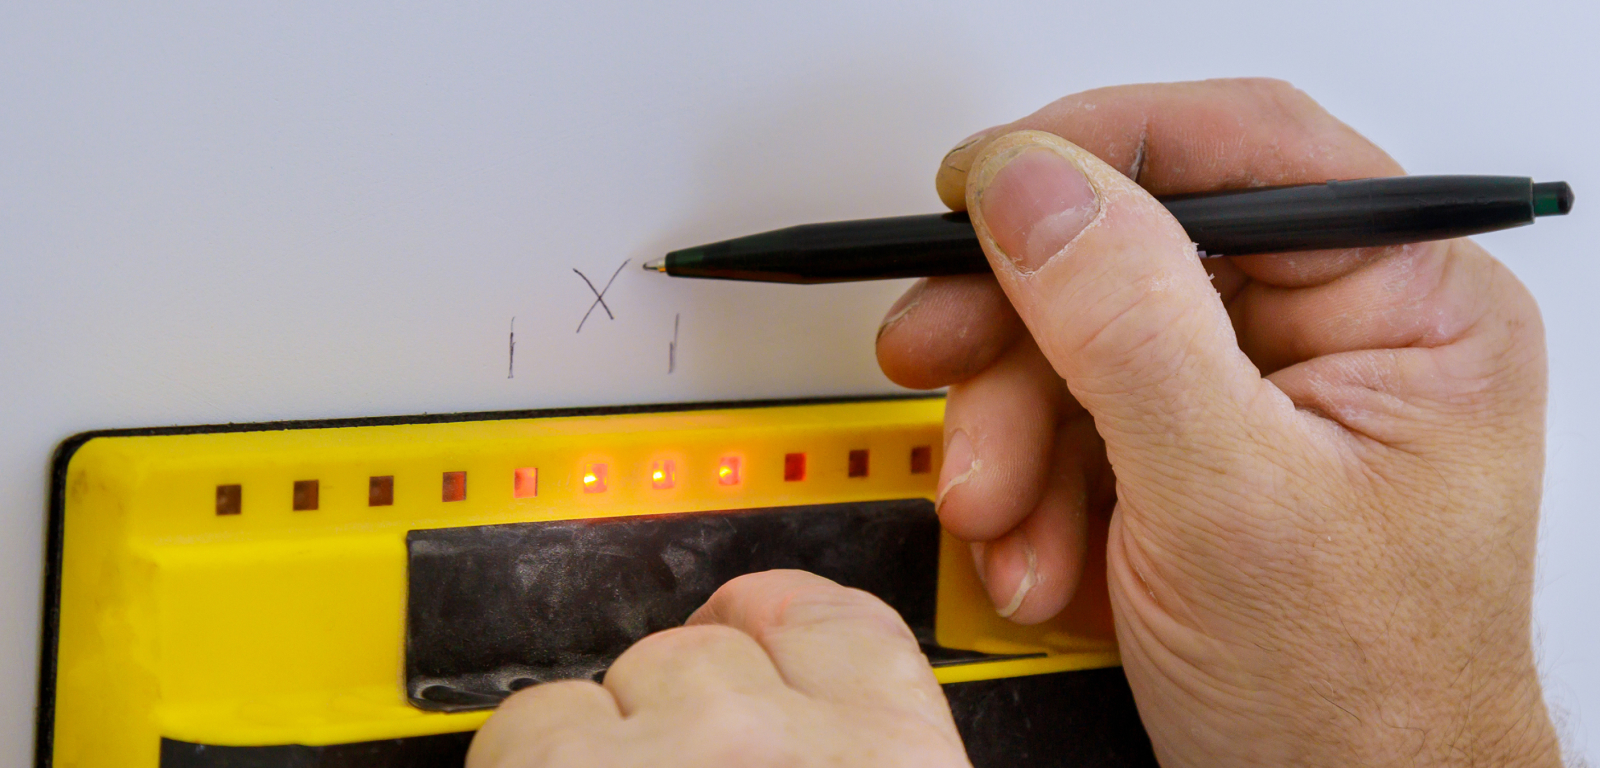
With a stud finder, locate the studs underneath the cabinet where the microwave will be installed.
Use a level and a pencil to mark the location of the studs. Then, make a straight line on the wall by extending the markings downward.
Step 3: Remove the Mounting Plate from its packaging
Sort through your microwave’s packaging and find the mounting plate, as you will need to install it next.
If the mounting plate is attached to the back of the microwave, you will have to detach the bracket and put it somewhere safe and out of the way.
Step 4: Apply the Template to the Installation Spot on the Wall
If your microwave comes with two cardboard templates, a rear wall template, and an upper cabinet template, you will need to apply them to the wall before proceeding to the next step.
You only need the rear wall template for now. Start by cutting the rear wall template carefully with scissors. If your model didn’t come with cardboard templates, you can use the mounting bracket for this purpose.
Use masking tape to apply the cardboard template to the wall, or hold the mounting bracket firmly against the wall. Confirm that the template is level and flush against the upper cabinet’s bottom edge.
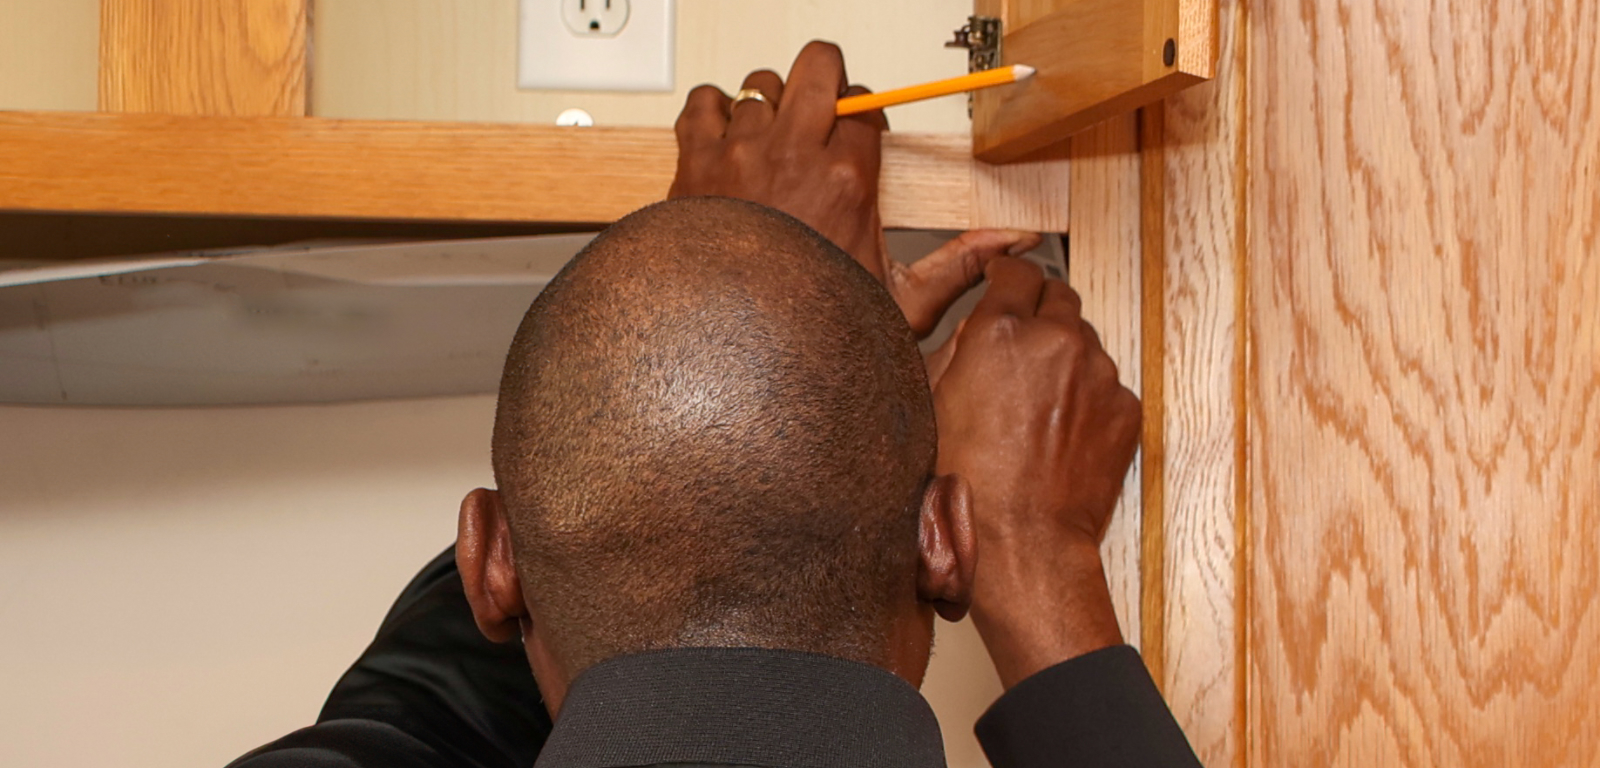
Step 5: Mark the Drill Holes
Use a pencil to mark the spot where you will drill the holes near the bottom corners of the template or bracket. Then, draw a line along the bottom edge.
These markings are vital for installing the mounting bracket.
Step 6: Align the Mounting Plate to the Bottom Drill Holes
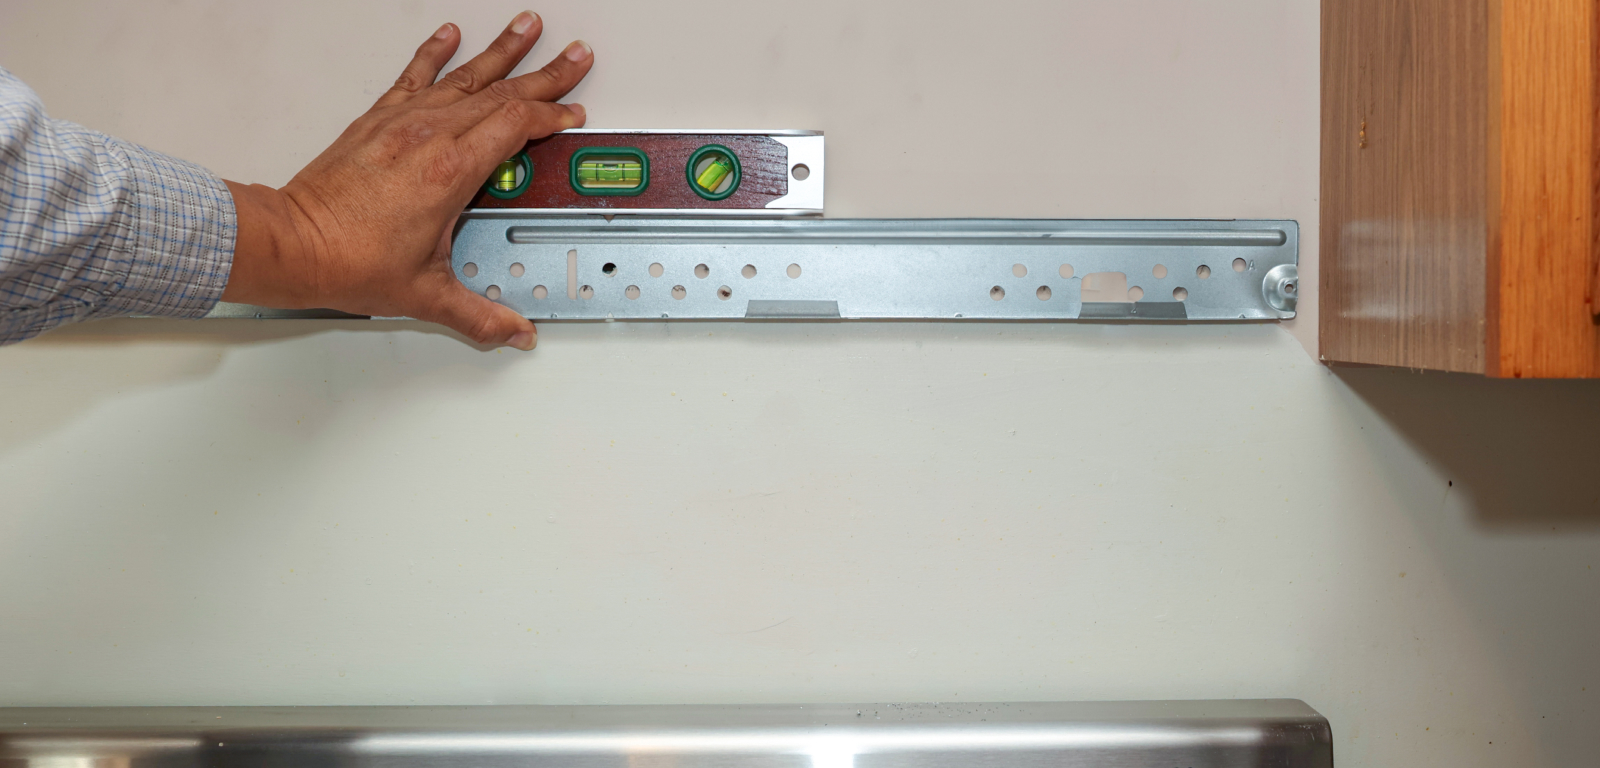
If using a cardboard template, remove it from the wall and then align the mounting plate to the bottom drill holes.
You must ensure that the mounting plate is:
- Centred against the wall
- Flush with the line at the bottom
Step 7: Mark the Wall Studs
Follow these steps to mark the wall studs:
- Find the vertical lines that display the wall studs.
- Hold the mounting plate firmly in place.
- Mark one hole at least through the mounting plate closest to the wall stud vertical line.
The mounting plate must attach to at least one stud, but two are best for installation. If this isn’t possible or you encounter challenges, consult your installation guide for help.
Step 8: Drill Through the Hole Markings
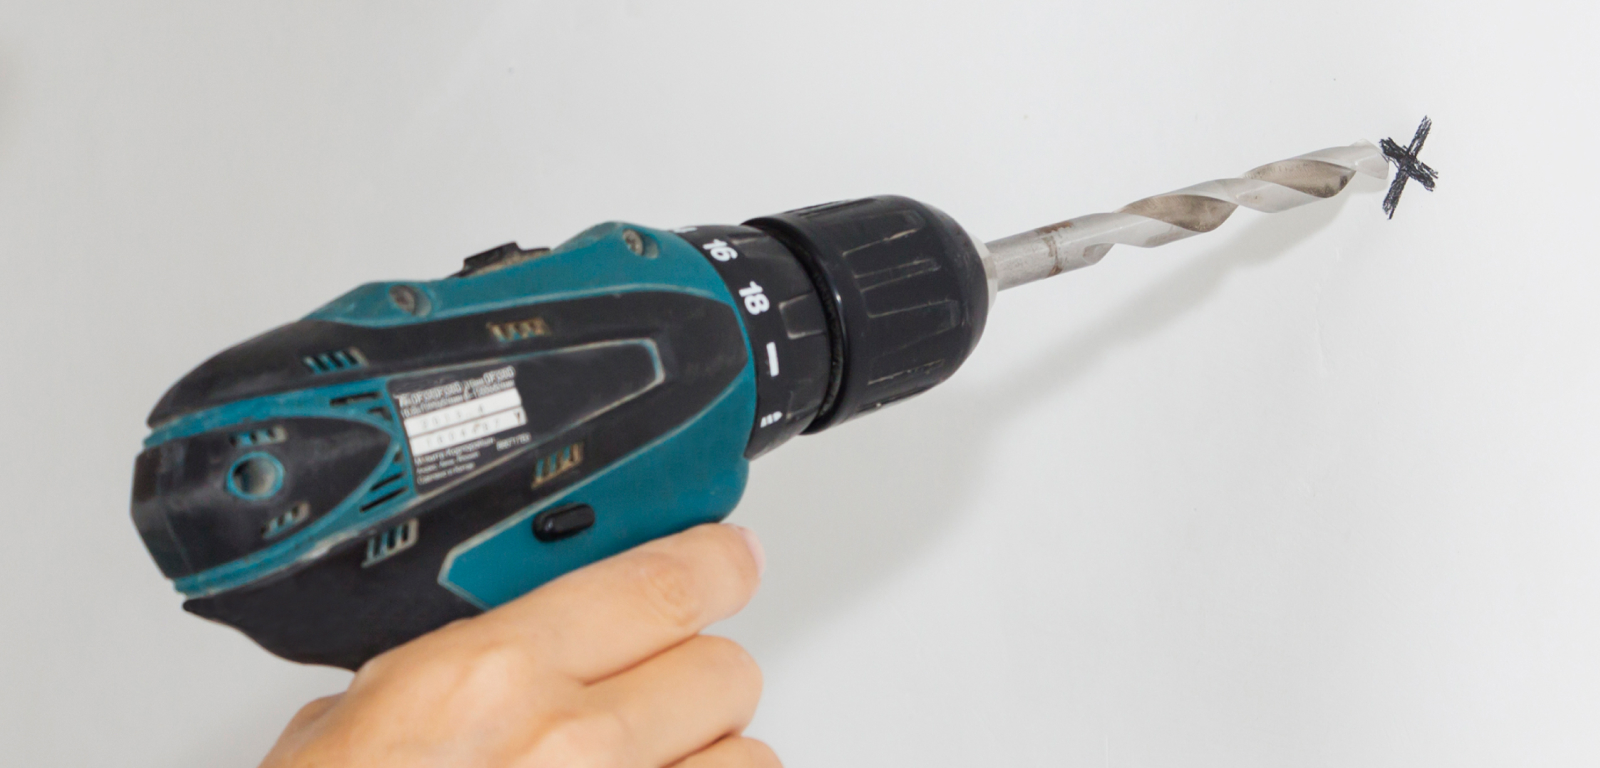
Drill through the end hole markings carefully on each bottom corner and stud locations. This will make a hole.
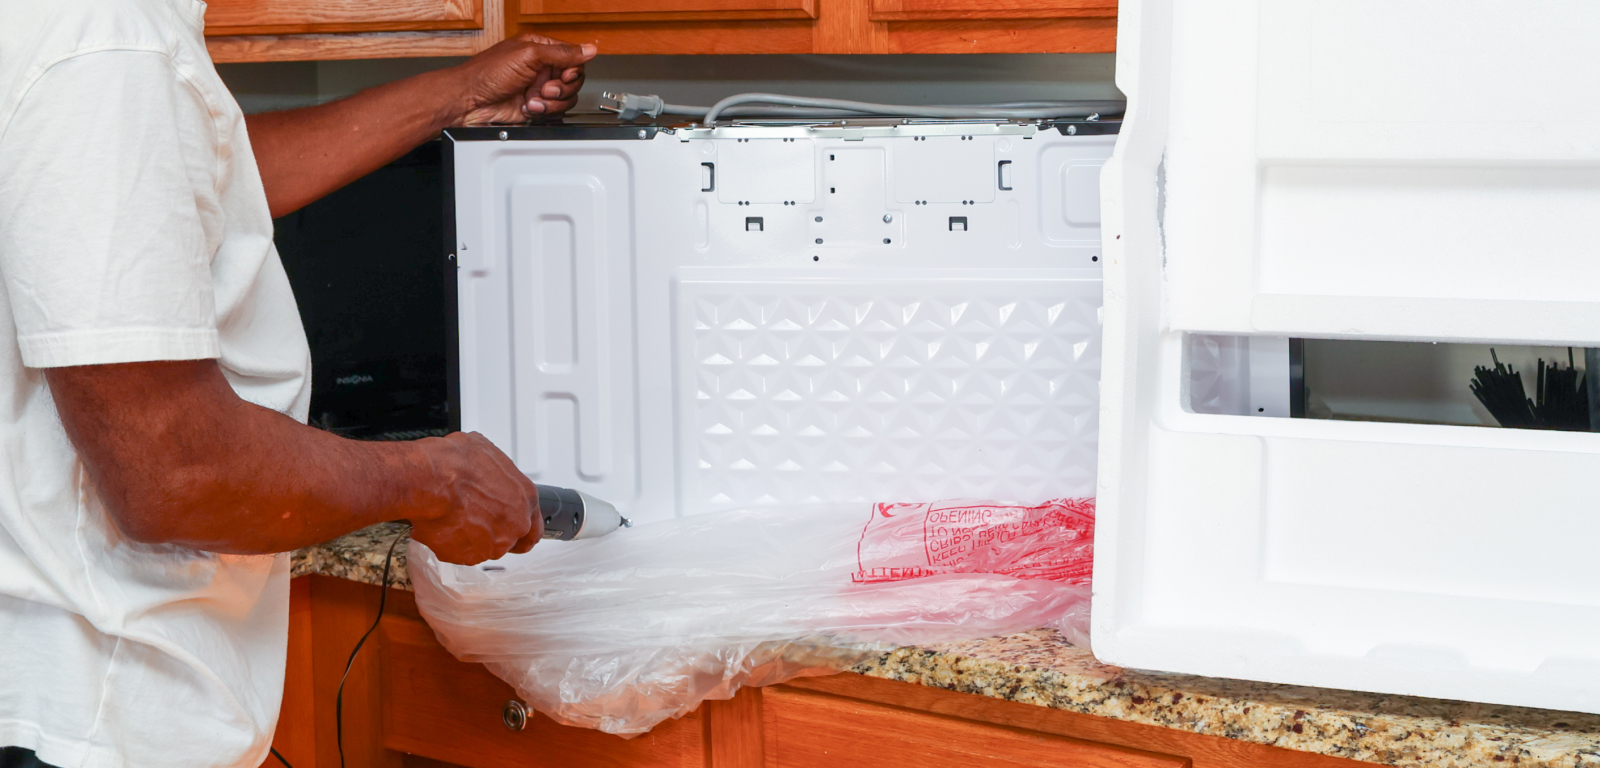
Step 9: Attach the Mounting Plate
Now, it’s time to attach the mounting plate. To do so, align the mounting bracket to the corresponding holes. Next, use lag screws or bolts to secure it in place according to the installation guide.
Step 10: Prep the Upper Cabinet
Start by taking everything out of the upper cabinets. Then, align the upper cabinet cardboard template along the bottom of the cabinet. Centre the template along the rear wall with the template arrows against the wall.
If your model did not come with a cardboard template, review your installation guide for instructions.
Step 11: Drill a Hole for the Power Cord
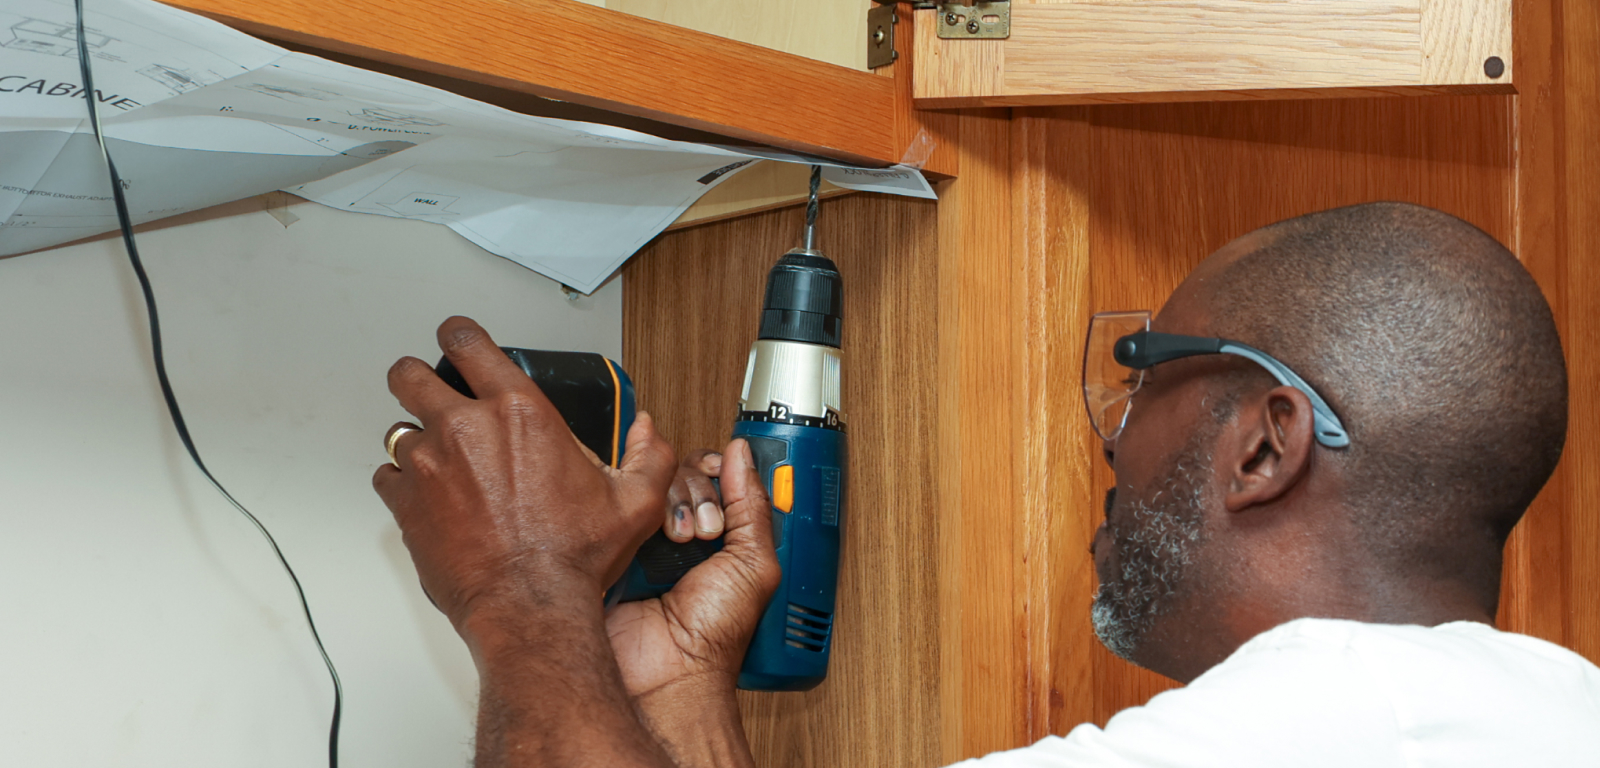
With the help of the template, drill the indicated hole into the bottom of the cabinet. This is for the microwave’s power cord to go through.
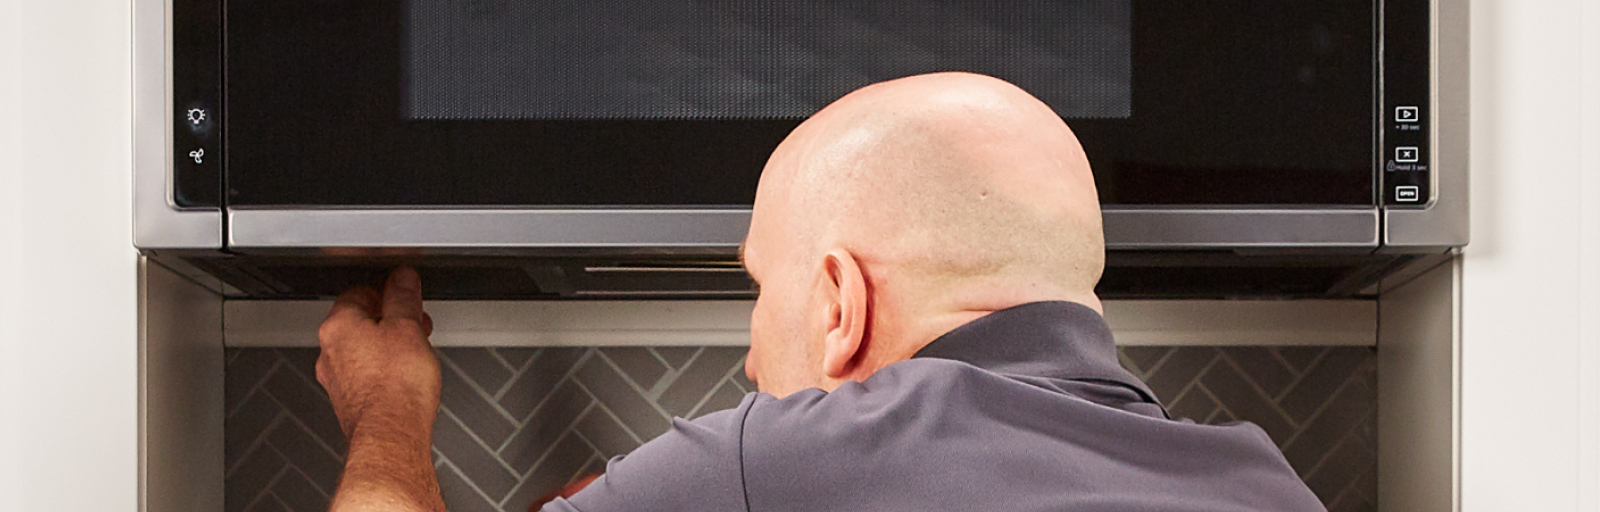
Step 12: Install the Microwave

Follow these steps to install the microwave. It’s best to have the help of another person for this part of the process.
- Remove all items from inside the microwave.
- Tape the microwave door shut.
- Place the microwave into the allotted space, tilt it toward you, and place the power cord through the hole in the upper cabinet.
- Rotate the appliance upward and then push it against the mounting plate. Hold this position.
- While your helper holds the microwave, insert the bolts through the upper cabinet and into the appliance.
- Secure the appliance
- Tighten the bolts
- Plug in the microwave
Read this guide if you’re looking to remove an over-the-range microwave.
Over-the-Range Microwave Installation FAQ
Does an over-the-range microwave need to vent outdoors?
An over-the-range microwave does not need a vent that extends outdoors. They can be installed in a way that lets the fan circulate indoors.
Do you need a professional to install an over-the-range microwave?
Depending on your expertise and comfort level, most over-the-range microwaves can be self-installed. You should only pursue the DIY option if you are comfortable with the steps and have an understanding of the process.
For your convenience, professional installation is available from Whirlpool.
How much clearance is needed for an over-the-range microwave?
You typically need a clearance of 12 to 13 inches over the range and 66 inches from the top of the appliance to the floor. If there is a wall on the left side, ensure there is a minimum of 6 inches, so the door can open all the way.
The height of standard microwaves is 12 to 15 inches, whereas low-profile microwaves from Whirlpool brand may be smaller in height.
Does an over-the-range microwave have to be flush with the cabinets?
Many over-the-range microwaves protrude a few inches from the edge of a cabinet, unlike built-in models, which are flush. This extra space gives leeway for the door to open all the way.
Your microwave may come out further than usual if your cabinet depths are smaller than normal.
Get Help From the Pros
Book a service appointment today if you need help installing or repairing an over-the-range microwave.