Every dryer requires a properly installed vent; otherwise, the appliance will not dry clothes properly and could present a fire hazard. Luckily, attaching a dryer vent isn’t overly challenging, and for many, it can be a DIY project with the right tools and know-how.
Keep reading this guide to learn the steps to install a dryer vent. Keep in mind that this article pertains to electric dryers. For gas dryers, it is recommended to hire a licensed professional or contact your gas company to perform the installation.
Tools and Materials
Start by gathering these tools and materials before you start installing your dryer vent.
- Gloves
- Screwdriver
- Level
- Ladder
- Measuring tape
- Drill
- Duct or pipe cutters
- Dryer wall vent and vent cover
- Dryer duct
- Duct clamps
Step 1: Chart a Dryer Vent Path
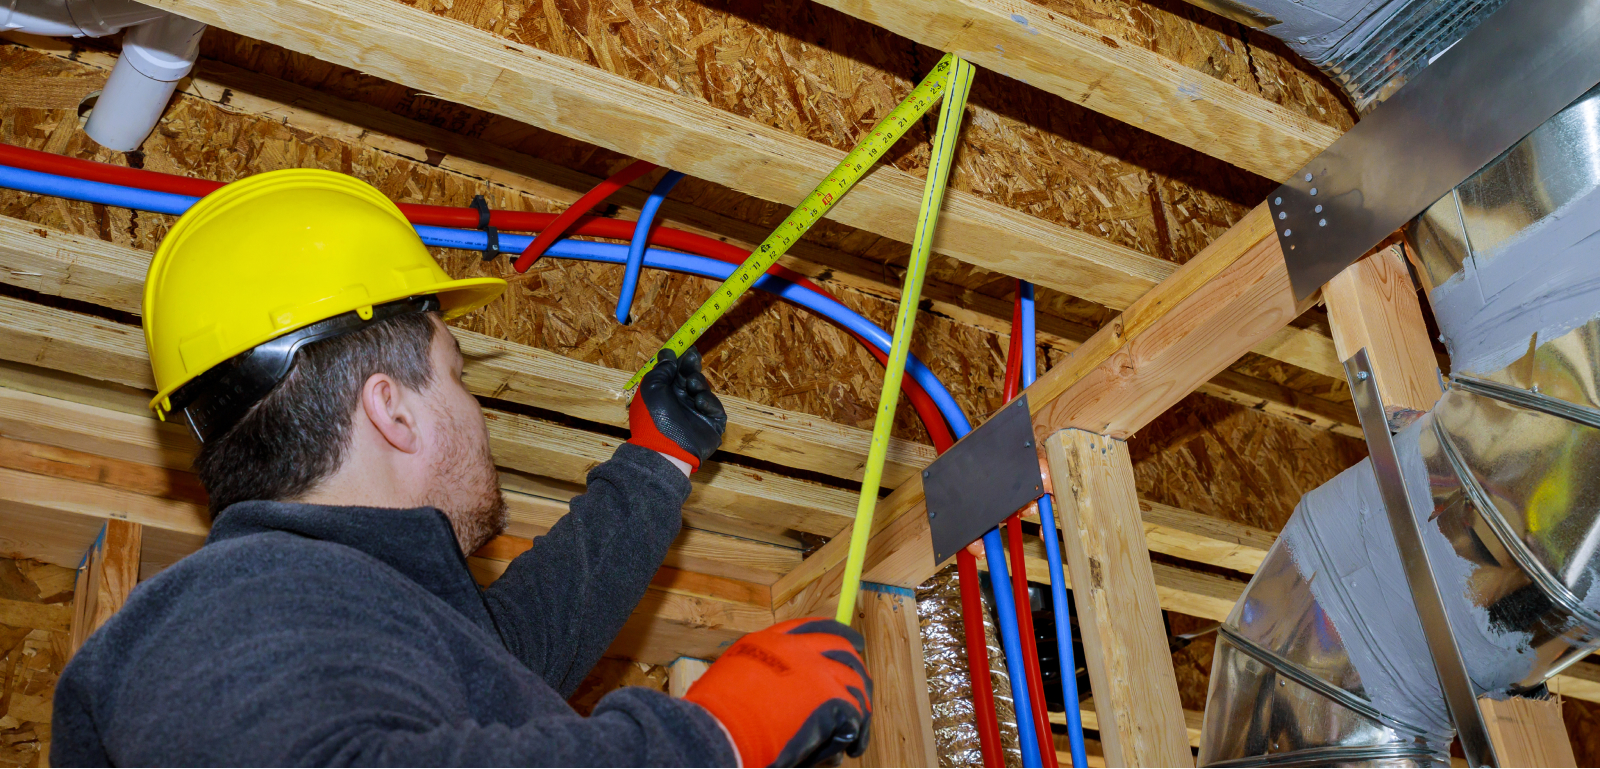
Start the installation process by mapping out the shortest route from the back of the dryer to the exterior of your house. Avoid as many twists and turns as possible to prevent lint build-up in the ductwork.
Here are some other tips you can use when charting a dryer vent path to the outdoors.
- A dryer duct needs to be about 25 feet or less. You must subtract five feet for each 90-degree turn and 2 ½ feet for each 45-degree turn.
- Route the dryer vent horizontally, leading to the outside wall of your house.
- Ductwork should pitch 1/4-inch per foot to the outside of your home to prevent moisture from infiltrating the pipe.
- If your laundry appliances are going to be installed on the upper level of your house, refer to your owner’s manual for guidelines about venting through your roof.
Step 2: Cut a Vent Hood Opening
Once you’ve determined the shortest route for the ductwork to be placed, you need to figure out where the dryer vent will exit.
Follow these steps to cut a vent hood opening:
- Using a section of vent pipe, draw a circle where the opening will be from the interior of your house.
- Drill a test right in the centre of the circle using a power drill with a 1/4-inch pilot that can reach outside.
- From outside your home, put the vent cap over the hole in a way that it rests on the high point of the siding.
- If you find that the hole is too high or low, you should measure the distance from the pilot hole to the centre of the vent cap duct.
- Mark the new dryer vent centre with the same measurements that you used for the outside.
If you plan to install a dryer vent into a finished wall, it’s recommended to remove a small section of the wall to confirm you won’t cut through any ductwork, plumbing, or wiring.
Follow these steps to install a dryer vent through a finished wall:
- Cut an opening for the vent using a 4 1/4-inch hole saw. Remove the hole saw as you go to prevent it from overheating and to clean off any debris.
- After the saw’s pilot bit goes through the exterior, you should go outside to complete the hole by following the pilot hole.
- If cutting through brick or stucco, use a hammer drill and a 1/4-inch masonry bit to make the pilot hole and the vent hole.
- If cutting through masonry, drill holes that are close together around the circumference of the circle that marks the opening. Next, use a chisel to chip away the masonry.
Step 3: Install the Dryer Vent Hood
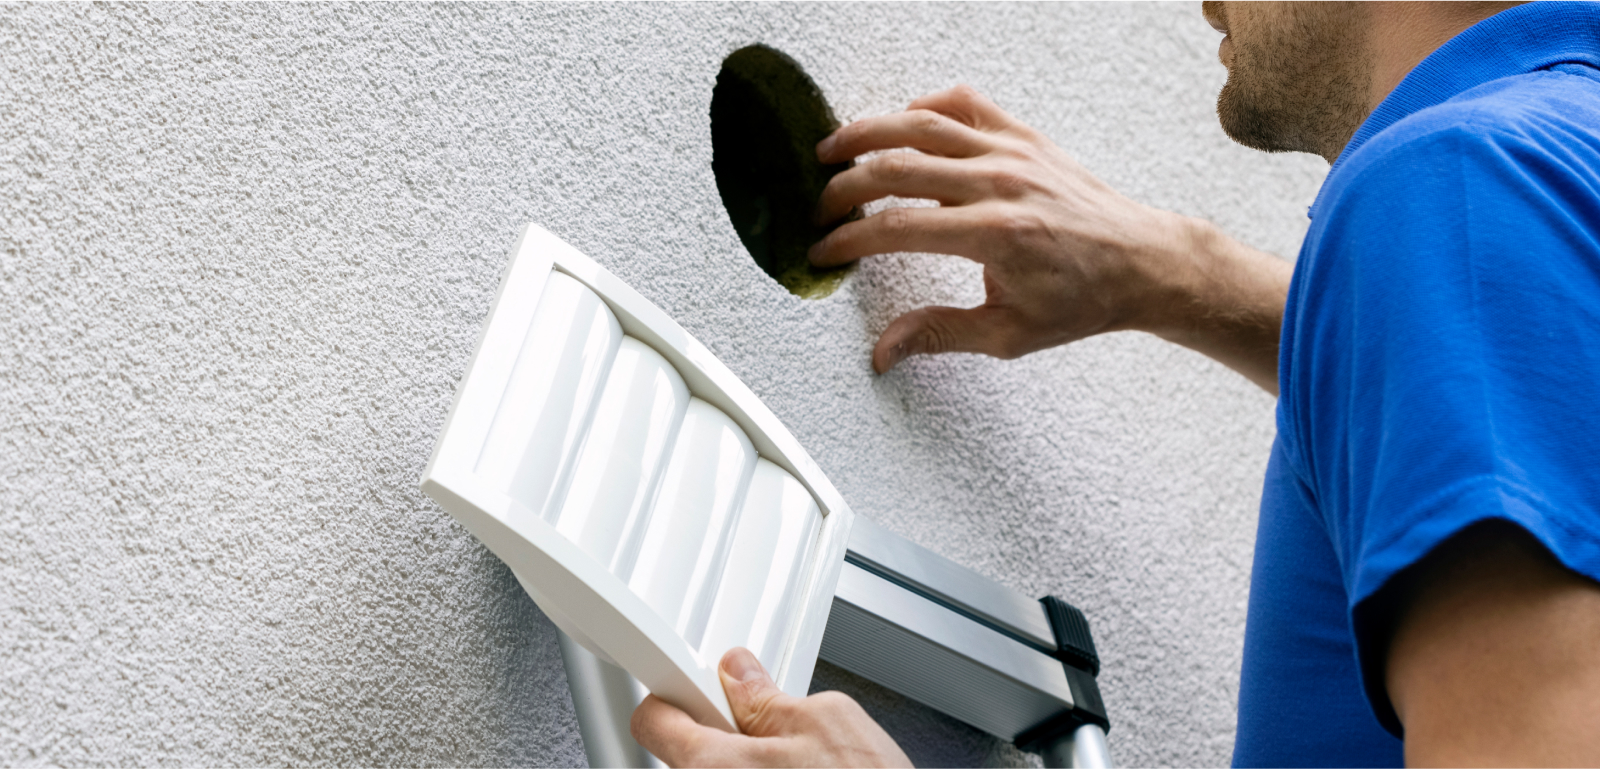
Now, it’s time to get the dryer vent hood into position from the exterior of your house.
To do so, follow these steps:
- Insert the duct pipe into the vent hood via the opening.
- Position the assembly to aim the opening toward the ground.
- Affix the dryer vent hood to your house’s exterior siding with wood screws. If you’re dealing with masonry, you may need to use the appropriate anchors, as wood screws will not suffice.
Make sure you don’t caulk the bottom, as moisture that travels behind the hood needs a way to escape.
Step 4: Cut and Assemble the Vent
With the vent hood in place, follow these steps to connect the ductwork exit point to the rear of the dryer:
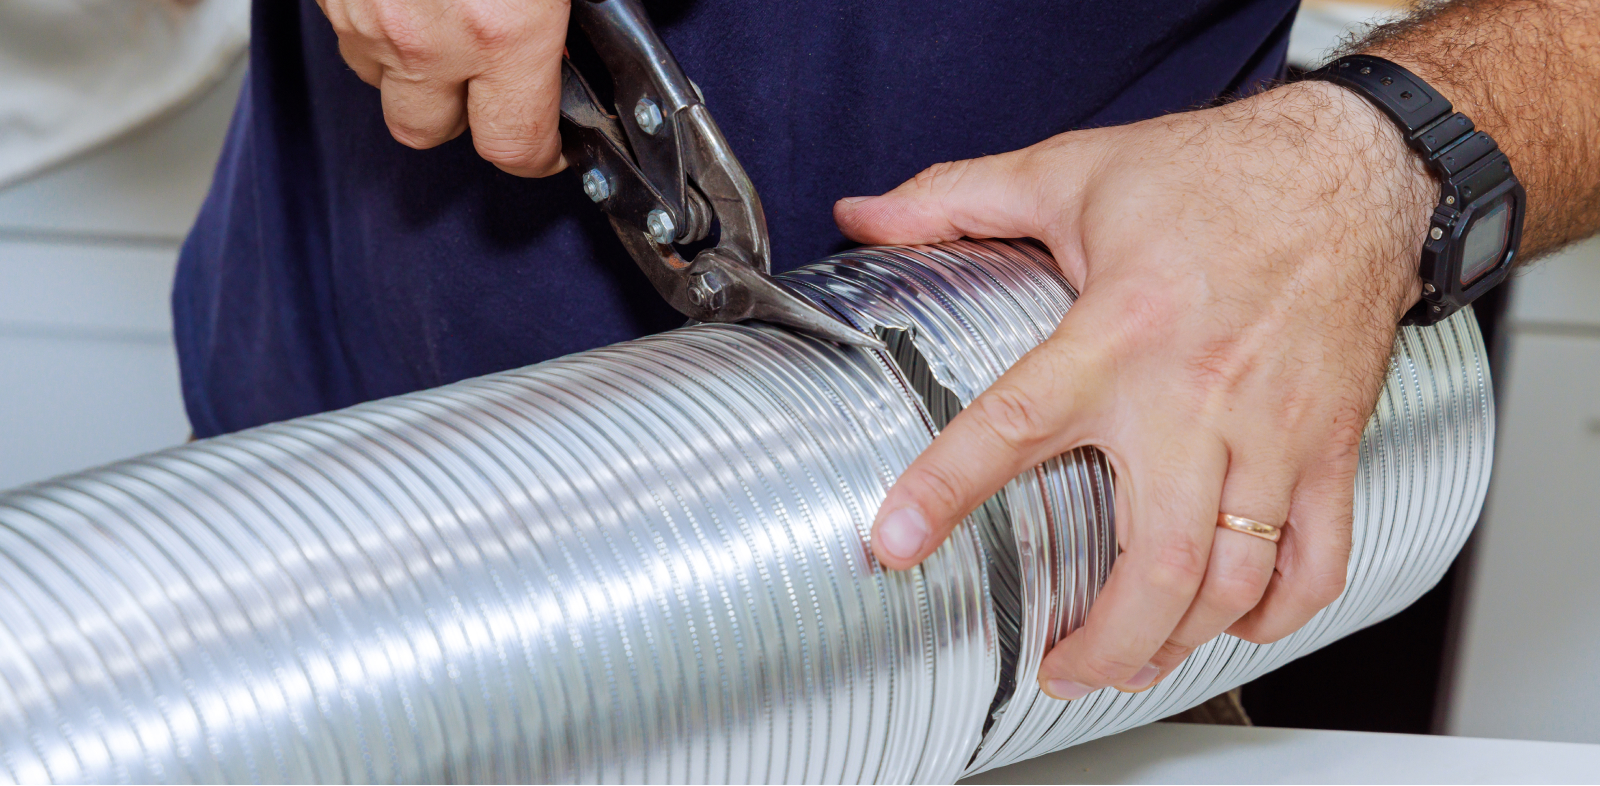
- Wear gloves and use tin snips to cut straight lengths of pipe.
- Confirm whether you need an elbow to connect the vent hood duct. This will depend on the location of the vent. If required, install one or more duct elbows.
- Assemble the pieces of duct pipe that you cut. Ensure that crimped ends fit into the pipe above it.
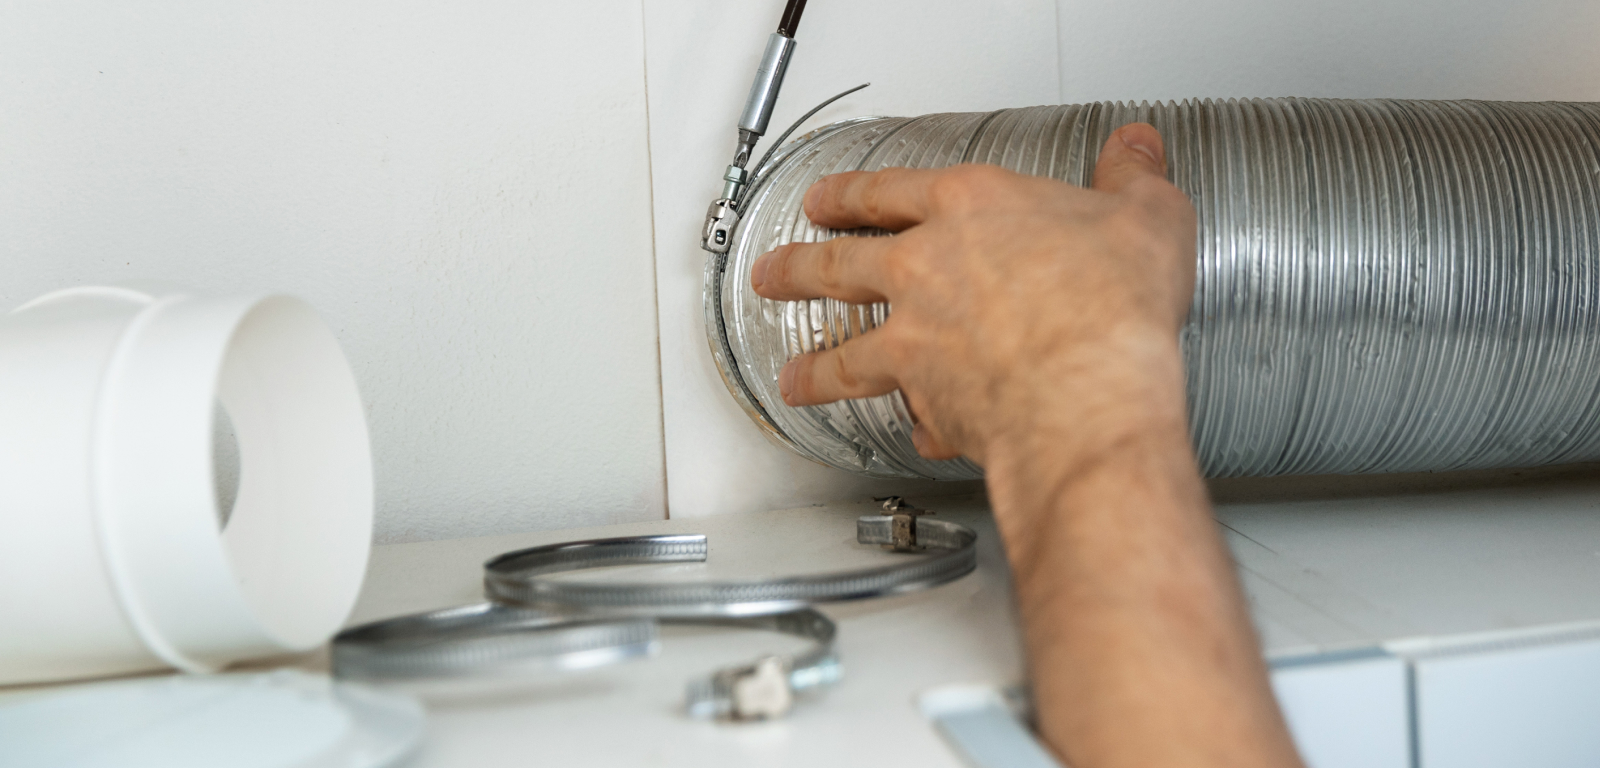
Step 5: Secure the Vent Ducts
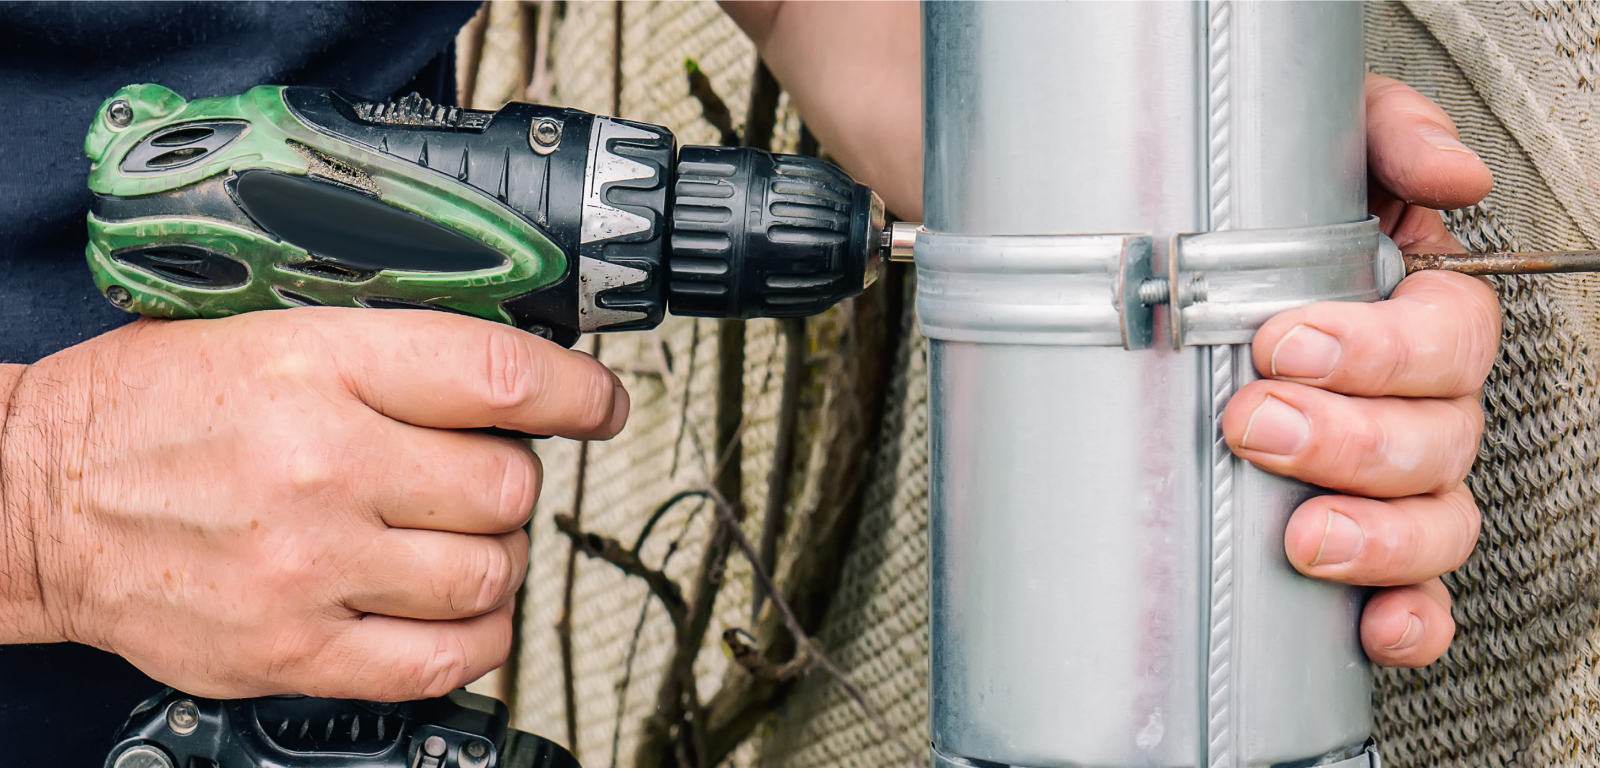
This is a vital step as each duct pipe connection needs to be secured together, and any length of pipe that exceeds a few feet needs support.
Follow these steps to secure the vent ducts:
- Attach the straight run of the pipe to the elbow at the vent hood.
- Connect the other end of the straight run to the dryer.
- Using a carpenter’s level, confirm that the runs slope a little bit toward the vent exit.
- If necessary, use hanger straps to provide support for the ducts.
- Seal all connections by wrapping foil tape around the seams. Never use screws, as these are proven to collect lint.
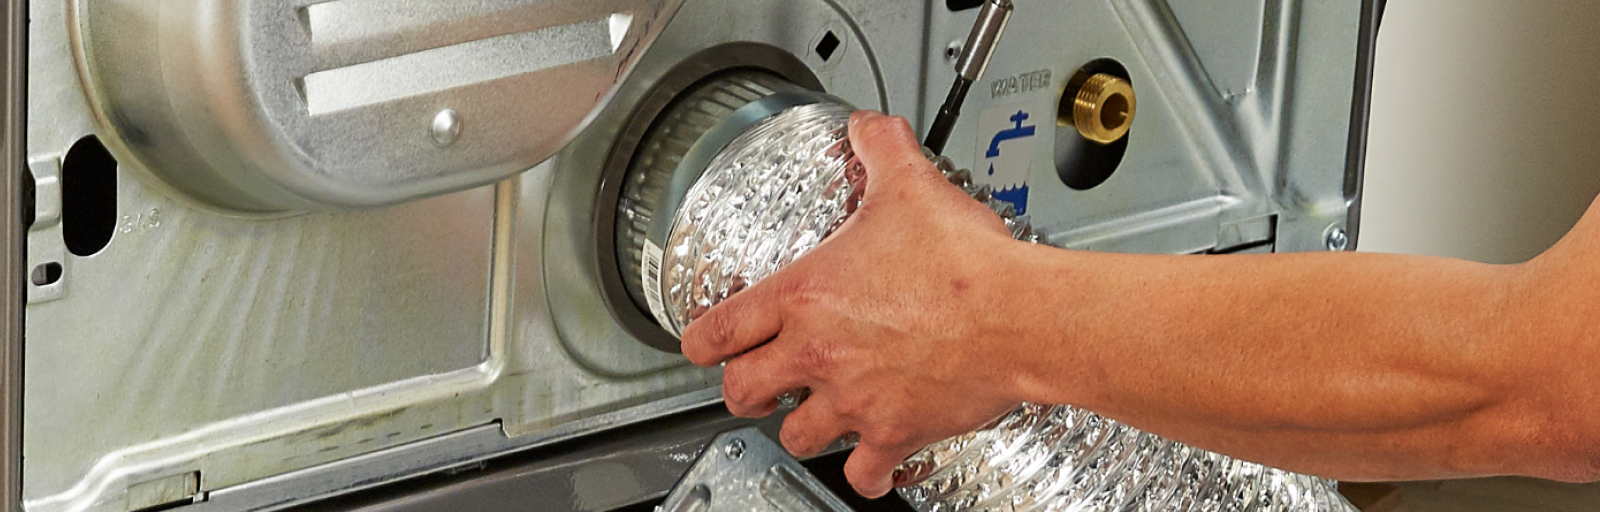
Step 6: Attach the Dryer Vent
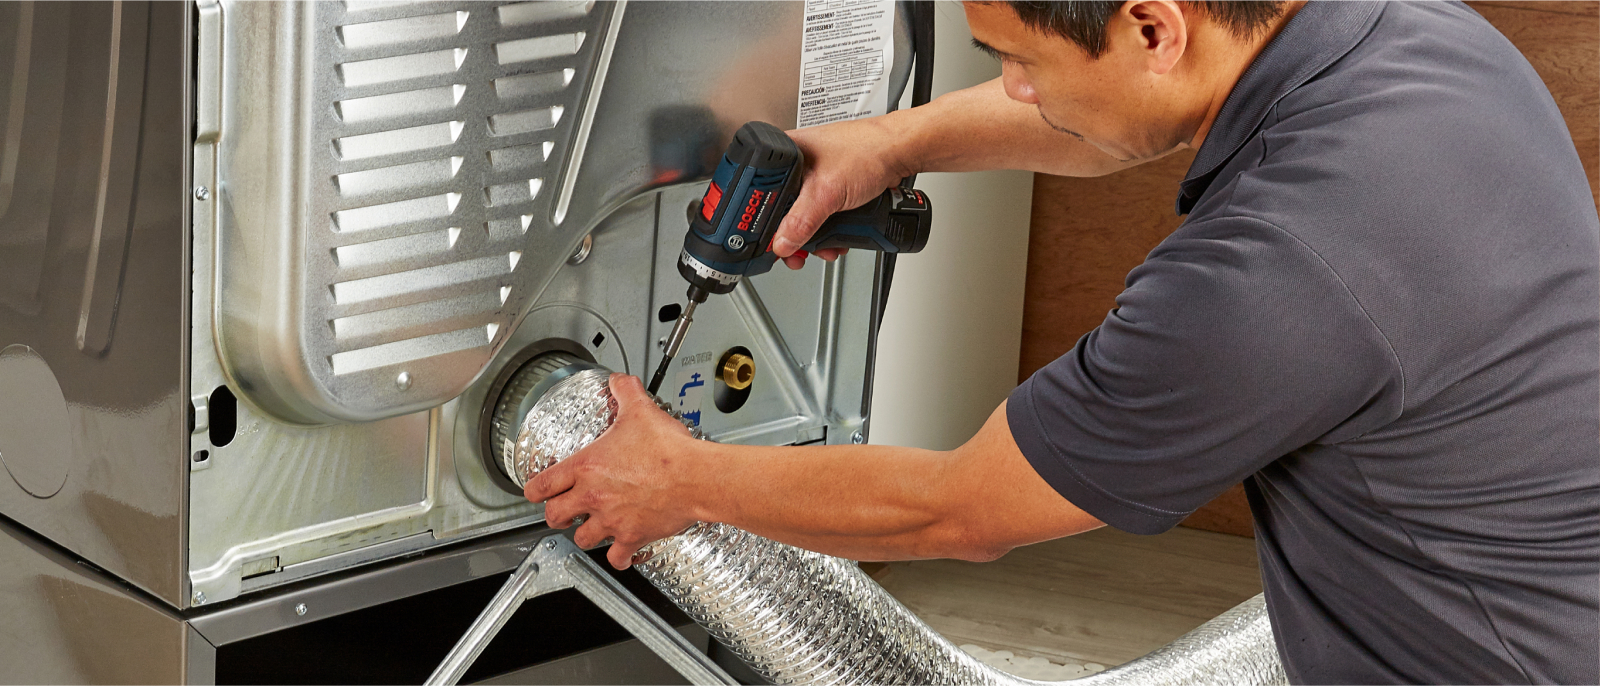
Follow these steps to attach the dryer vent and complete the installation:
- Align the ductwork with the exit vent located behind the dryer.
- Move the dryer back into place and secure the connection.
- Confirm with a level that it is resting flat on the floor. If it is not, adjust the dryer legs as needed.
Step 7: Test the Airflow
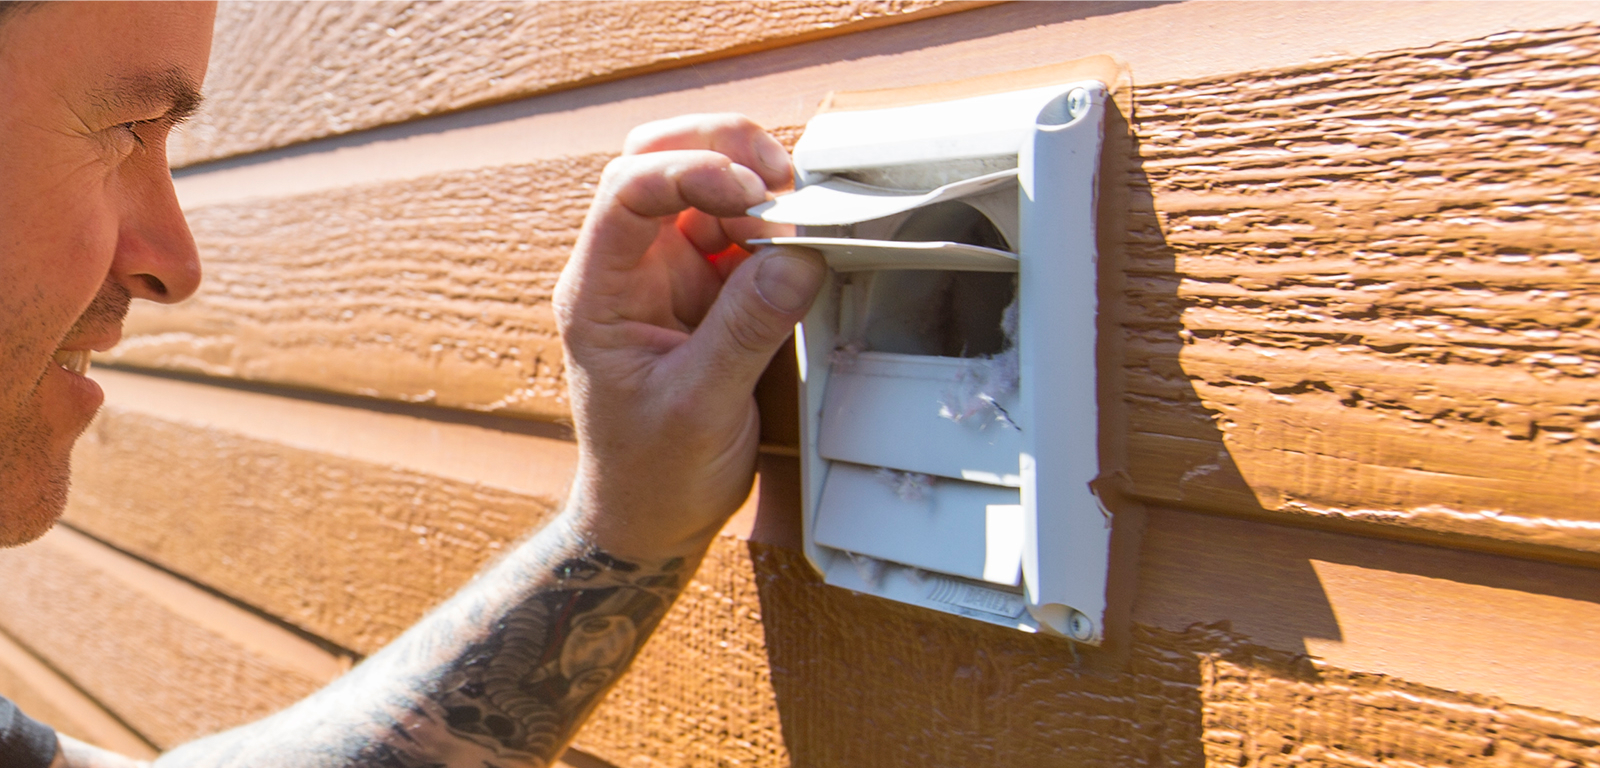
The last step is to test the airflow to make sure a mistake was not made during installation.
You can test the airflow by doing the following:
- Turn on the dryer.
- Head outside and check if the vent hood louver or flap is working as it should.
- If you notice that there is no airflow or only weak airflow, inspect each duct connection.
How to Install a Dryer Vent FAQ
Can you run a dryer without a vent attached?
It is unsafe to run an electric dryer without a vent hose. It’s a fire hazard in addition to being far less efficient and potentially damaging your clothes and home.
What should you not do when installing a dryer vent?
Some things you should never do when installing a dryer vent include:
- Never use plastic materials
- Never secure joints with bolts or screws
- Never use duct tape to connect venting materials
Can you run your dryer vent upward?
Dryer vents are commonly run horizontally through the exterior wall close to the dryer. This is considered the ideal placement.
Get Help From the Pros
Book a service appointment today if you need help installing a dryer vent.