A dryer squeaking is fairly common. And while it may be a warning sign of something potentially wrong with the appliance, there are some steps you can take to potentially determine the cause of the problem and fix it.
Keep reading to learn some tips that can help determine the source of the noise and a few troubleshooting steps you can take.
Tools and Equipment
The first step is to gather the tools and equipment you’ll need to get the job done.
The required tools, however, might vary based on your dryer model and the actual issue.
- A Phillips head screwdriver to access the inside of the dryer
- A pair of pliers and some clamps to test some of the parts on and/or around the motor
- A crescent wrench to remove certain parts
- A spackle knife to open the lid of the dryer

Dryer Squeaking: Common Causes and Solutions
One common cause is if the dryer is unlevel. To see if this might be the problem, check if the dryer feet were installed properly and if the dryer is level.
Another common cause is lint build-up in the dryer. In this case, you may have to call a professional to remove the dryer’s back panel and then clean the inside of the appliance.
The age of components could also be causing the squeaking. An aging belt and pulleys might produce a squeaking noise due to wear. A potential solution is to replace these parts.
Components Causing a Dryer to Squeak
The components of your washing machine could also be causing your dryer to squeak.
Inspect these components to see if they’re at the root of the squeaking:
Dryer Belt
The dryer’s belt rests right up against the tub. To inspect this component, lift the dryer’s lid and look to see if the rubber belt is securely around the tub. The eye test should confirm if it’s loose or not.
A loose belt should be replaced. If you’re comfortable doing this yourself, here are the steps:
- Loosen the mounting screws
- Unhook the wires that hold the belt in place.
- Remove the belt
- Insert a new belt into place on the wires and fasten it with the mounting screws.
- Test to ensure that it’s tight around the dryer’s tub.
Glide Bearings
The tabs of plastic or fabric on the edge of the dryer drum are called glide bearings.
If these are worn down or missing for some reason, the drum might bang against the dryer’s side. If your dryer doesn’t have glide bearings, then you can install ones by following the instructions provided in the manual.
Worn-down glide bearings, however, should be replaced. You can try removing them with these steps:
- Detach the tabs from the drum’s edge. You may need to pull out the tub of the dryer to perform this step.
- Once the tub is removed, place it on the ground.
- Use pliers to detach the bearings from their holes.
Idler Pulley
As a result of being in direct contact with the dryer belt and motor, the idler pulley can break or loosen from strain. If this part is loose, you can tighten it back to its bracket with a screwdriver.
You can test if it needs to be replaced by spinning the wheel and listening closely for squeaking from inside the wheel.

4 Steps to Locate the Cause of a Dryer Squeaking
To determine the source of the squeaking, try the following four steps. It is recommended to also reference your dryer’s manual for specific directions.
Step 1: Unplug the dryer
To safely inspect your dryer, first you must unplug it from the outlet. It’s a good idea to use rubber work gloves for this step.
Step 2: Relocate the dryer to an open space
Carefully move the dryer away from the wall so you can remove the lid. You will also need plenty of space if you choose to repair the appliance or replace a part.
Step 3: Remove the lint trap and lid
Follow these steps to remove the lint trap and lid:
- Use a spackle knife to wedge open the dryer’s lid.
- Push the two clips that secure the lid in place to one side, again with the spackle knife.
Now that it’s open, the lint trap and lid should be removable with a screwdriver, making the components more accessible.
Step 4: Look for missing or damaged parts
The last step is to inspect the possible causes of why your dryer is squeaking.
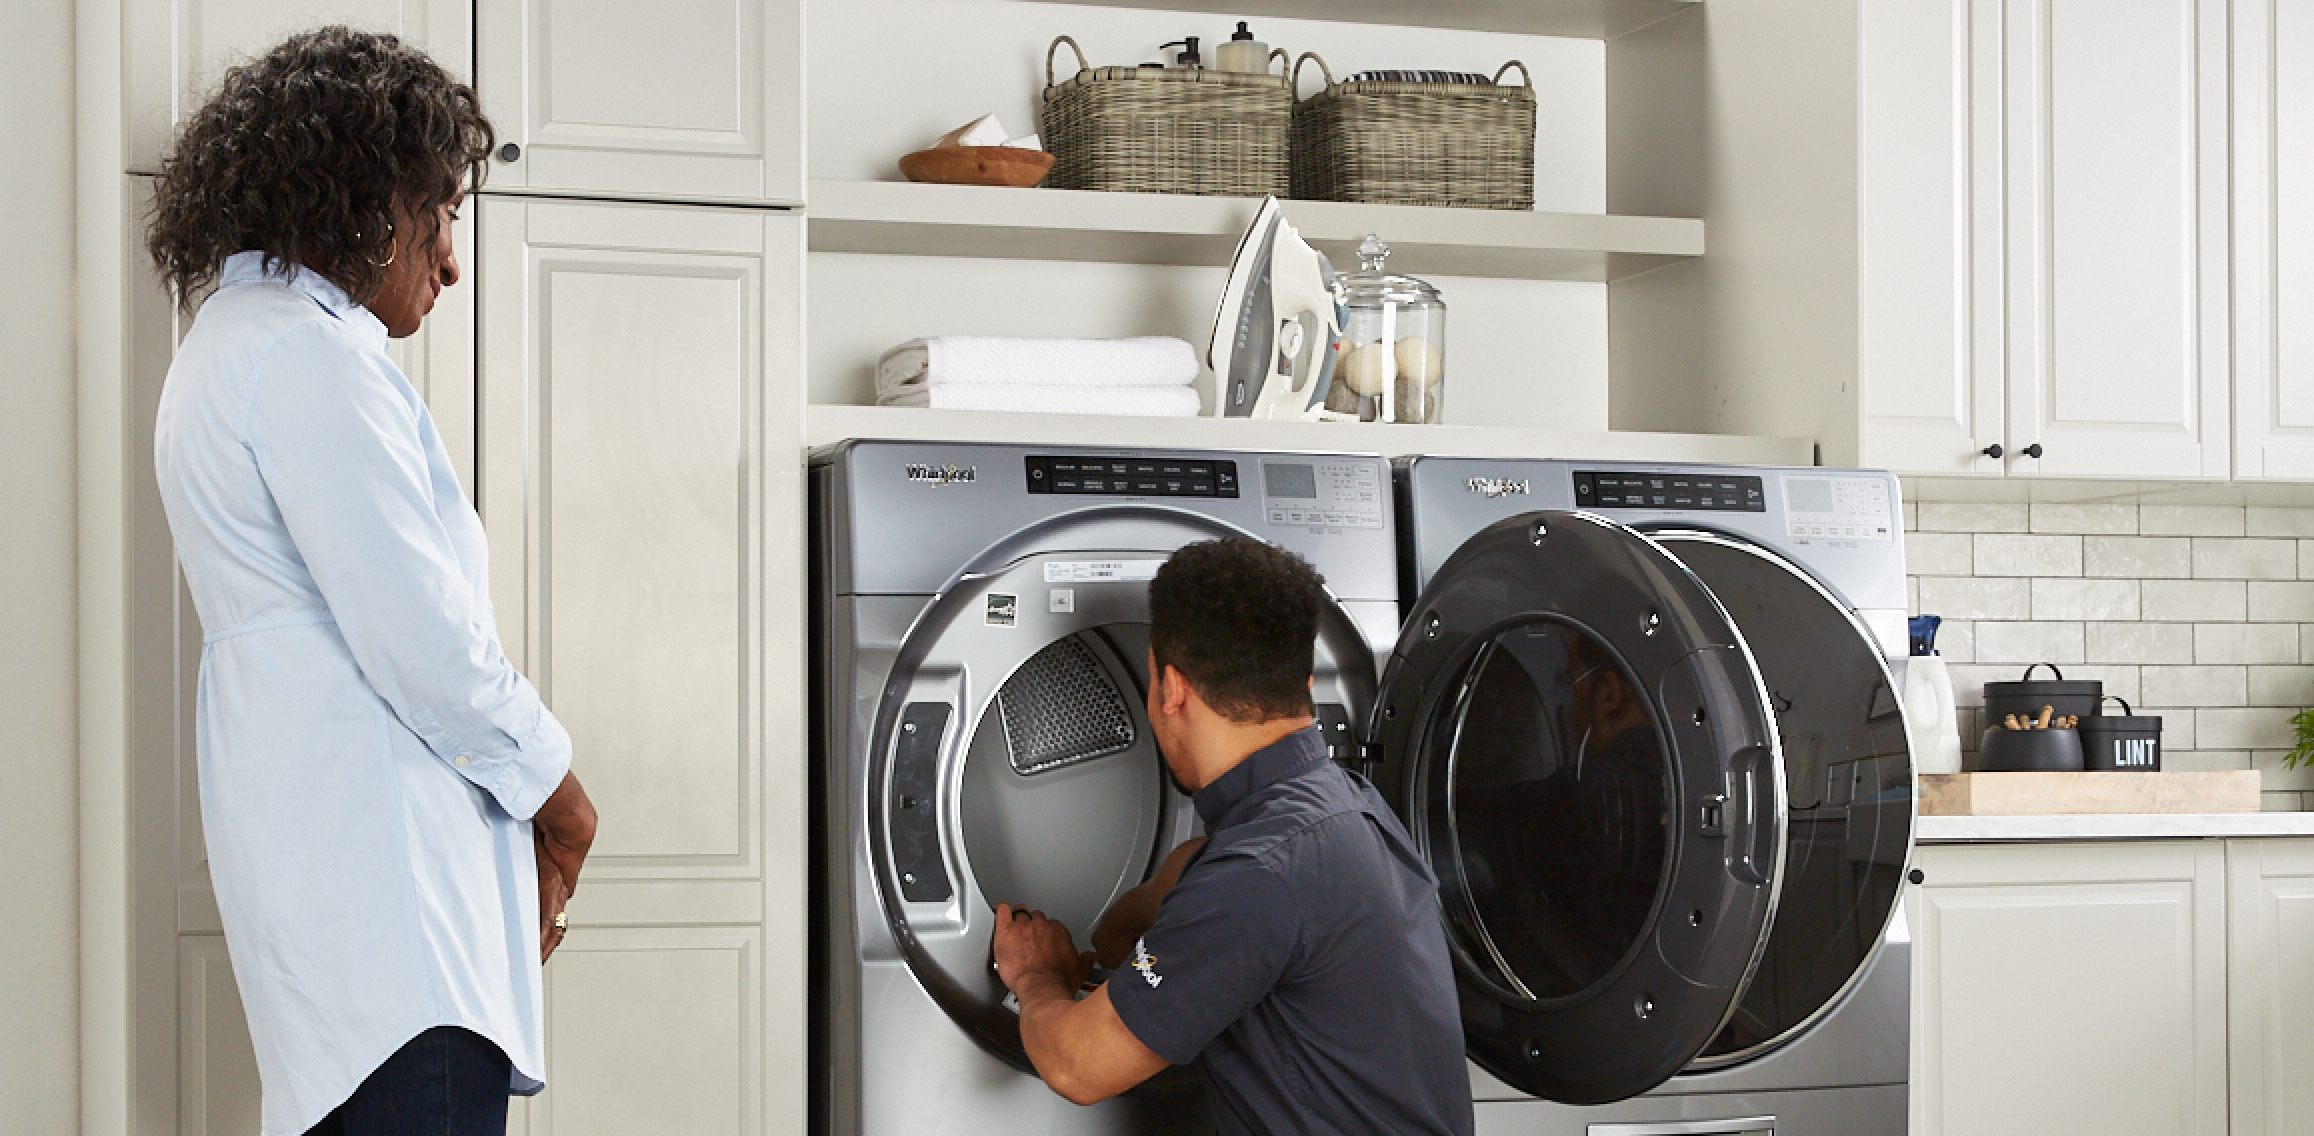
Do You Want Professional Help?
If you don’t have the time to perform the repairs yourself, you can always schedule a repair with Appliance Pros+ to diagnose and fix the problem. Schedule a Repair