Washers and dryers don’t need to be moved very often. They have a dedicated room, typically in a basement, and stay there even as new owners move in. However, there are instances when you must move your laundry appliances, including renovating your basement or upgrading to new models.
Follow the instructions in this guide to uninstall or disconnect a washer or dryer, or if you’d prefer to have the help of a professional, book a service appointment today.
How to Uninstall or Disconnect Your Washer
Step 1: Disconnect Your Appliance
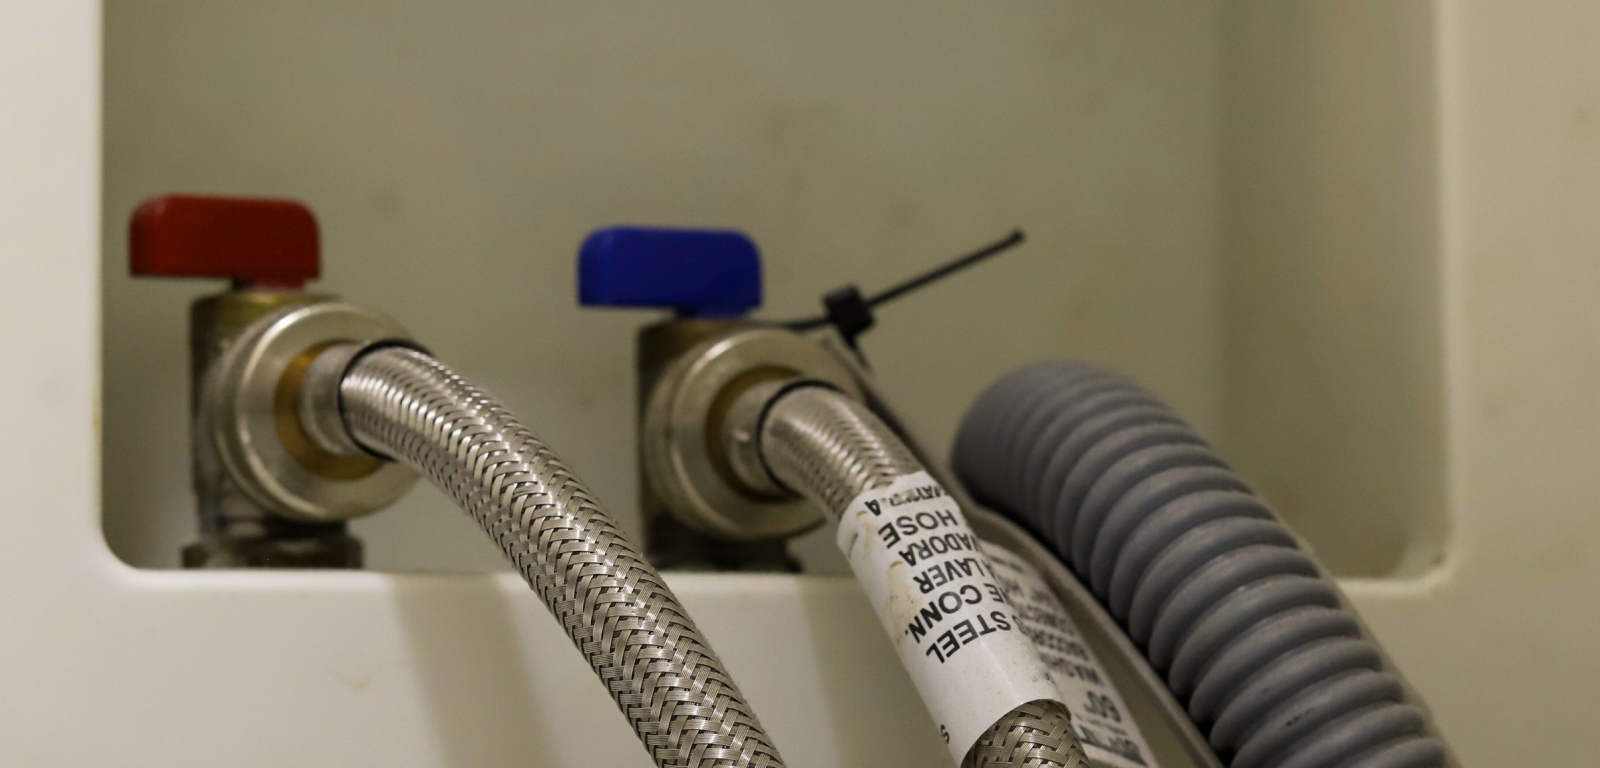
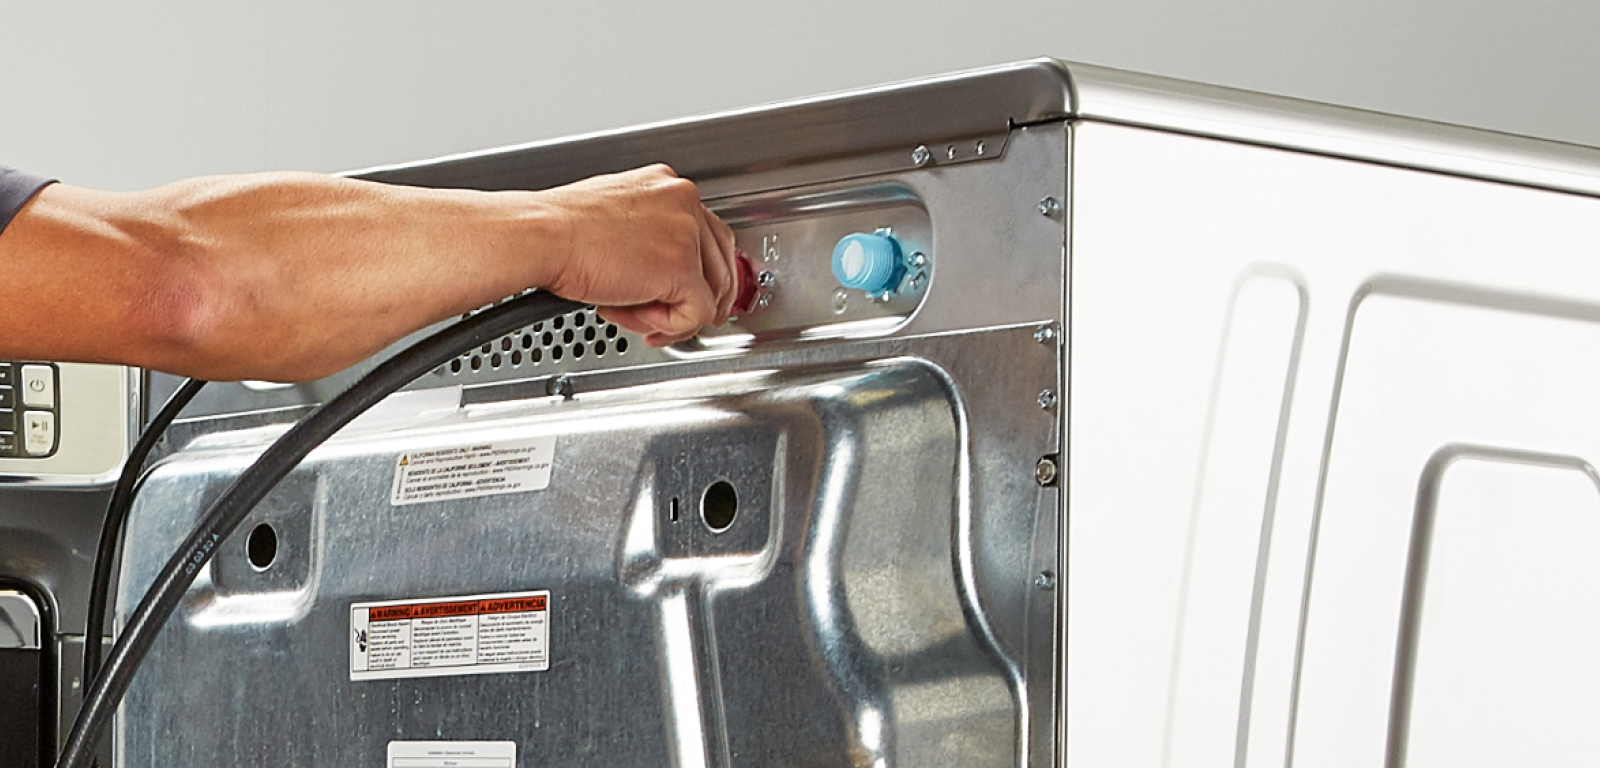
To disconnect your washer, you need to shut off the water supply by turning off the water valves.
The hot and cold water supply valves are typically located behind the washer in a box attached to the wall. Once you’ve accessed the valves, turn them clockwise all the way to cut off the water supply.
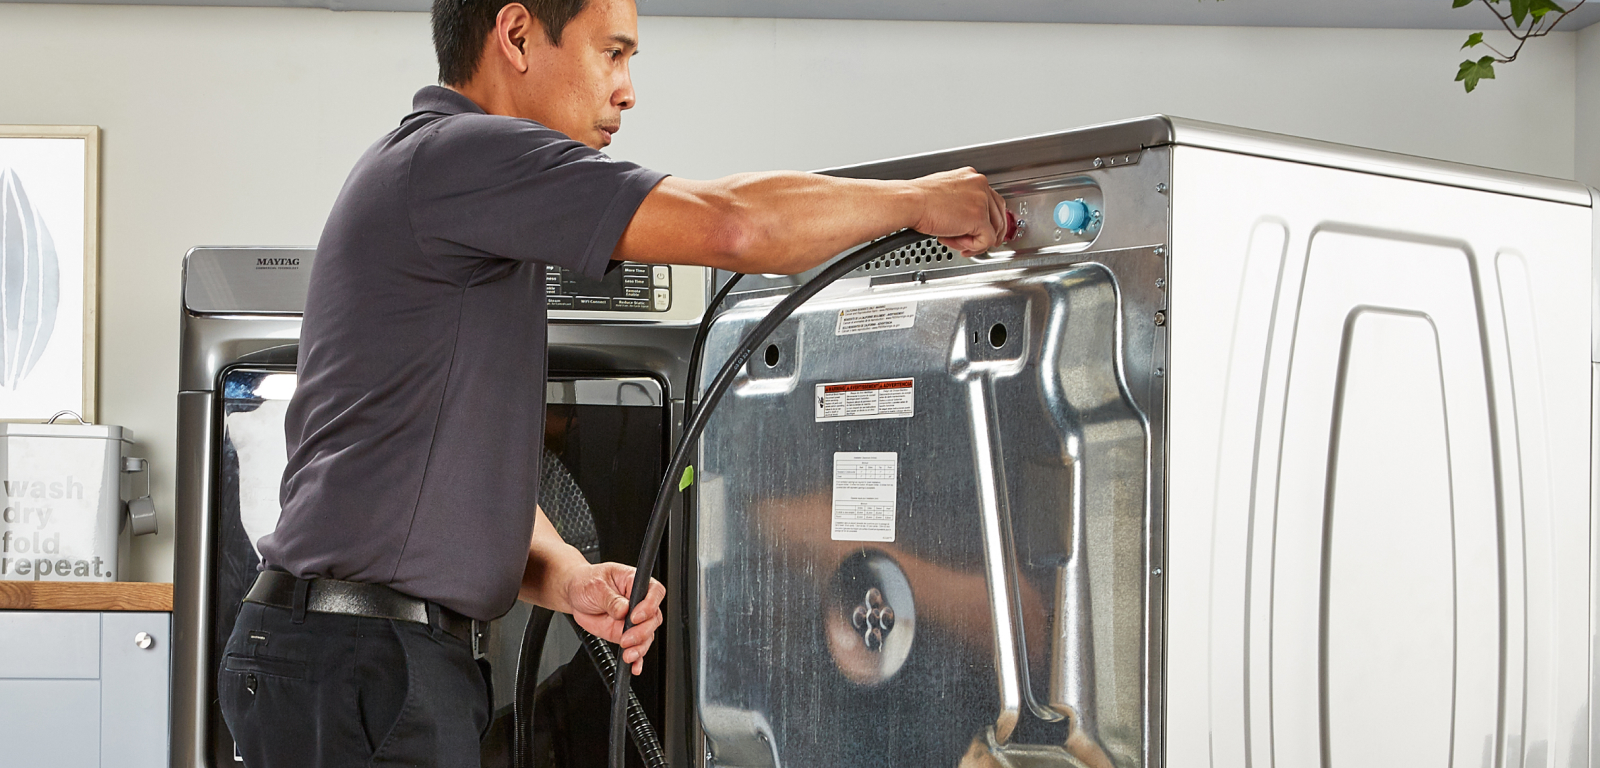
Step 2: Pull Out the Machine From the Wall
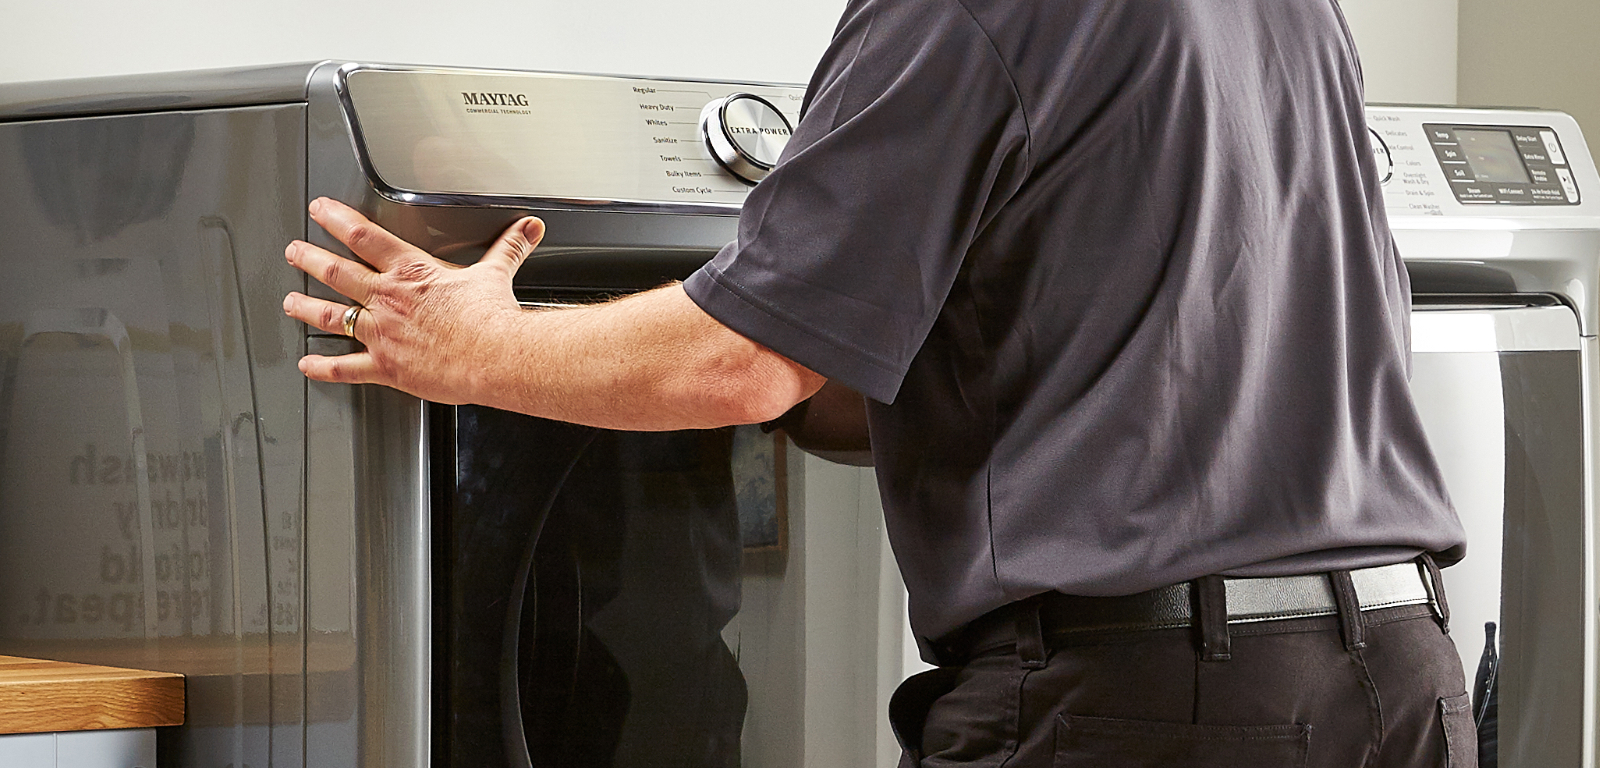
Now, you need to drag or pull the washer from the wall. You can do this by holding onto one side and moving it forward, inch by inch, and then doing the same with the other side. This should shimmy it out from the wall.
You need to pull the washer out from the wall as far as possible without compromising the hose. Make sure to give yourself enough room to at least partially fit behind the machine.
Some newer homes have washer boxes above the appliance, making it more accessible.
Step 3: Unplug the washer
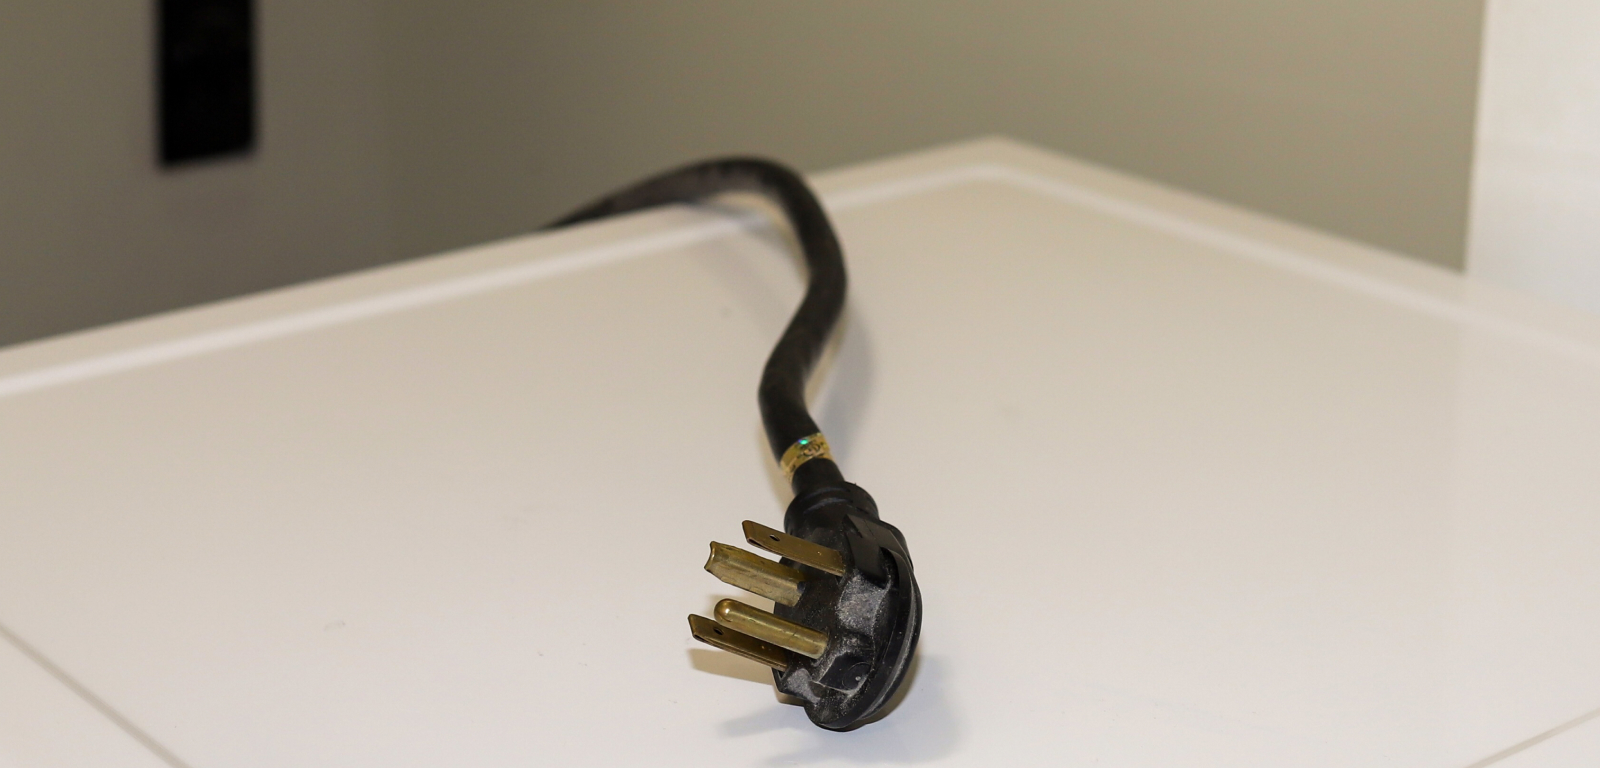
Simply pull the plug from the outlet to disconnect the appliance from its power source.
Step 4: Place a Bucket Behind the Washer

This is an important but often forgotten step. Place a bucket or some towels behind the washer, right under the water line, to catch any water that drips or falls out when the pipes are detached.
Step 5: Detach the Hoses
Confirm that the valves are off and didn’t accidentally get turned back on when you stepped behind the washer.
Wait a few seconds after you’ve turned off the valves to remove the hose. This gives the pressure in the hoses a moment to abate and will make them easier to detach.
If clamps are used to attach the hoses, turn the screws on top of the clamps counterclockwise until they are loose. Next, aim the ends of the hoses at the bucket and let the water drain.
Step 6: Remove the Hoses
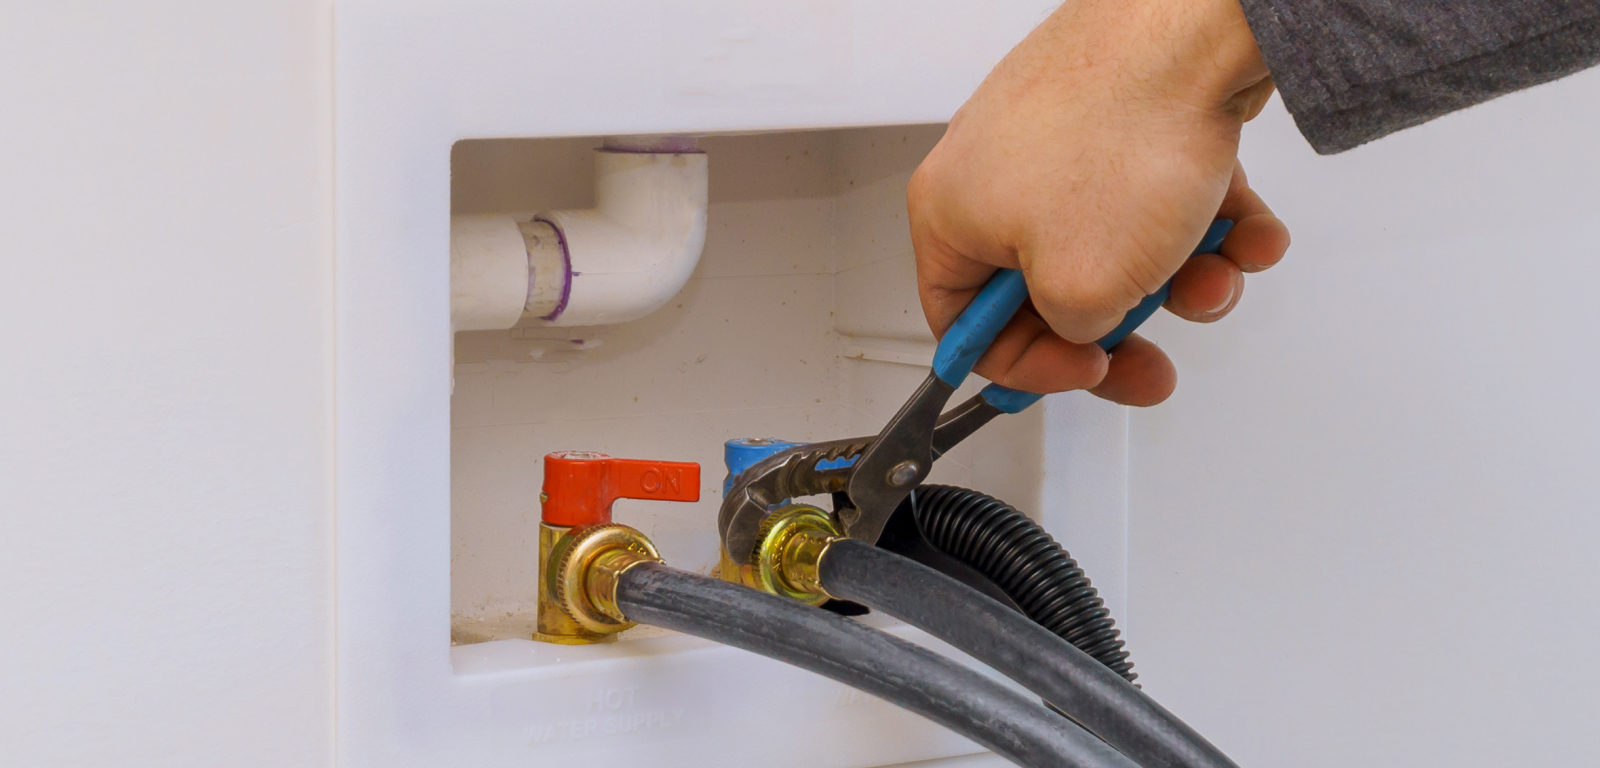
With adjustable pliers or a pipe wrench, loosen the hoses by turning the ends counterclockwise until the hoses fully detach.
Once the hoses are off, drain any remaining water into the bucket.
Step 7: Take the Drain Hose Out of the Drain
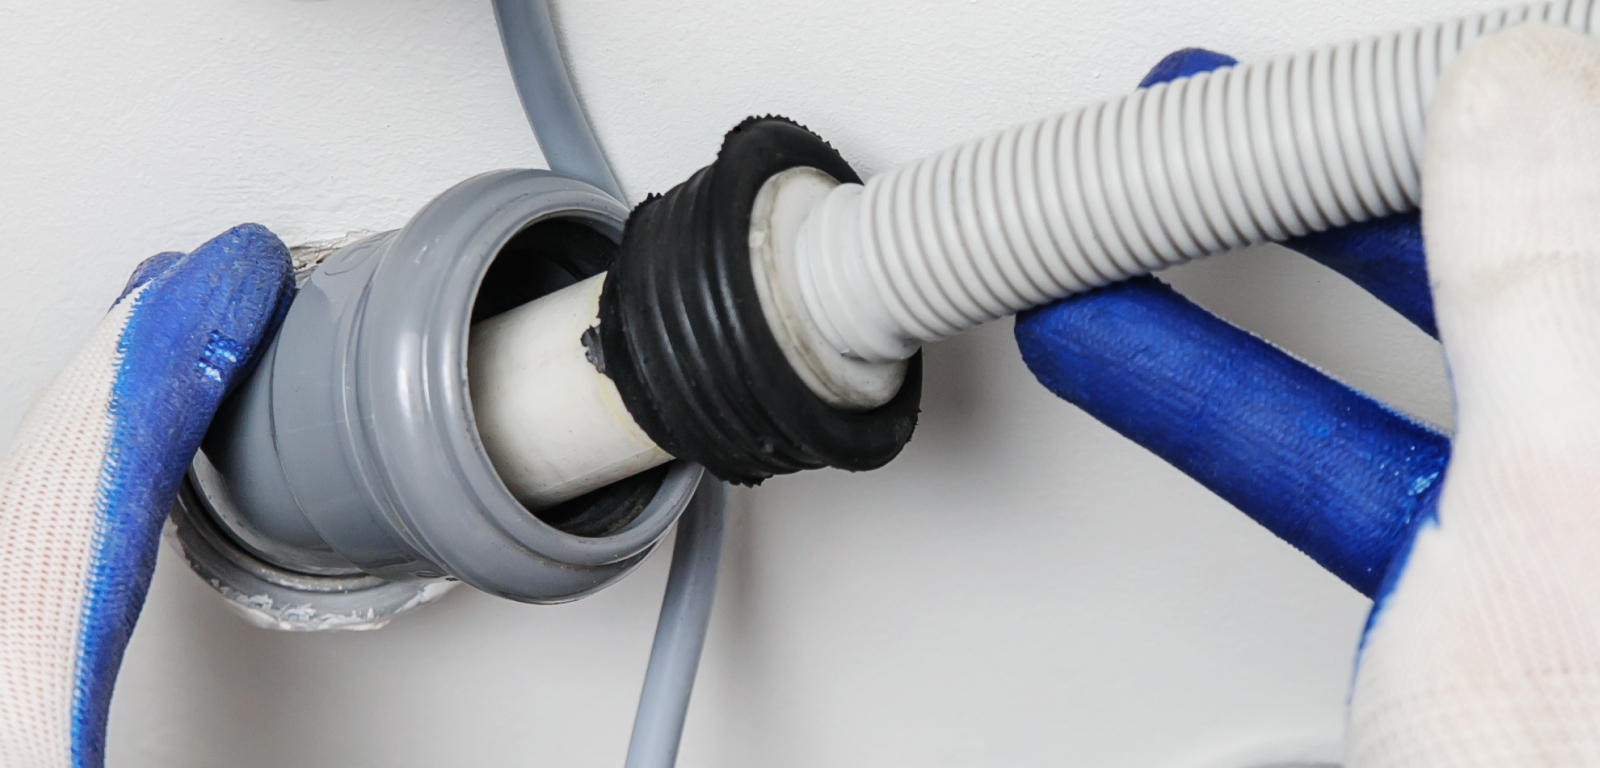
This step will vary based on whether your plumbing setup is through your laundry sink, a wall-mounted drain, a floor drain, or a tall standpipe.
Each requires its own set of instructions, and it’s best to follow those outlined in your model’s manual.
Before moving on to the next step, you should empty the water bucket and clean any spills or drips, so that you don’t slip.
Step 8: Double Check the Connections
Confirm that there are no additional hoses or plugs that connect the washer to the wall. If there are none, continue moving the appliance out of its place, remembering that some water might still be inside the machine.
Step 9: Clean the Intakes
This step is only required if you are keeping your washer. If so, now is a great time to clean the water intake using a bristle brush. Try to remove any debris that has built up over the years.
Step 10: Remove the Power Cord
This step is not required if you are going to put the machine back in the same place. If not, you should remove the power cord. If it’s not removable, tape it to the machine.
You can also remove any detachable knobs.
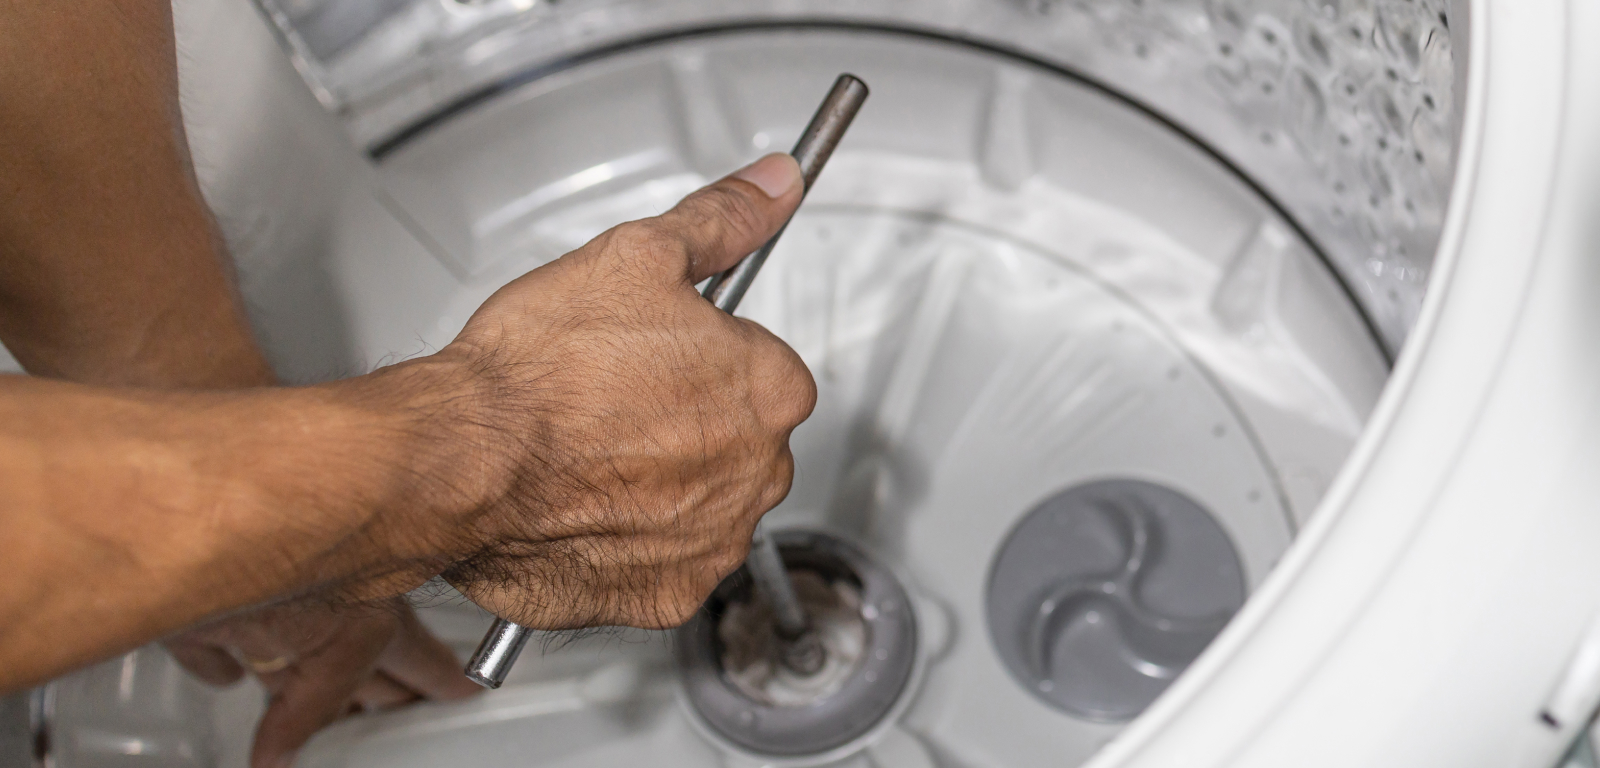
Step 11: Secure the Drum
The drum is the washer’s inner chamber, and you should secure the drum if you are moving it a long distance from its current spot.
How you perform this step varies based on your washer model. You may need special bolts, a big y-shaped piece of foam, or to tighten the screws in the back of the washer. Some models may require the purchase of a special kit.
Refer to your owner’s manual for specific instructions on how to secure your washer’s drum.
Step 12: Tape or Wrap Any Parts
You want to secure all dangling parts of the machine if you are moving it more than a few feet. Tape all dangling cords to the sides of the machine, so you don’t trip on them.
How to Uninstall or Disconnect Your Dryer
These steps will help you uninstall or disconnect an electric dryer.
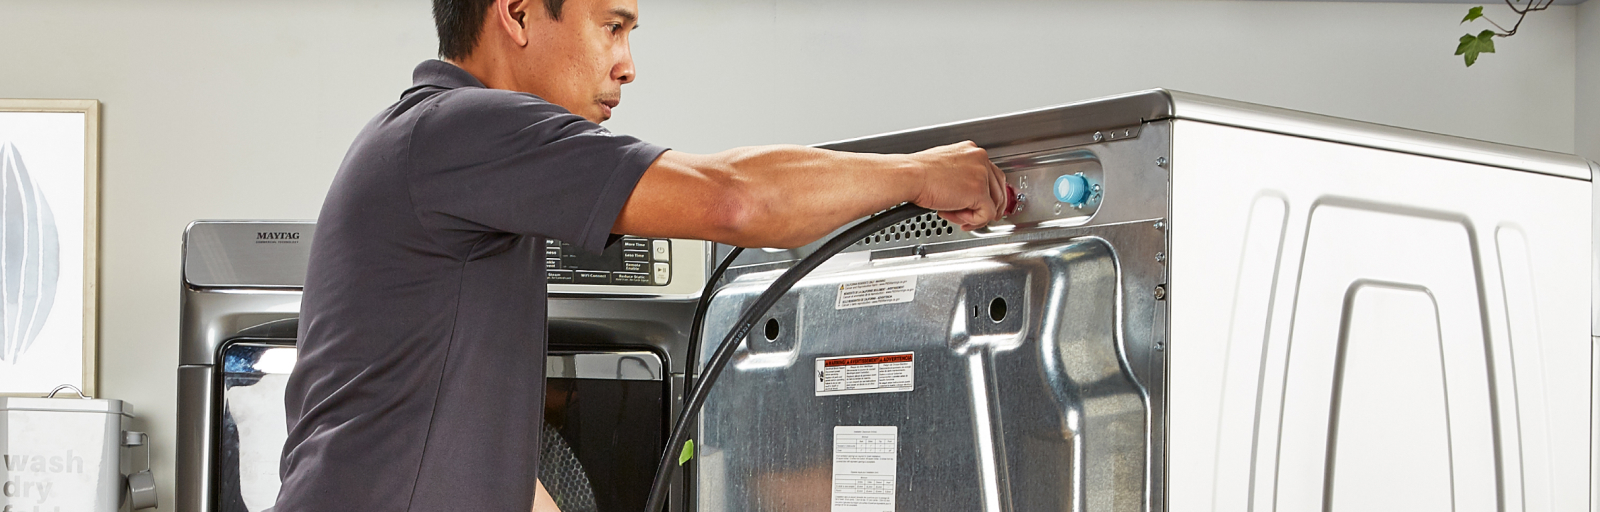
Step 1: Turn off the Power to the Dryer
A large appliance like a dryer uses a lot of electricity. You must turn off the power before uninstalling or disconnecting it.
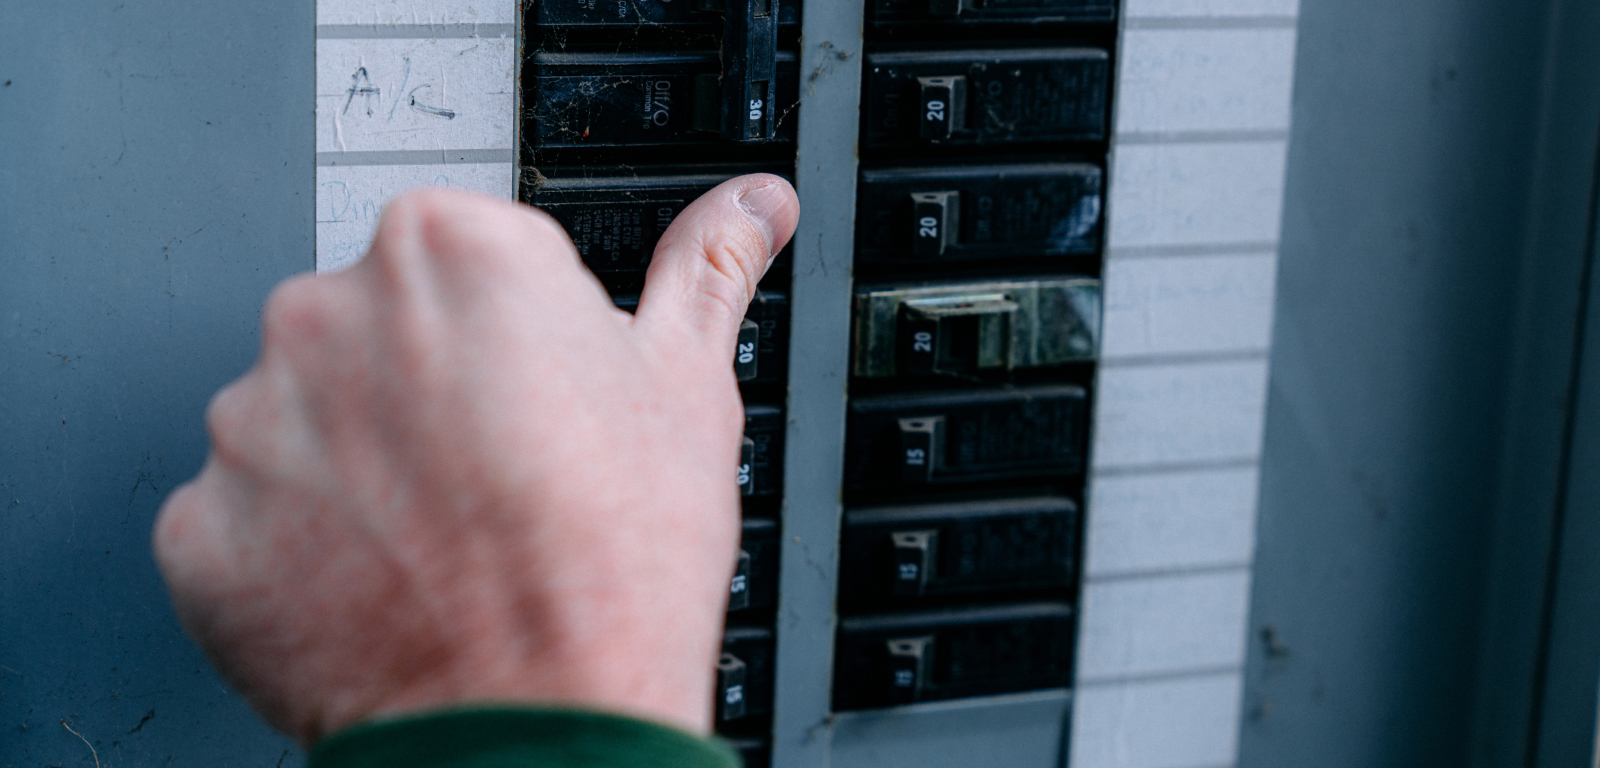
To turn off the power to your dryer, find its circuit breaker in your breaker box and switch it off.
If your circuit breakers aren’t labelled, turn on your dryer and test each breaker until you find the one for the dryer.
Step 2: Disconnect the Dryer from its Power Source
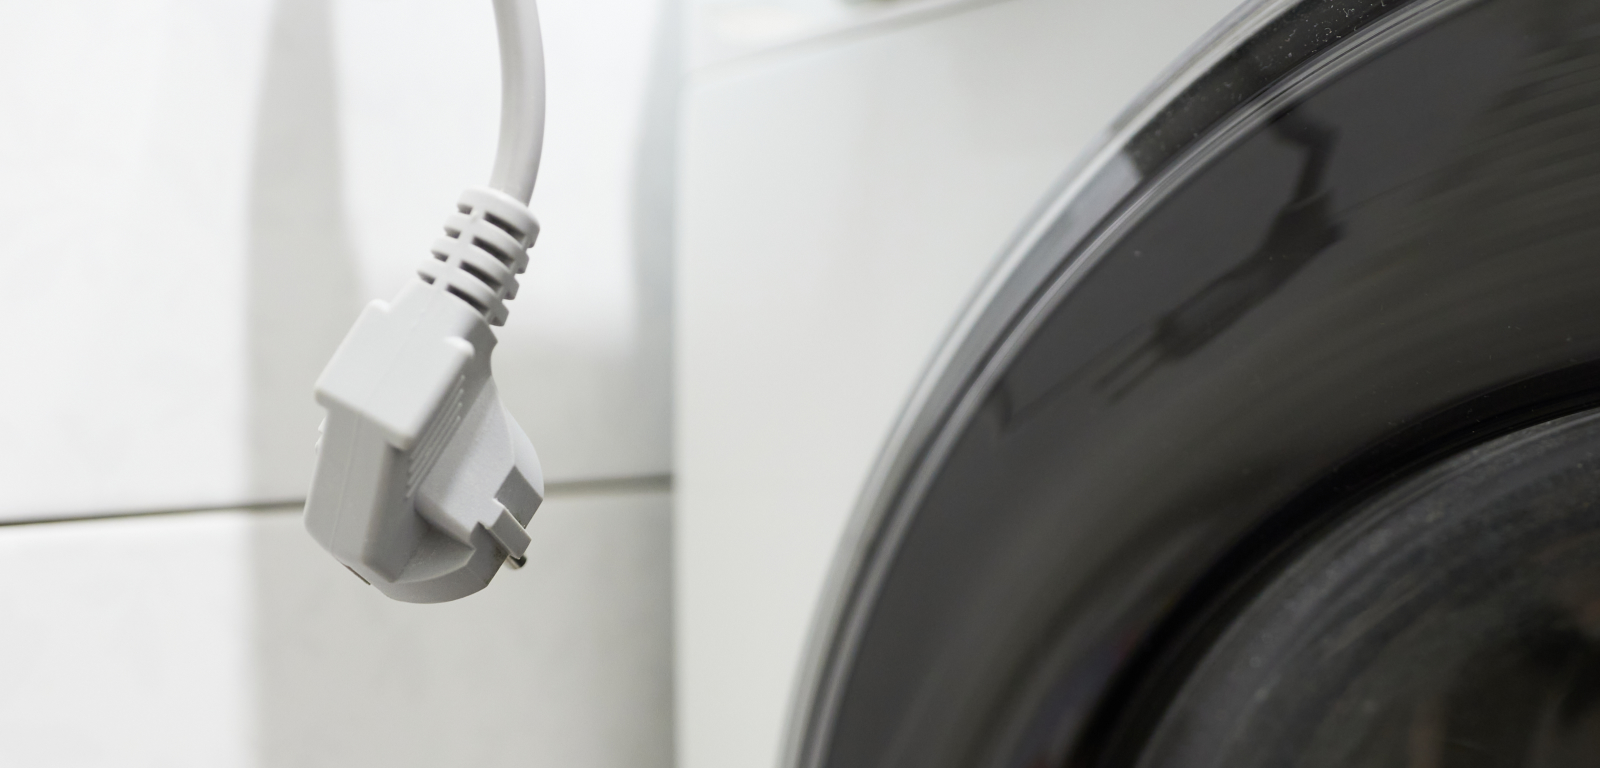
Once you’ve confirmed that the power to the dryer is turned off, firmly remove the dryer plug by pulling it toward you until it is completely out.
Dryer plugs are larger than the average plug and take more effort to remove. Don’t be scared to give it a good tug.
Step 3: Unhook the Dryer Vent Hose
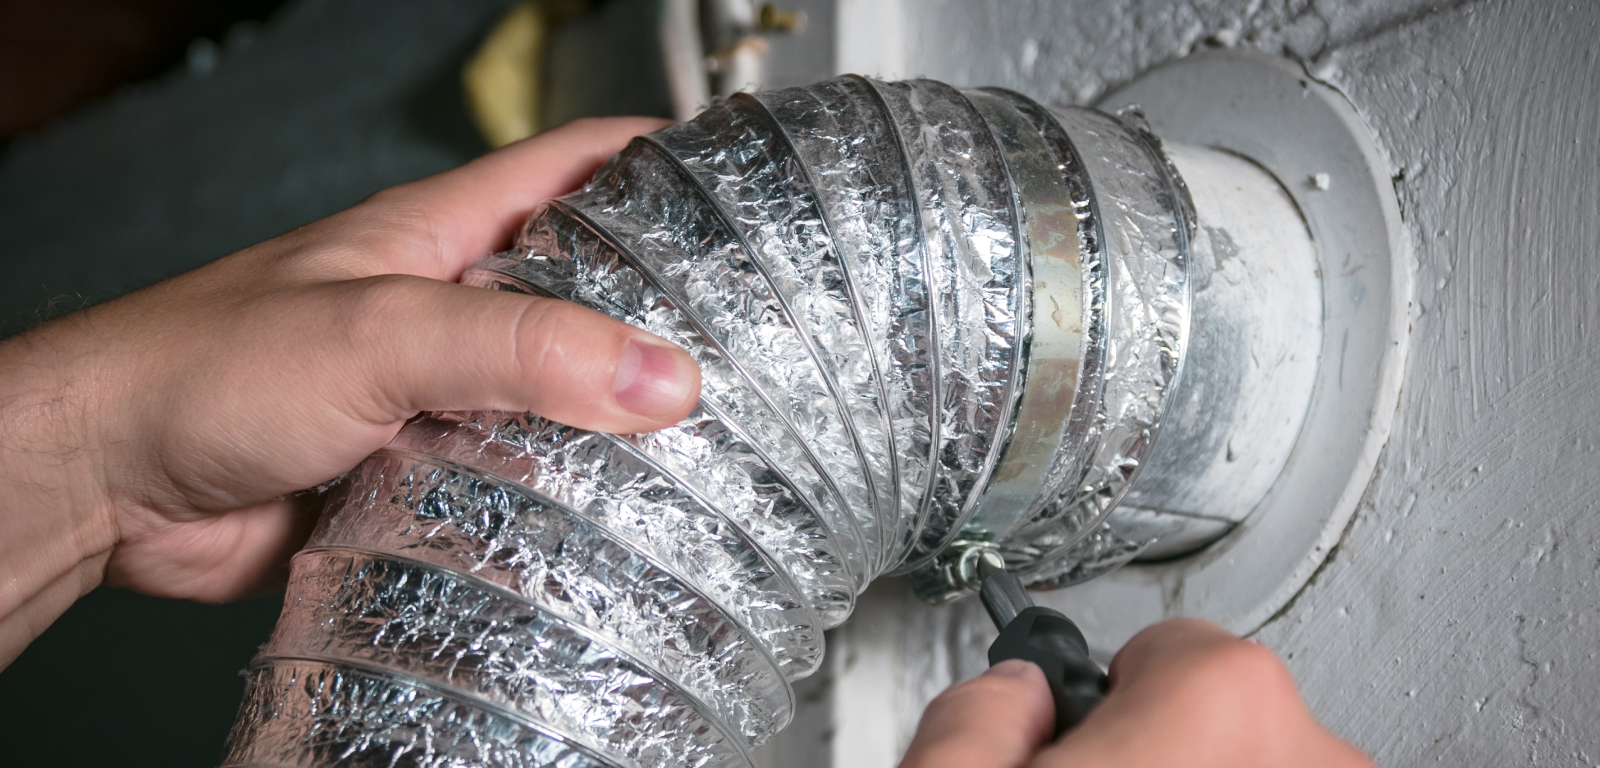
Loosen the screws that keep the dryer vent attached to the wall vent with a flathead screwdriver. You might only have to give it a few turns to loosen it, and once it is loose, you should have no trouble pulling the vent hose out of the vent.
Step 4: Monitor for Lint

When removing the dryer vent hose, be prepared for debris, like lint, to fall out. It’s a good idea to wear a mask, so you don’t inhale anything harmful.
After the hose has been removed, inspect the dryer vent for any blockages. This is important to do before installing a new dryer. If you find an excess of lint, use the hose attachment on your vacuum to suction it up.
Uninstalling or Disconnecting Your Gas Dryer
These steps will help you uninstall or disconnect a gas dryer. It’s important to note that most of these steps must be performed by your gas company for safety.
Step 1: Contact Your Gas Company

Uninstalling or disconnecting a gas dryer should be done by your gas company or a licensed professional.
While there are some steps you can do yourself, you should not undertake this entire process unless you are a trained professional.
Step 2: Shut Off the Gas
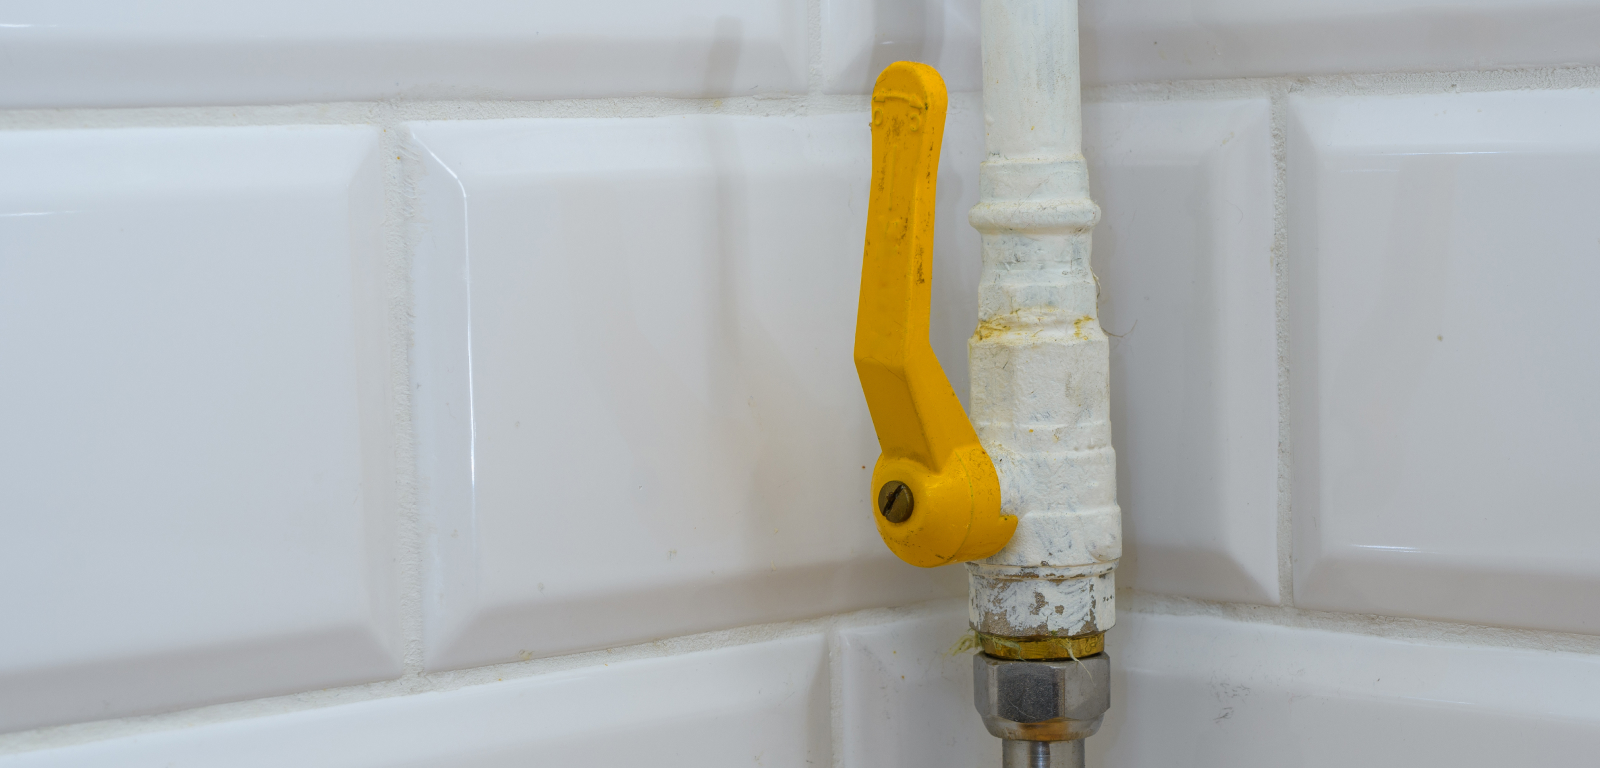
Find the gas line behind your dryer. There should be a knob on it. If the knob is parallel to the line, then the gas is on.
To turn off the gas to your dryer, turn the knob until it is perpendicular to the gas line.
Step 3: Disconnect the Power

Find the circuit breaker that powers your dryer in your breaker box and switch it off.
Test that your dryer isn’t receiving any power by turning the dryer on and confirming that it is not operational.
Next, unplug the dryer from the wall outlet.
Step 4: Unhook the dryer vent hose
Loosen the screw that holds the dryer vent to the wall vent with a flathead screwdriver. Once the screw is loose enough, you can pull the vent hose out of the wall.
Next, repeat this step to disconnect the vent hose from the dryer.
Step 5: Call Your Gas Company
You can call your gas company to perform the above-mentioned steps. But, either way, you need to make an appointment with your gas company to safely perform the remainder of this process.
Uninstalling or Disconnecting a Washer and Dryer FAQ
Do I need to turn off the water at the mains when disconnecting a washing machine?
No, in most cases, you do not need to turn off the main water supply when disconnecting a washing machine. This is because most washing machines have a dedicated valve where the hose connects to the machine.
Is it normal to have some water coming out after I disconnect my washing machine?
This might just be some residual water that was in the line. Alternatively, the valve might be broken. You can inspect the valve yourself or call a professional to have a look.
Can you uninstall a washing machine or dryer by yourself?
Most people are capable of uninstalling a washer or dryer by themselves. Review your user manual that came with your appliance for specific directions.
Get Help From the Pros
Book a service appointment today if you need help uninstalling or disconnecting your washer or dryer.