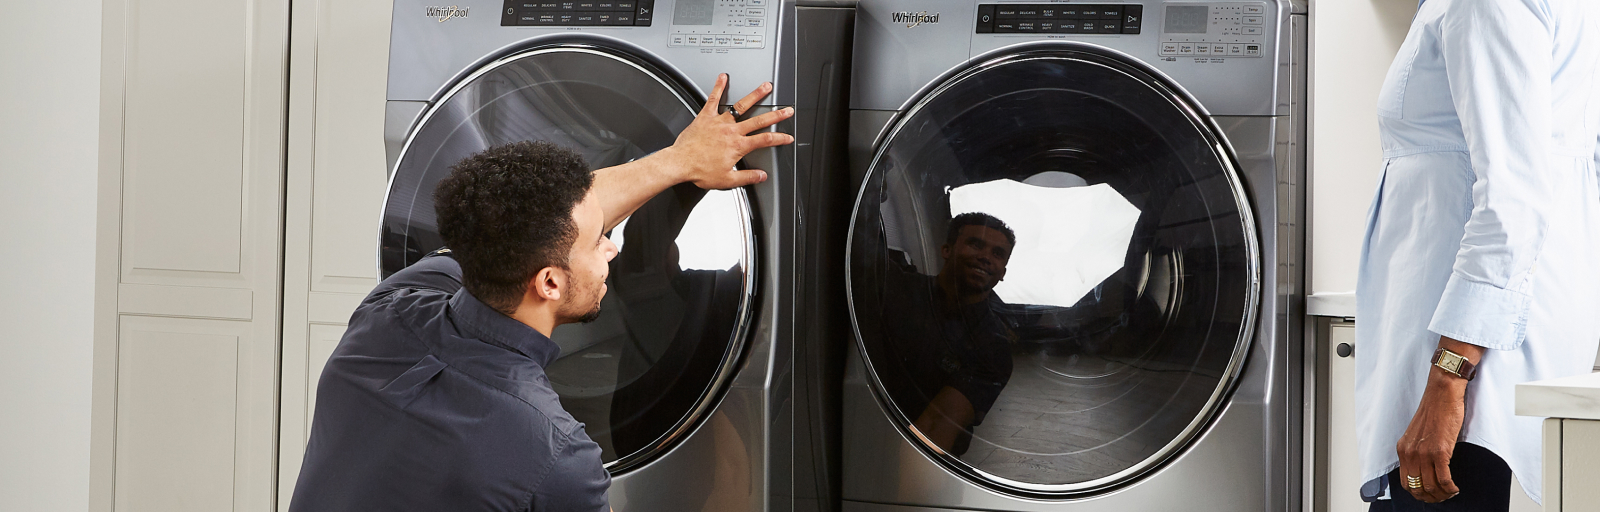
For most, installing a washer to replace an old one is a relatively easy task. The plumbing should be set up, meaning you only have to move the appliance into place, complete the necessary connections, level it, and simply plug it in.
Use this guide to get the steps to install a washer. We’ll show you how to replace an old washer and even how to install it in a new location without existing plumbing.
Step 1: Remove Your Current Washer
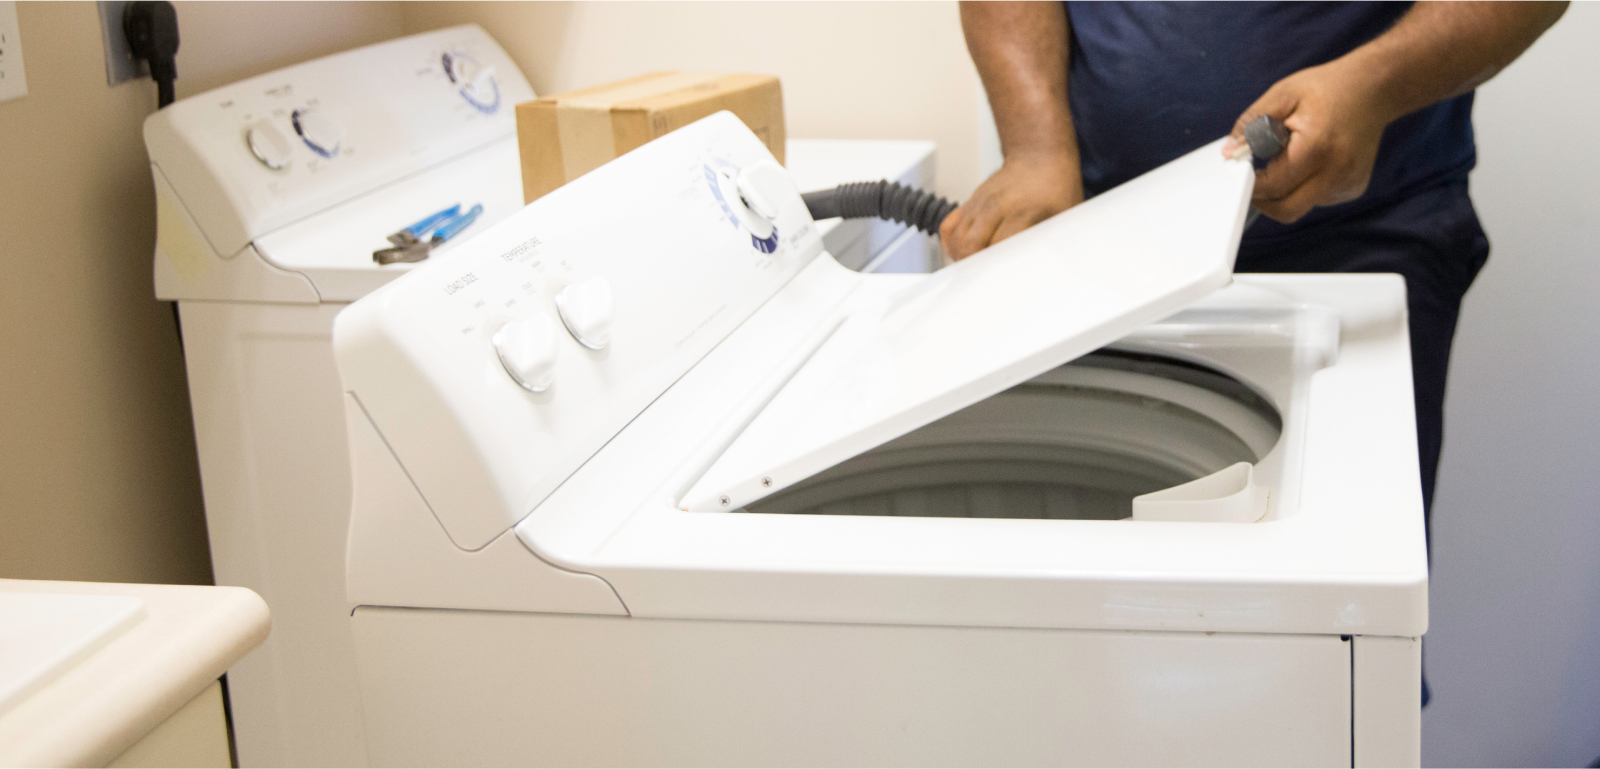
The first step to installing a new washer is to remove the old one if there is one.
Follow the steps below to remove your current washer. Remember, it’s a good idea to enlist the help of another person to help you move the washer, as it may be heavy and bulky.
- Confirm that the drum is empty. If not, remove any items in there.
- Ensure the washer is off.
- Unplug the appliance.
- Pull the washer out from the wall to gain access to the water supply valves.
- Turn off the cold water valve and the hot water valve.
- Place a can, or bucket, or lay down a towel to catch any water that may still be in the supply hoses.
- Disconnect the supply lines with a wrench or pliers and then remove the hoses.
- Pull the wastewater hose out of its spot on the floor or wall.
Now, it is safe to relocate your washer anywhere you’d like and prepare to install the new one.
Step 2: Prep Your New Washer
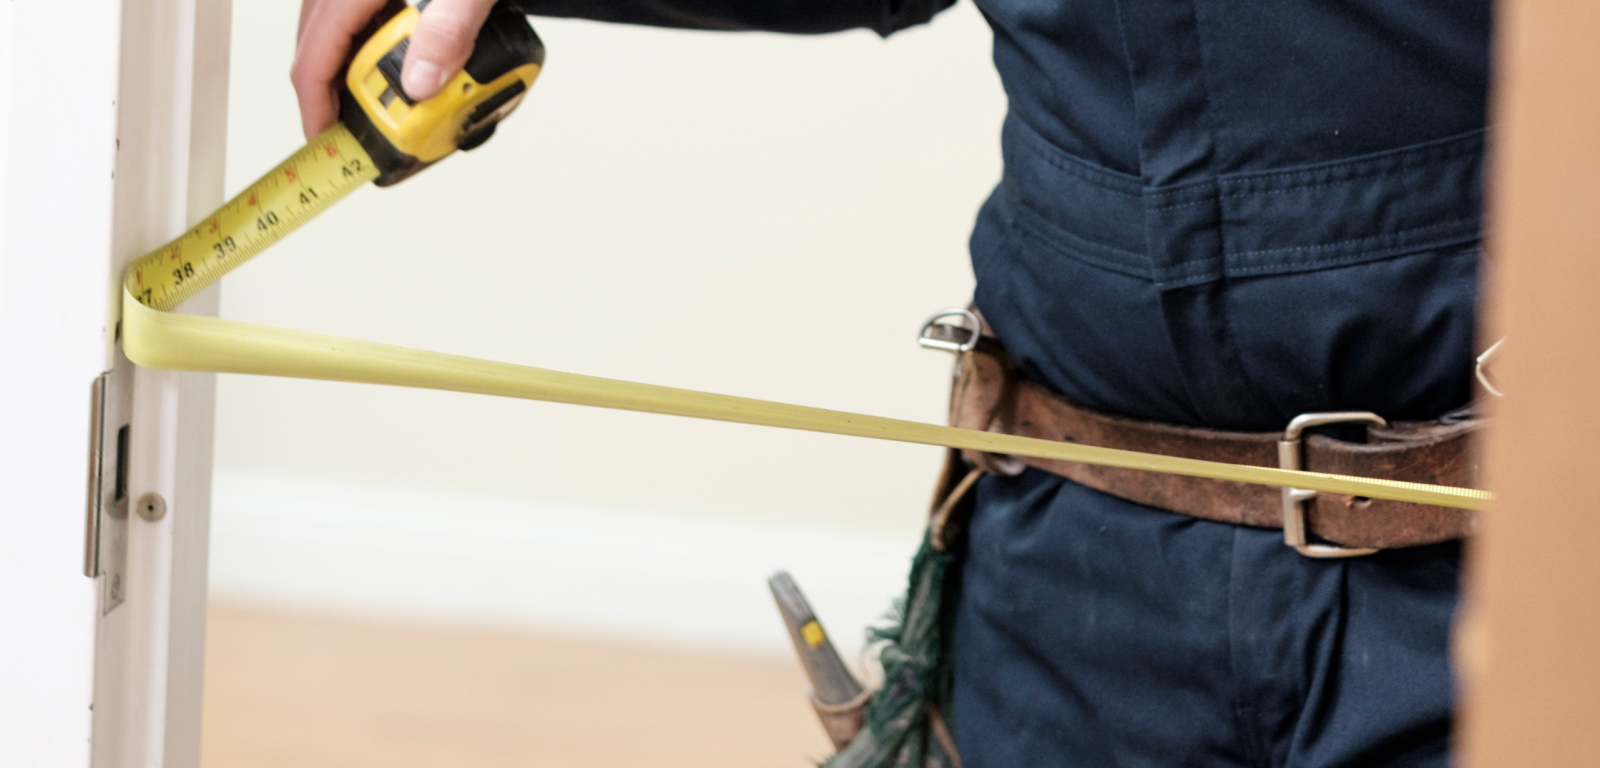
The first thing you must do to prep your new washer for installation is to measure it.
Use these steps to measure your washer and get it ready for installation:
- Measure the doorways and the path to your laundry area to confirm that your new washer can be transported to the installation space. Also, measure the washer doors to take everything into account and mitigate any surprises.
- Inspect the installation location to confirm that the floor is hard, clean, and level. Next, confirm that you will have access to hot and cold water connections, sufficient drainage and a power outlet. You can most likely skip this step if you are replacing an old washer.
- If your unit has carriage bolts at the back corners, used for securing the drum while in transit, unscrew and remove all of them.
- Get rid of all the packaging.
Step 3: Connect the Water Supply Hoses
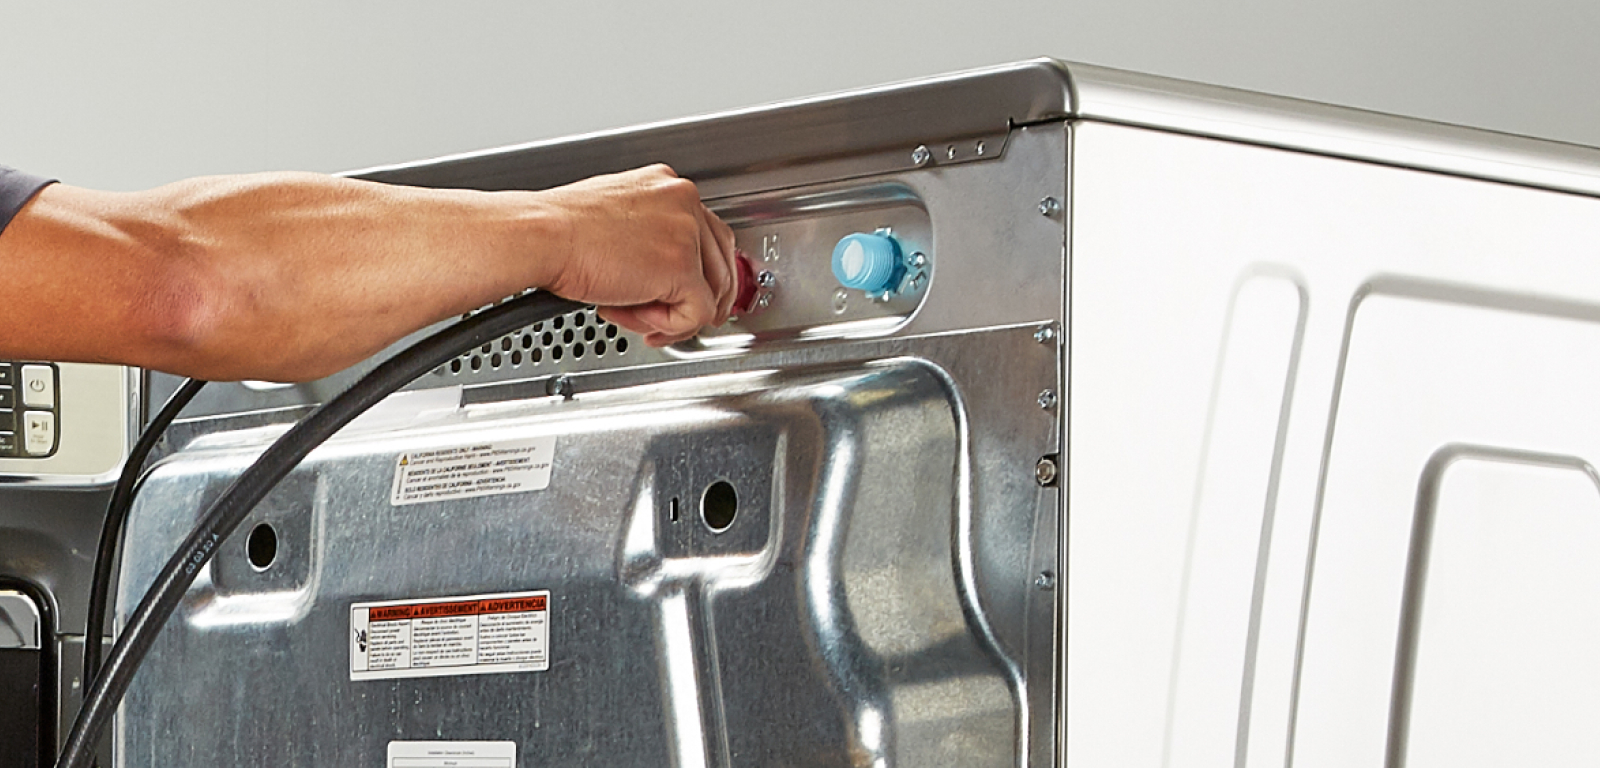
Follow these steps to connect the water supply hoses, which should come with your new washer:
- At the back of the appliance, attach the water supply hoses to the connections using screws. Typically, one hose is for hot water and the other for cold water. Make sure you attach each hose to the appropriate connection. You can usually screw them in by hand, but in some cases, you may need mole grips. Be careful not to overtighten the screws.
- Screw the other end of the hoses into the corresponding hot- and cold-water supply valves.
Since most connectors have rubber washers to form a tight seal, you shouldn’t have to use plumber’s tape to wrap the threading of the valve spigots or any of the connections.
Step 4: Set Up the Drain Hose
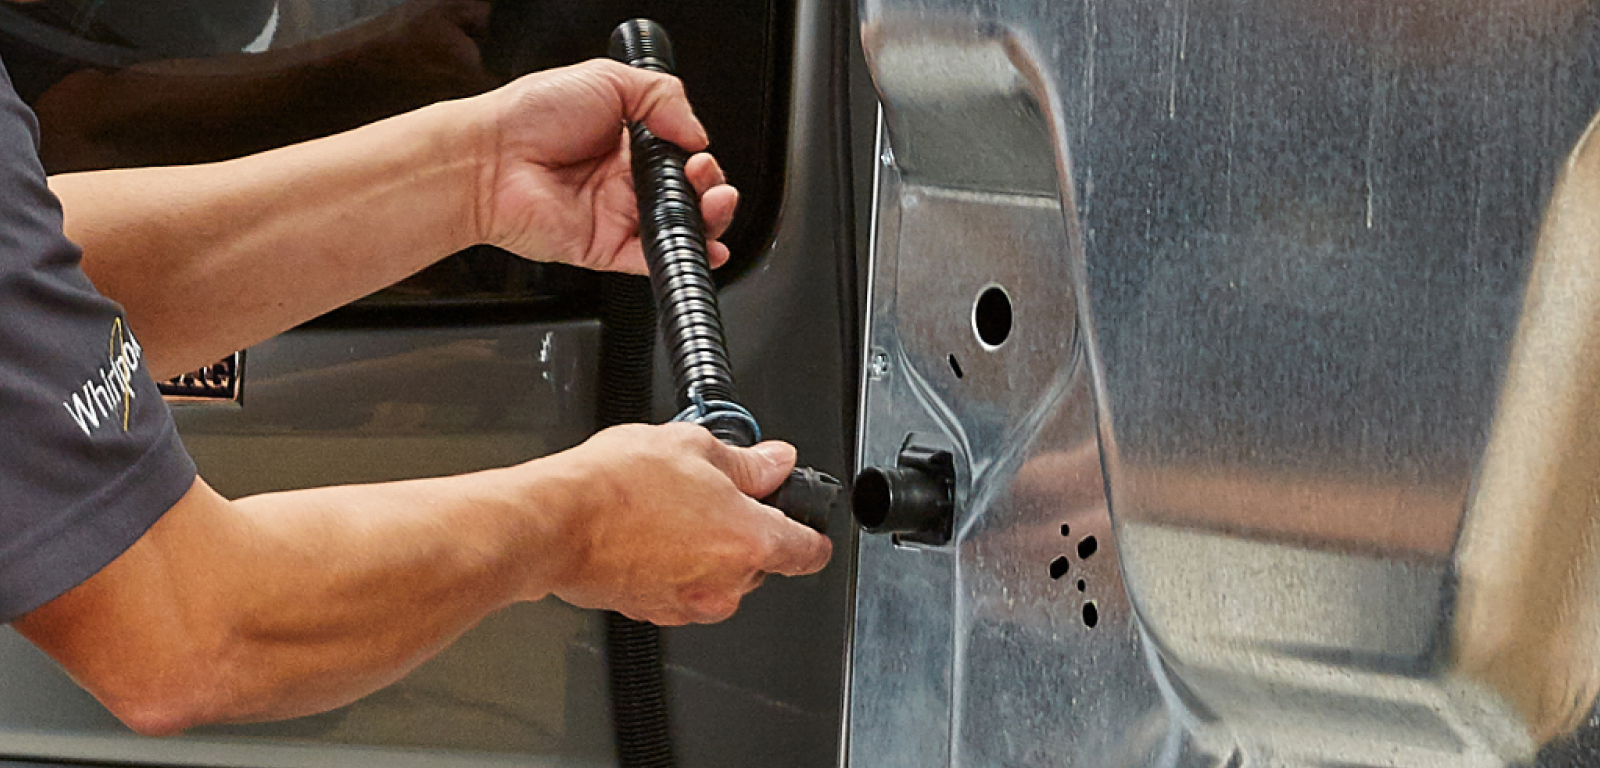
If you’re feeding the drain hose into a sink’s water supply, attach a plastic hose guide, as this will help the hose bend downward into the sink without experiencing any kinks.
If the correct plumbing is already set up, a standpipe should be near the water supply valves. It may only appear as a hole in the wall, or it may be on the wall as a tall pipe that connects to a drain. You must insert the end of the drain hose into the standpipe.
Use an extension hose if the drain hose can’t reach the standpipe or sink.
Lastly, turn the water supply valves on to test for leaks. If water drips from a connection, you need to tighten or adjust it as needed. Keep in mind that tightening a connection too much can also cause leaking, as it may harm the washer, which is creating the seal.
Step 5: Level the Washing Machine
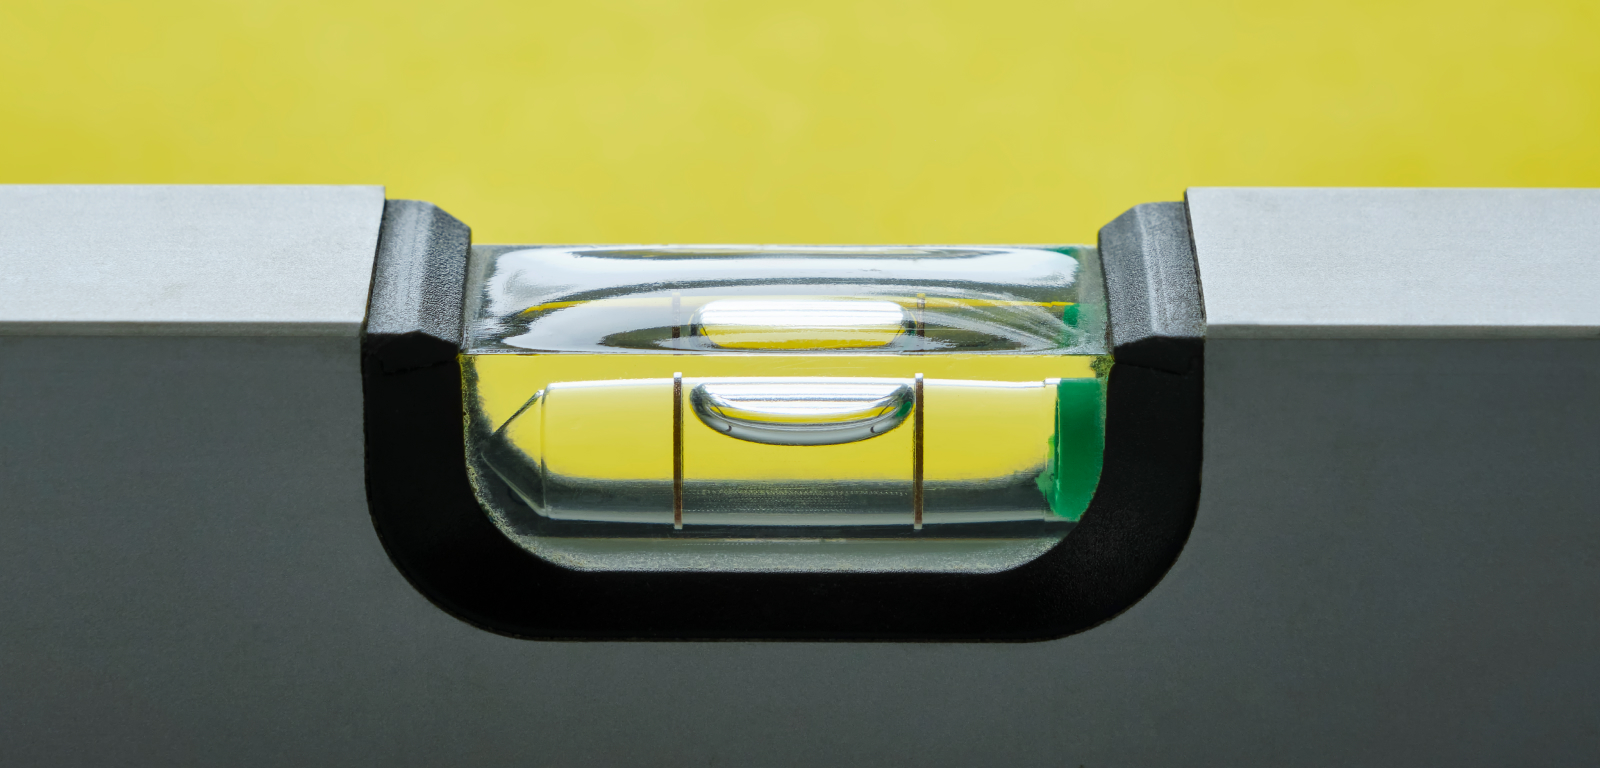
To complete the installation of a washer, you need to ensure that the appliance is level.
Follow these steps to level your washer:
- Place a level on top of the appliance and then on all sides to gauge if it needs levelling.
- If it’s unlevel, adjust the legs until it is level.
Step 6: Plug in the Washer
You’re now ready to plug in the washer and clean your first load of clothes.
Steps to Install Plumbing for a Washer
Follow these steps to install plumbing if your installation location doesn’t have existing plumbing or isn’t near a sink:
- Shut off your home’s main water supply.
- To tap into a water supply line in your home, cut a pipe and install tee fittings.
- Install lengths of pipe to reach the washer where it will eventually be installed.
- Put a supply stub out at the end of each supply pipe.
- Use masonry screws to secure the stub out to the wall.
- Use screws to attach the hose bibs to the supply stub-outs.
- Tap into a drainpipe by cutting the pipe and installing a wye fitting or tee fitting.
- Add piping from the new fitting to help it reach where the washer will be placed.
- Install a 2-inch tee fitting into the vent pipe or drain pipe within five feet of the appliance.
- Use a P-trap to connect a standpipe to the drainpipe.
- Extend a vent pipe from the tee fitting into the attic to connect to your home’s primary vent stack.
This is a basic overview of the plumbing installation process. It may vary based on a home’s setup and existing plumbing. Remember, one mistake can cause damage to your home, so proceed carefully or hire a professional.
Steps to Connect a Washing Machine to a Sink
Follow these steps to hook your washer to your sink:
- Use a sink aerator and hose connection adapter to connect the water supply hose to the sink faucet. The adapter attaches to the faucet, and the hose attaches to the adapter.
- Take the other end of the water supply hose and connect it to the cold-water connection on the washer. The faucet will let you control the water temperature, not the washer.
- Prevent leaks by connecting the hot-water connection with a hose cap.
- Place the drain hose into the sink so that wastewater exits into it and drains.
- Run a load to test that nothing is leaking and the washer is operating as it should.
How to Install a Washer FAQ
Can you install a washer by yourself?
Yes, installing a washer is not overly complicated for most. If you are unsure or uncomfortable with the installation process, then it’s best to hire a professional.
When you buy a washer, does it come with hoses?
Most washers come with the necessary water supply hoses and all the other parts. You can usually find the hoses in the drum after you remove the packaging.
Should you disconnect a washer without turning off the water?
You should turn off the water supply to the washer before removing it. For most models, you can shut off the water at the source and then detach the hoses from the appliance.
Get Help From the Pros
Book a service appointment today if you need help installing a washer or any other major appliance.