If your refrigerator doesn’t have a water line, or it’s not functioning, then you’re missing out on enjoying cold water and ice whenever you want it.
Installing a refrigerator water line is a relatively simple process for most, but it’s still important to understand the purpose and details of each step to complete the installation successfully.
Use this guide to get step-by-step instructions on how to install a refrigerator water line and then enjoy a cold glass of fresh water whenever thirst strikes.
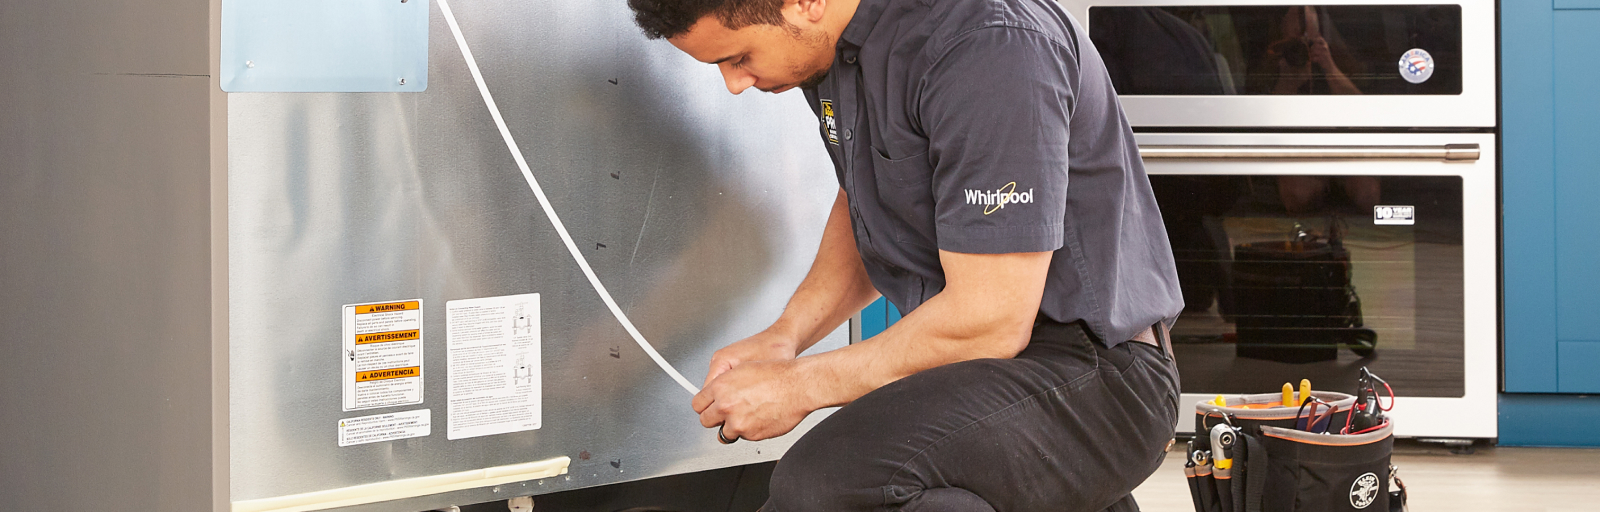
If you’d prefer to have a professional perform the installation, book a service appointment today.
Tools and Materials
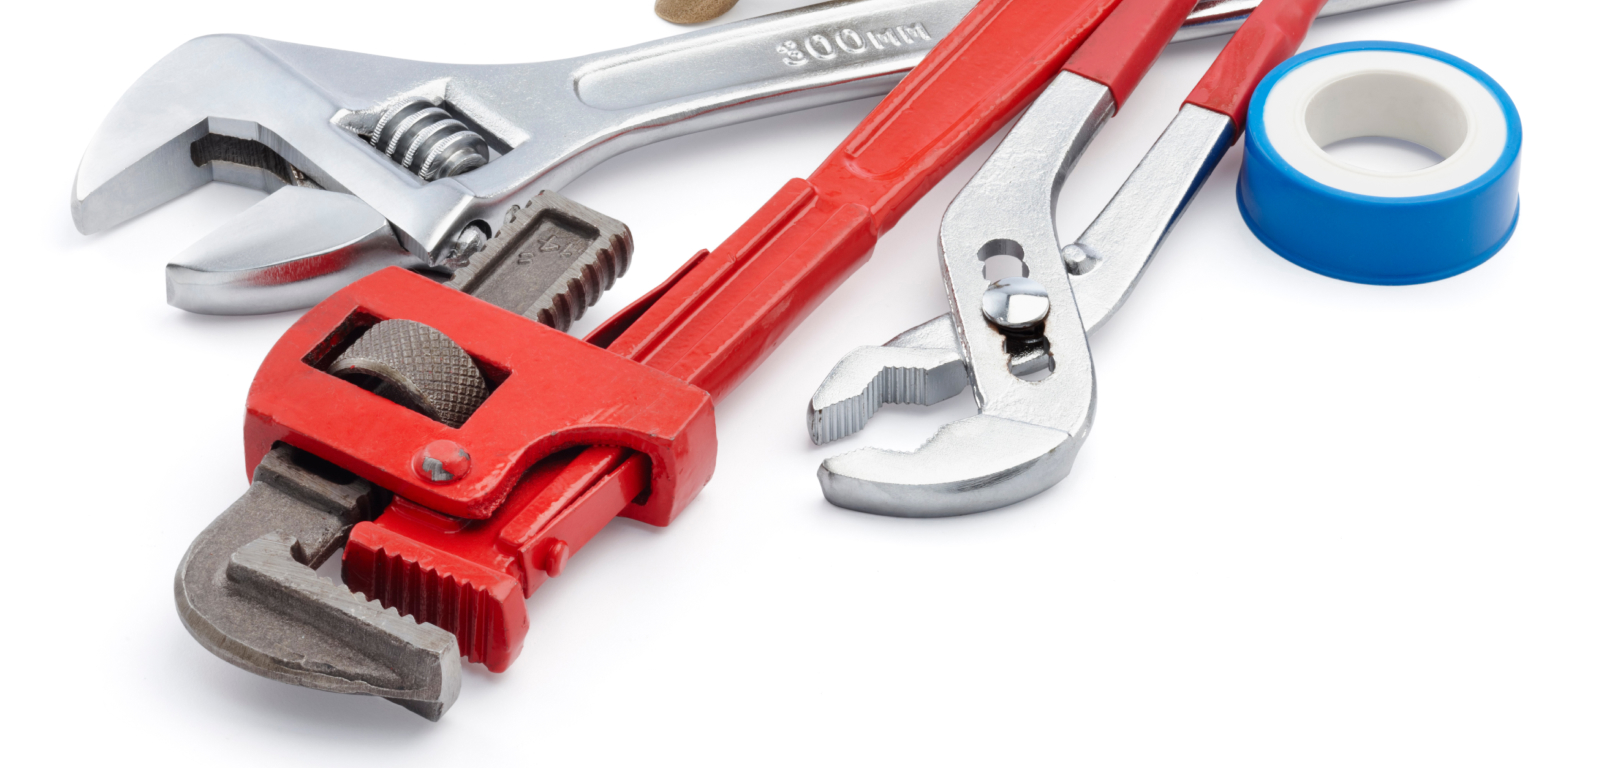
To install a refrigerator water line, you need to have the right tools and materials, including:
- Sealing tape
- Tape measure
- Tube cutter
- Tee fitting stop valve
- Adjustable wrench
- Screwdriver
- 1/4-inch water supply tube
- Nylon cable clamps
- Water pitcher or bucket
- Hole saw
- Power drill
Once you have the necessary supplies, you can start the process of installing a refrigerator water line.
Step 1: Select the Correct Water Line
There are a few common types of water lines for refrigerators:
- Braided stainless steel
- Plastic ¼-inch tubing
- Copper ¼-inch tubing
These flexible materials are relatively easy to install and are designed for tight spaces.
It’s recommended to choose the material for your water line based on budget, durability, and how challenging it will be to install.
Remember, plastic water lines are less expensive, whereas copper tubing is more durable. Braided stainless steel is also quite durable, but it is often the costliest option.
Step 2: Locate Your Home’s Water Supply
A fridge needs to be installed in a location that can tap into your home’s water supply. First, confirm how your kitchen is supplied with water. Does the supply run through the wall or the floor? Or do you need to connect to a water pipe or the shut-off valve?
If the cold water supply comes through the floor or the wall, connect the fridge to the supply valve with ¼-inch water supply tubing.
Another option is to tap into your sink’s cold water supply via the pipe or shut-off valve. These options typically make the most sense if there isn’t another cold water supply already established.
Some water supplies run through, above, or behind cabinets, drawers, or shelves. This is why a plan is necessary before installing a refrigerator water line.
To mitigate issues, follow these steps:
- Map the shortest path between the back of the fridge and the water line.
- Confirm that no plumbing or wiring will get in the way and be obstructed or affected.
- Source ample amounts of tubing to cover the path, plus an additional 6 to 8 feet to provide enough slack to move the refrigerator without disconnecting the line.
It’s always recommended to refer to your appliance’s user guide or manual for instructions on installing a refrigerator with a water line or disconnecting one if you are replacing it.
Step 3: Disconnect the Water
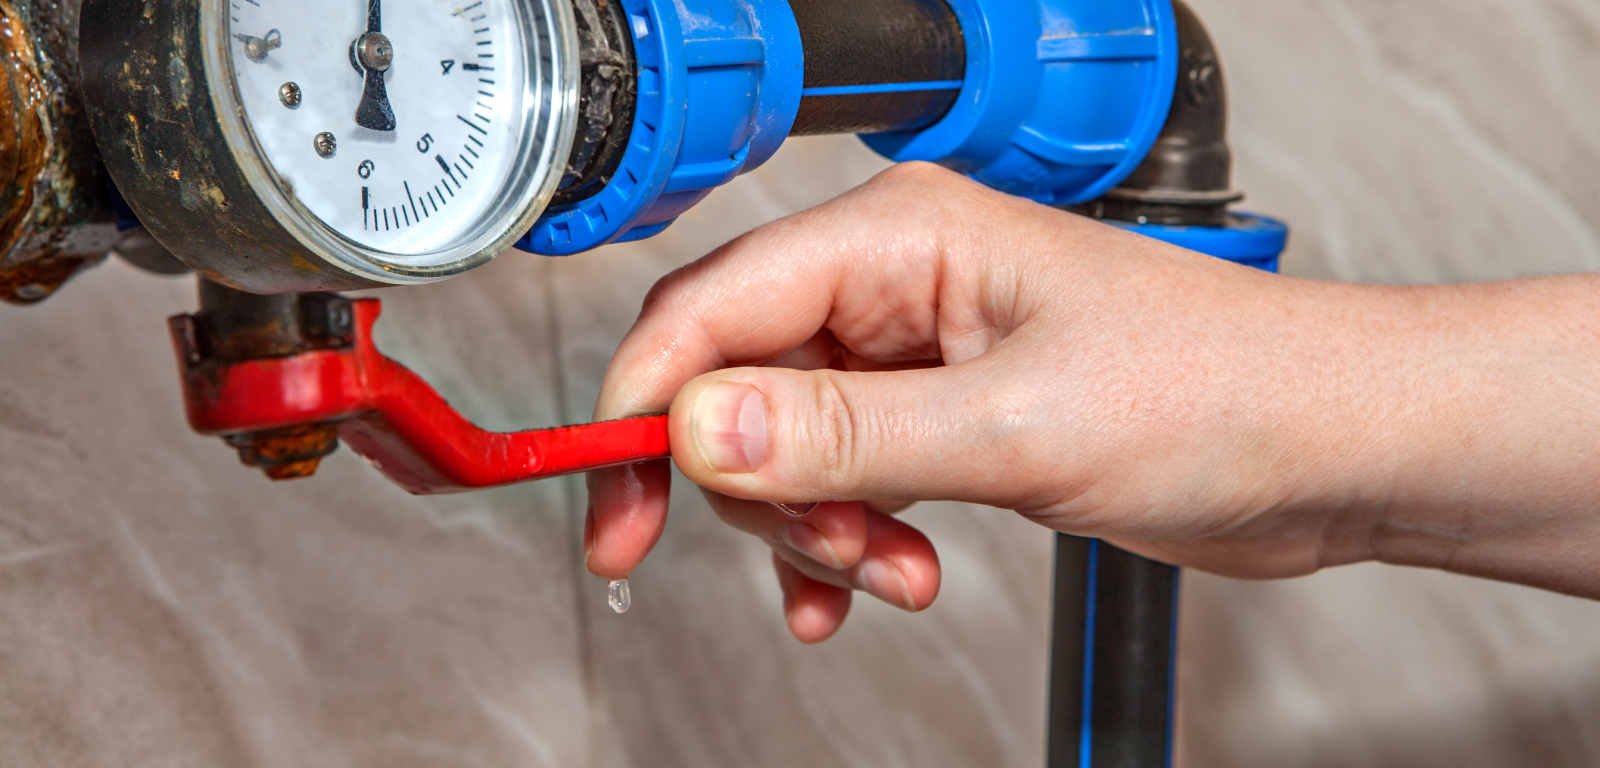
Prior to installation, you must shut off the water supply.
If you choose to connect your refrigerator to your sink’s water line, use the hot and cold shut-off valves located underneath the sink.
If you choose to connect directly to a water pipe, shut off the main water supply for your home.
Before moving on to the next step, let’s review how to tap into the different water supplies.
How to Tap into a Sink’s Water Supply
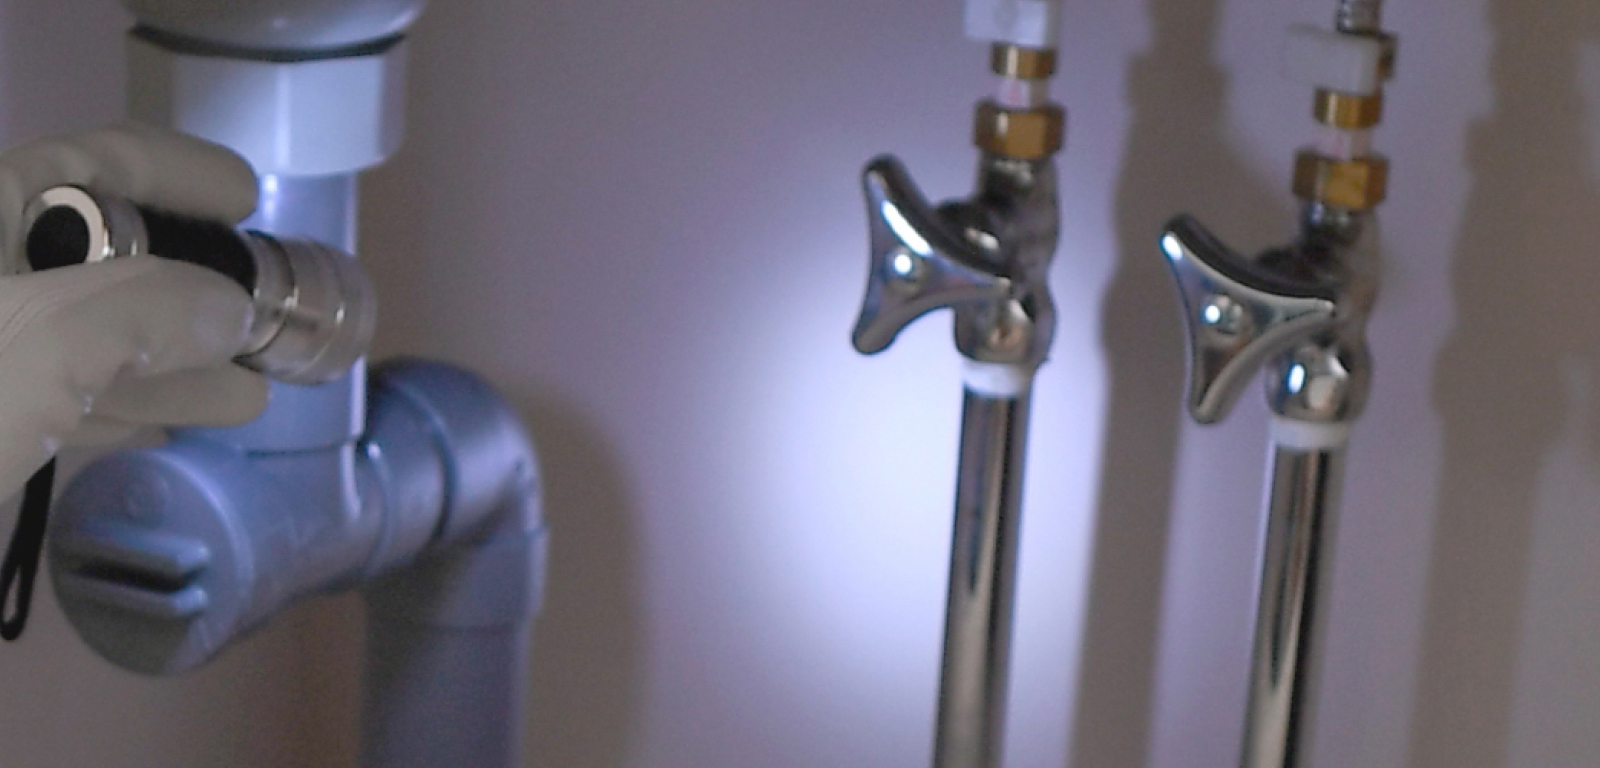
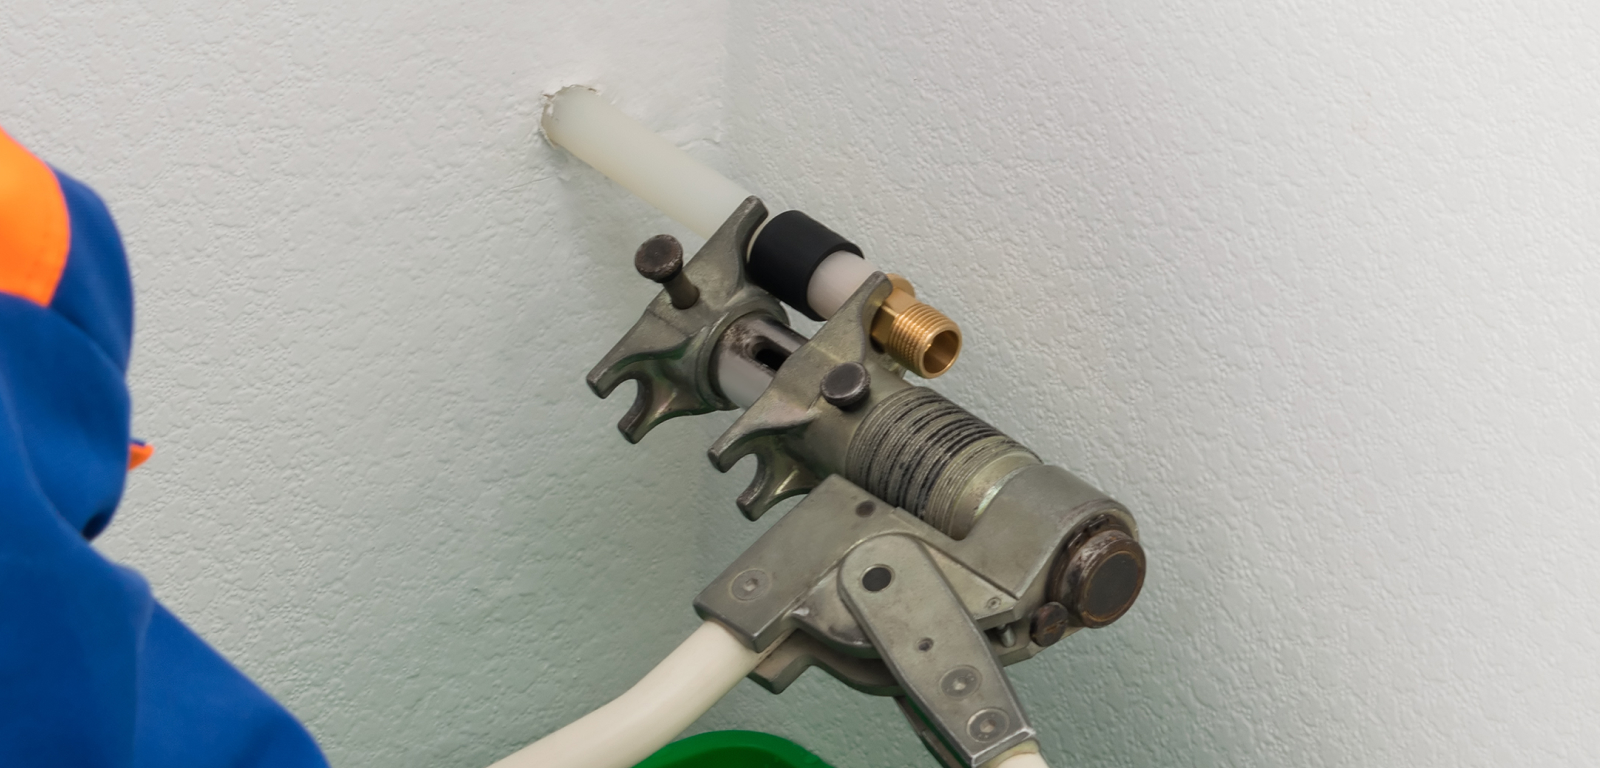
For sinks with a shut-off valve, you can use a tee fitting to tap into the water supply. A tee fitting should fit the valve threads without any issues. The third outlet should have a ¼-inch outside diameter for the fridge water line.
Follow these steps to disconnect the sink water supply if there’s a shut-off valve.
- Place a pan under the water supply connection to catch any standing water. Alternatively, keep a sponge handy to soak up any water that may fall.
- Disconnect the sink water supply from the cold water shut-off valve by unscrewing the tube’s connection nut with pliers or a wrench.
- Attach the tee fitting to the shut-off valve.
- Tighten the fitting by hand as much as possible, and then use pliers to tighten it until it is secure.
- Connect the sink water supply to the tee fitting.
- Connect the fridge water line to the third outlet of the tee fitting.
For sinks not equipped with shut-off valves, you can tap into the sink’s piping to install a valve specifically for the fridge’s water line.
First, confirm that the valve’s inlets match the pipes’ diameters. The outlet should have a ¼-inch outside diameter to fit the fridge’s water line.
Follow these steps to tap into your sink’s piping to install a valve:
- If using a self-tap saddle valve, attach it to the pipe. Make sure you do not pierce the pipe until the water line is connected to the fridge.
- If using a stop tee valve, you will have to remove a section of the water supply pipe. First, mark the section you intend to cut.
- Cut the marked section with pipe cutters.
- Deburr the interior and exterior of the ends of the cut pipe. For this job, you can use a deburring tool or a metal file.
- Attach the valve to both ends of the pipe, ensuring that it is securely in place.
How to Tap Directly into a Water Line
Follow these steps to tap into your home’s water supply to install a refrigerator water line through a wall or floor.
- Locate where in the wall or floor is the closest water supply line to your fridge.
- Cut a square hole in the wall or floor, ensuring it is big enough to access the cold water supply line.
- Install an access panel over this hole, so you can reach it for maintenance later on, if needed.
- Install the stop tee valve.
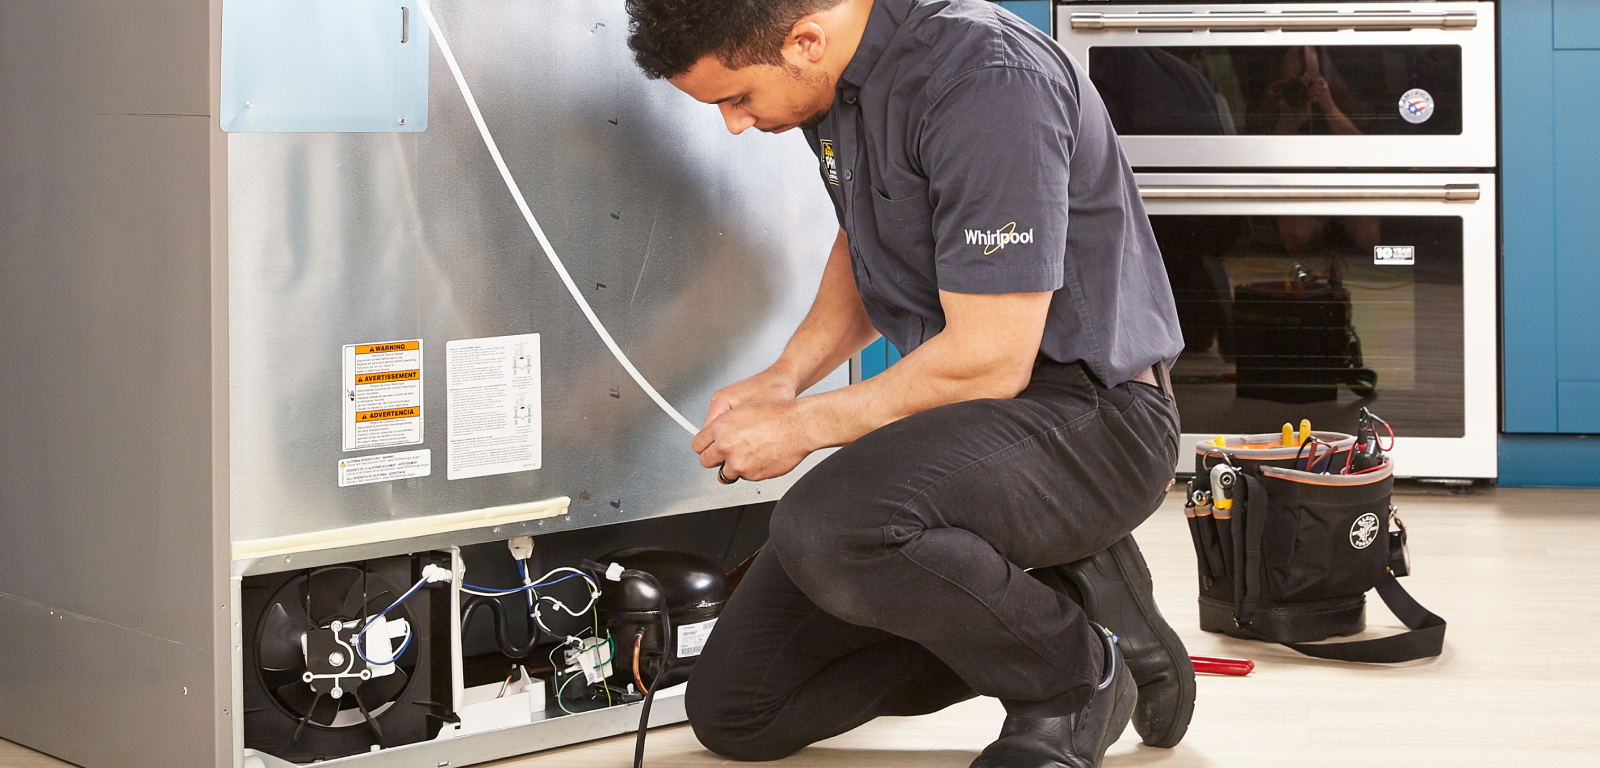
Step 4: Run the Refrigerator Water Line
These steps will help you run a refrigerator water line:
- Uncoil the water line tubing.
- Start at the water supply location and feed the tube along the path that you planned in the earlier step.
- As you do this, drill holes big enough for the line and connector to travel through the floors, cabinets, or any other obstacles that might be in the way.
- Every 2 to 3 feet, use a cable or nylon clamp to secure the line to the floor joist or cabinet.
- Do your best to ensure the line doesn’t kink along the way.
Step 5: Connect the Refrigerator to the Water Line
Follow these steps to connect a water line to the rear of your refrigerator:
- Use sealing tape to cover the threads on the water line connection at the rear of the fridge to prevent leaks.
- Attach the water line to the fridge’s connection using a wrench
- Ensure the nut is as tight as possible. Otherwise, you will be susceptible to leaks.
Step 6: Connect the Water Supply to the Refrigerator
These steps will help you connect the water supply to your fridge:
- Connect the water line to the 1/4-inch outlet on the water supply valve.
- Tighten the nut as much as possible.
- For those using a piercing valve, turn the knob to push the needle into the pipe to pierce it. After the water is back on, remove the needle by turning the knob in the opposite direction.
- Confirm that all connections have been made and tighten any that might be even a touch loose.
Step 7: Test the Water Line for any Issues
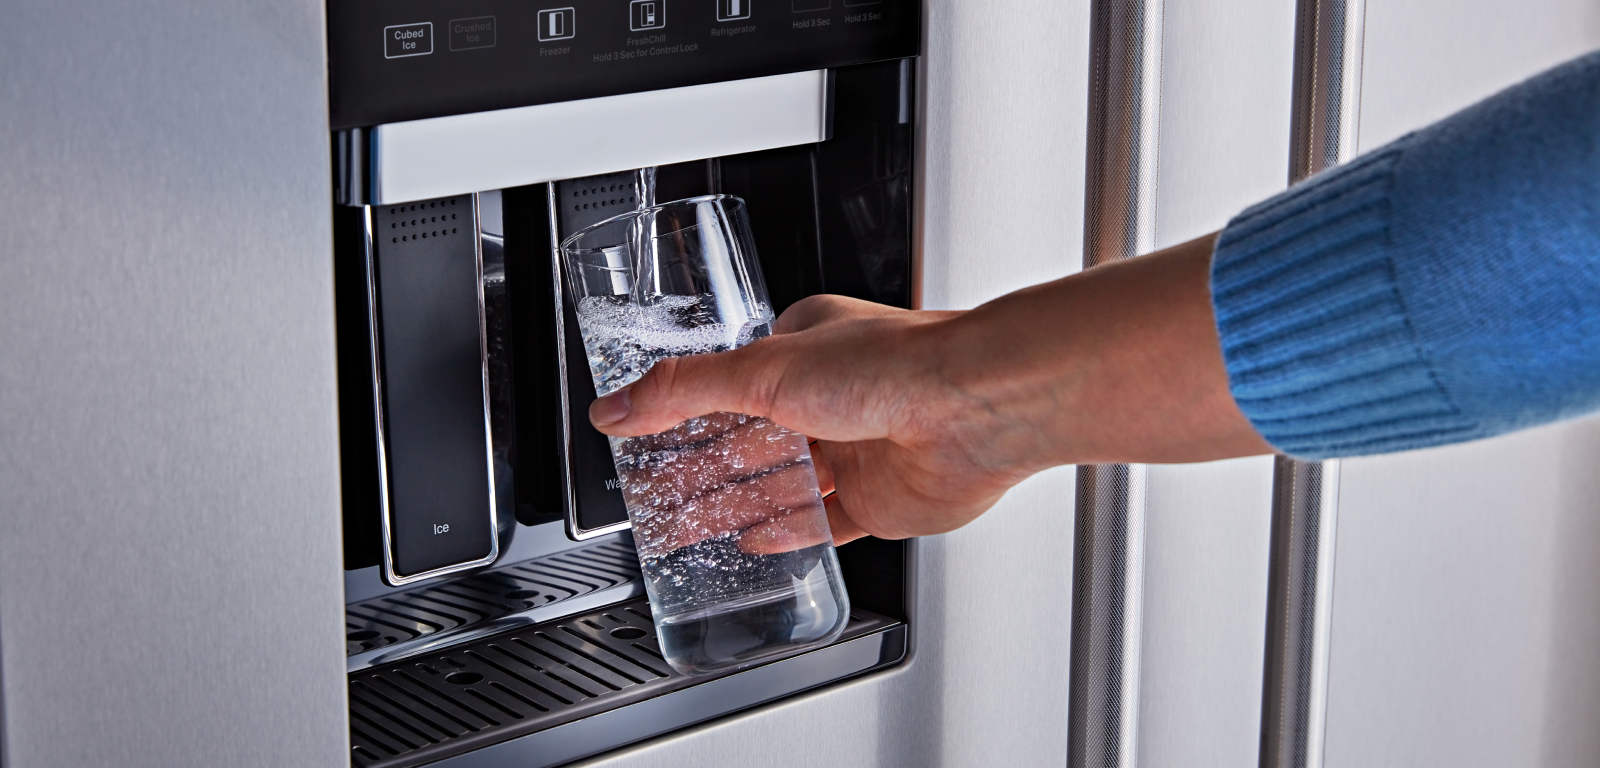
To test the water supply, you will need to do the following:
- Turn on the water supply.
- For models with a water dispenser, run one to two gallons of water through the line.
- If your model has an ice maker, make two to three batches of ice.
Your refrigerator water line should now be installed. Go ahead and enjoy fresh, cold water and ice whenever you’re thirsty or hosting a gathering.
How to Install a Refrigerator Water Line FAQ
How hard is it to install a refrigerator water line?
While it depends on your experience and expertise, this is a relatively simple installation job for most and should only take roughly an hour.
Can you install a refrigerator without a water line?
Refrigerators do not need a water line. Only units with an ice maker and/or water dispenser require a water line to feed water to the refrigerator.
Can you run a refrigerator water line through a wall?
Yes, but you’ll have to understand how to fish a line through a line to connect it to your fridge. This can be complicated and is best left to professionals.
Get Help From the Pros
Book a service appointment today if you need help installing or repairing a refrigerator with a water line.