Range hoods are a vital component of every kitchen. They suction the smoke, steam, and smells that occur during cooking and vent them outdoors, ensuring they don’t remain in your home.
Installing a range hood isn’t overly challenging, but it involves several steps, such as drilling a vent hole into a wall, which requires some knowledge and expertise.
Read this guide to learn how to install a range hood and help keep the air fresh in your kitchen and home.
Tools and Materials

Start by gathering the supplies needed to complete this task.
Safety Equipment:
- Eye protection
- Dust mask
- Ear protection
Tools:
- Cold chisel
- Reciprocating saw or saber saw with an extra-long blade, or keyhole saw
- Caulk gun
- Drill
- Hole saw
- Oscillating saw
- Hammer and screwdriver
Materials:
- Exterior duct
- Foil tape
- Caulk
- Cable connector
- Screws
- Mounting block
What to Consider Before Installing a Kitchen Range Hood
There are a few factors to consider before you install a range hood. Review this list to confirm that you’ve considered each important point.
- If using a ducted range hood, confirm that you can vent through the wall. If you can’t, then you will have to vent through the roof. Venting through a roof requires insulation and, in most cases, should be done by a professional.
- Are you using ductwork that isn’t too long? Shorter ductwork has fewer bends and will result in fewer obstructions.
- Have you consulted the local building codes for ductwork and range hood venting? If not, you should immediately do so, as codes may require you to vent to a certain location or regulate the use of duct sizes, to name a few.
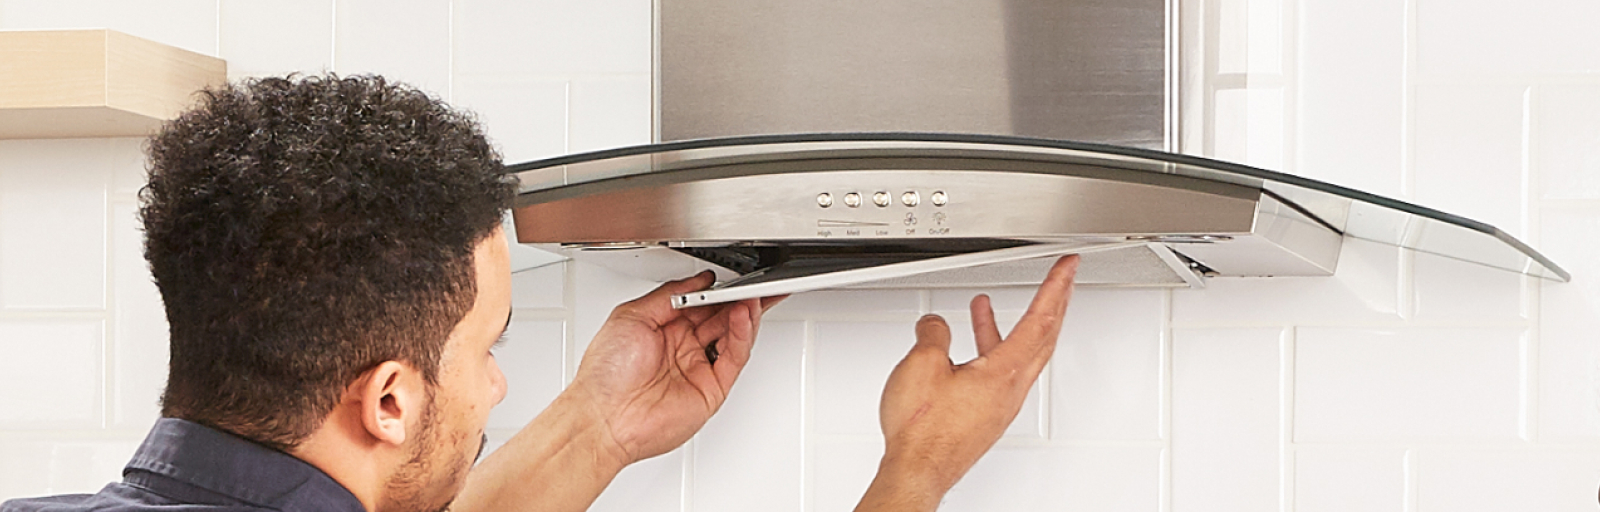
Step 1: Remove the Old Hood (If Necessary)
Follow these steps if you need to remove a range hood before installing a new one:
- Turn off the power to the range hood. This is typically done at the breaker box.
- Disconnect the hood, all electrical wires, and wiring connectors from their power source.
- With the help of another person, support the weight of the hood cover and remove the support screws.
- Lift and remove the range hood and set it aside somewhere out of the way.
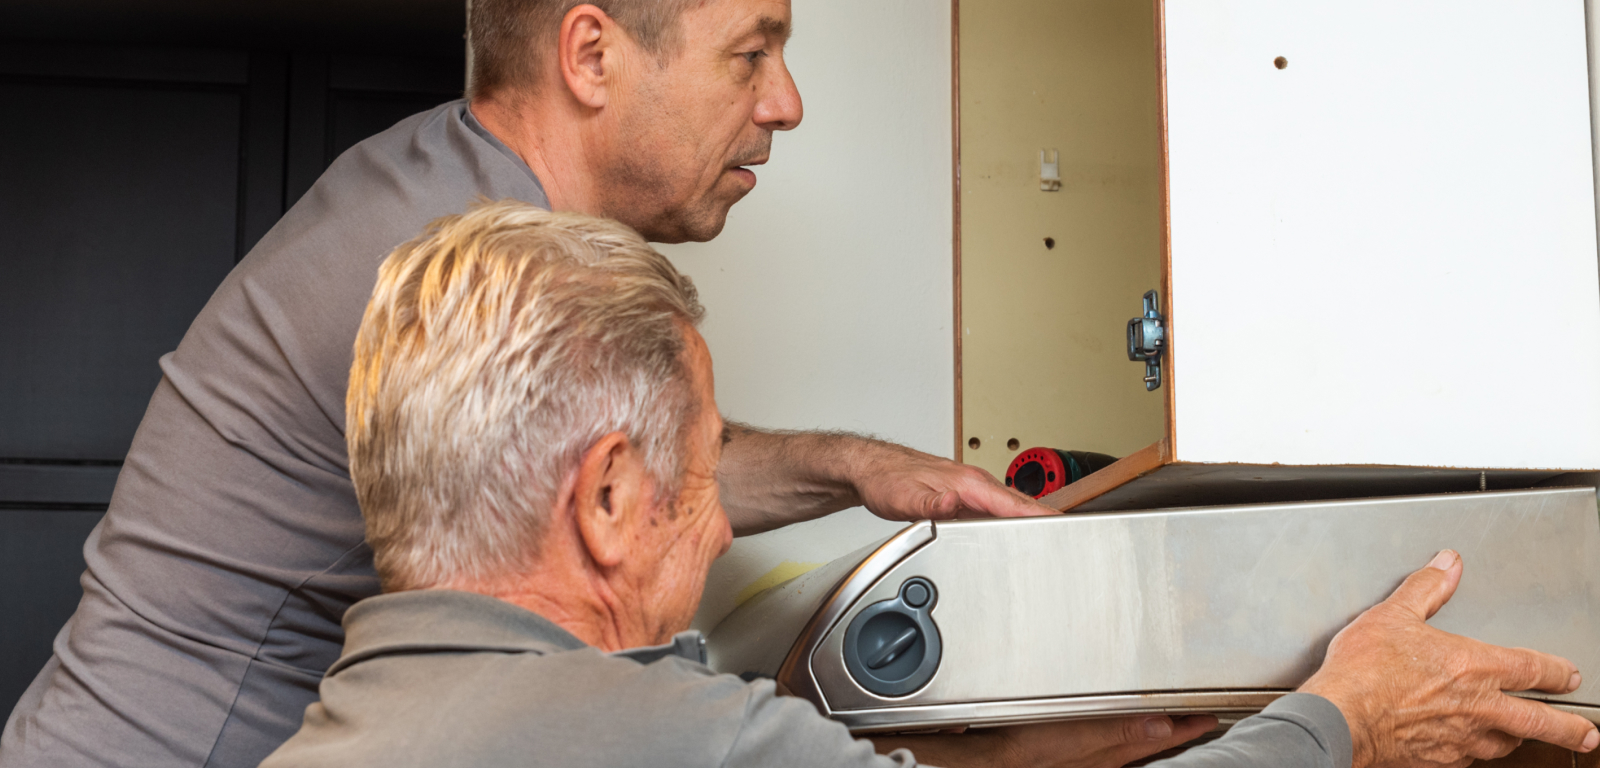
Step 2: Locate and Mark the Vent Holes
Most range hood installation projects require you to drill a hole in the wall, attach ductwork if it’s a ducted range, and add wiring.
Follow these steps to locate and mark the vent holes.
- Unpack the unit, removing the exhaust fan, electrical housing cover, and filter.
- With a screwdriver and hammer, take out the knockouts for the duct and electrical cable.
- Hold the hood against the wall where it will be installed.
- For ducted hoods, mark the hole locations for the duct and cables with a pencil.
- Don’t be shy about asking for help with this step, as it may require two people; one to hold the hood and the other to mark the locations.
The capacity of the range hood should determine the height at which it should be installed.
- Standard models are often installed at roughly 18 to 24 inches over the cooking surface.
- High-capacity hoods are typically installed 24 to 30 inches over the cooktop.
Step 3: Inspect for Obstructions
During installation, you want to avoid drilling or cutting into wires, studs, or pipes. It’s recommended to hire a licensed professional if any pipes or wires need to be moved.
For ducted hoods, remove any debris and insulation that could get in the way of the duct installation. Next, ensure there are no obstructions along the route where the duct will be placed and exit the house.
Step 4: Cut an Interior Hole and Drill Locator Holes
Remember, this step only applies to vents that do not need to extend through a roof. Ducting through a roof should be left to a licensed professional.
If you’re venting a ducted range hood, select the direction that reaches from indoors to outdoors. Your choice should be based on which direction offers the most direct route to the outdoors.
For this next step, you should wear a dust mask and eye protection. Use a reciprocating or hole saw to cut through the interior plaster or drywall. With a long bit, drill the locator holes at each corner of the vent hole, ensuring you go all the way through the exterior wall.
Step 5: Cut the Exterior Siding

Now, you must cut the exterior siding to allow the duct to vent outdoors. Follow these steps before cutting:
- Confirm where the locator holes are on the outside of your house.
- With a pencil, connect the dots between the locator holes to create an outline of the vent hole.
- Remove all debris and insulation that will get in the way of the duct.
Step 6: Prepare the Damper
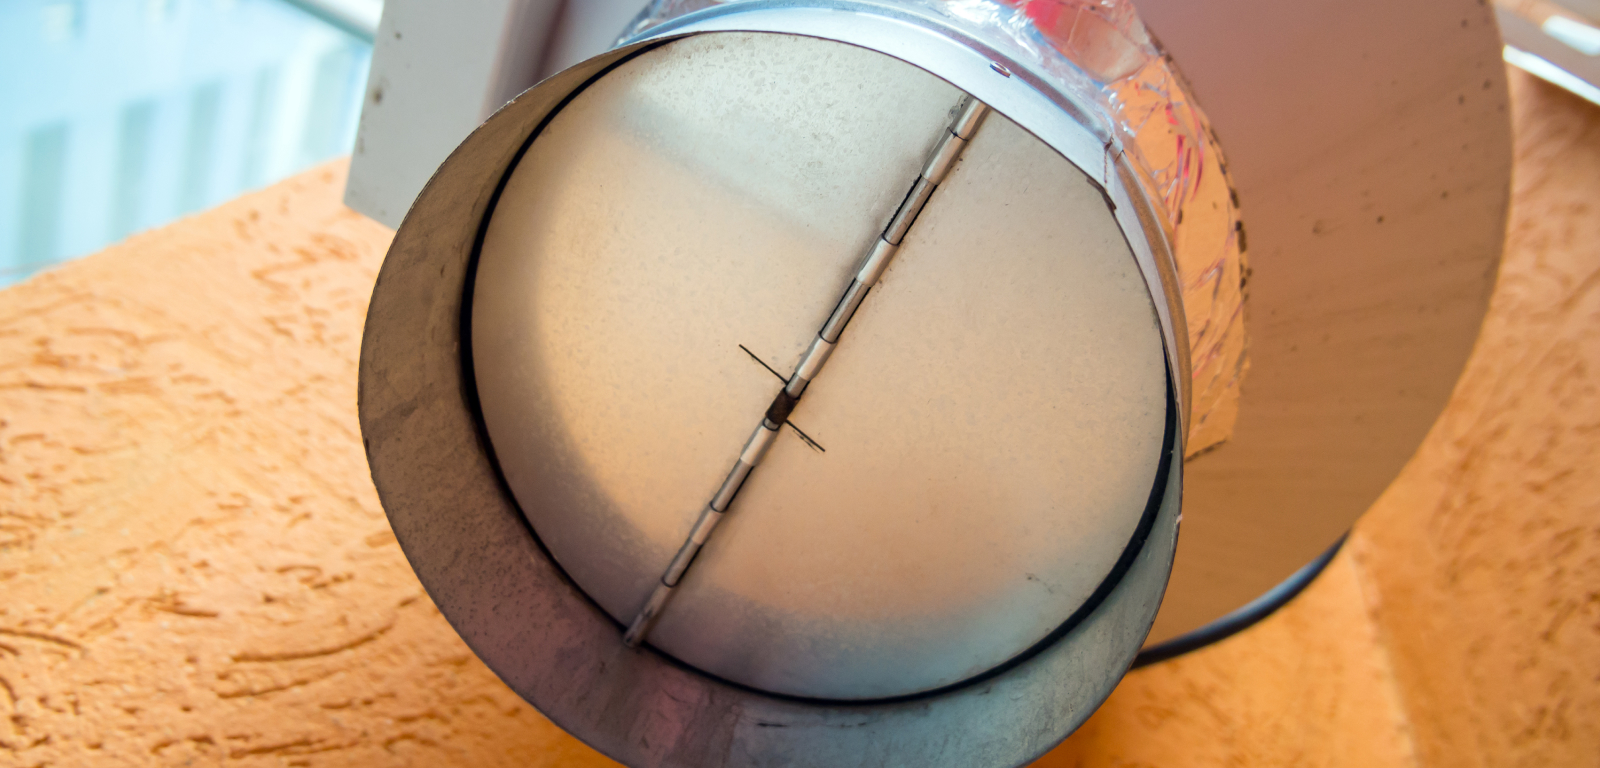
A damper is a plate or valve within a ventilation system designed to regulate airflow. Ultimately, it works to either allow or restrict air, smoke, odours, and steam to travel through a duct.
Wall caps are usually equipped with a damper. So, if you’re not using a wall cap, you will have to install a damper as part of your kitchen range hood ventilation system.
The steps to install a damper vary based on the location of the damper and the type you’re using, but it’s wise to familiarize yourself with the two general steps.
- Measure the ductwork’s opening to gauge the diameter.
- Buy a damper with that same diameter.
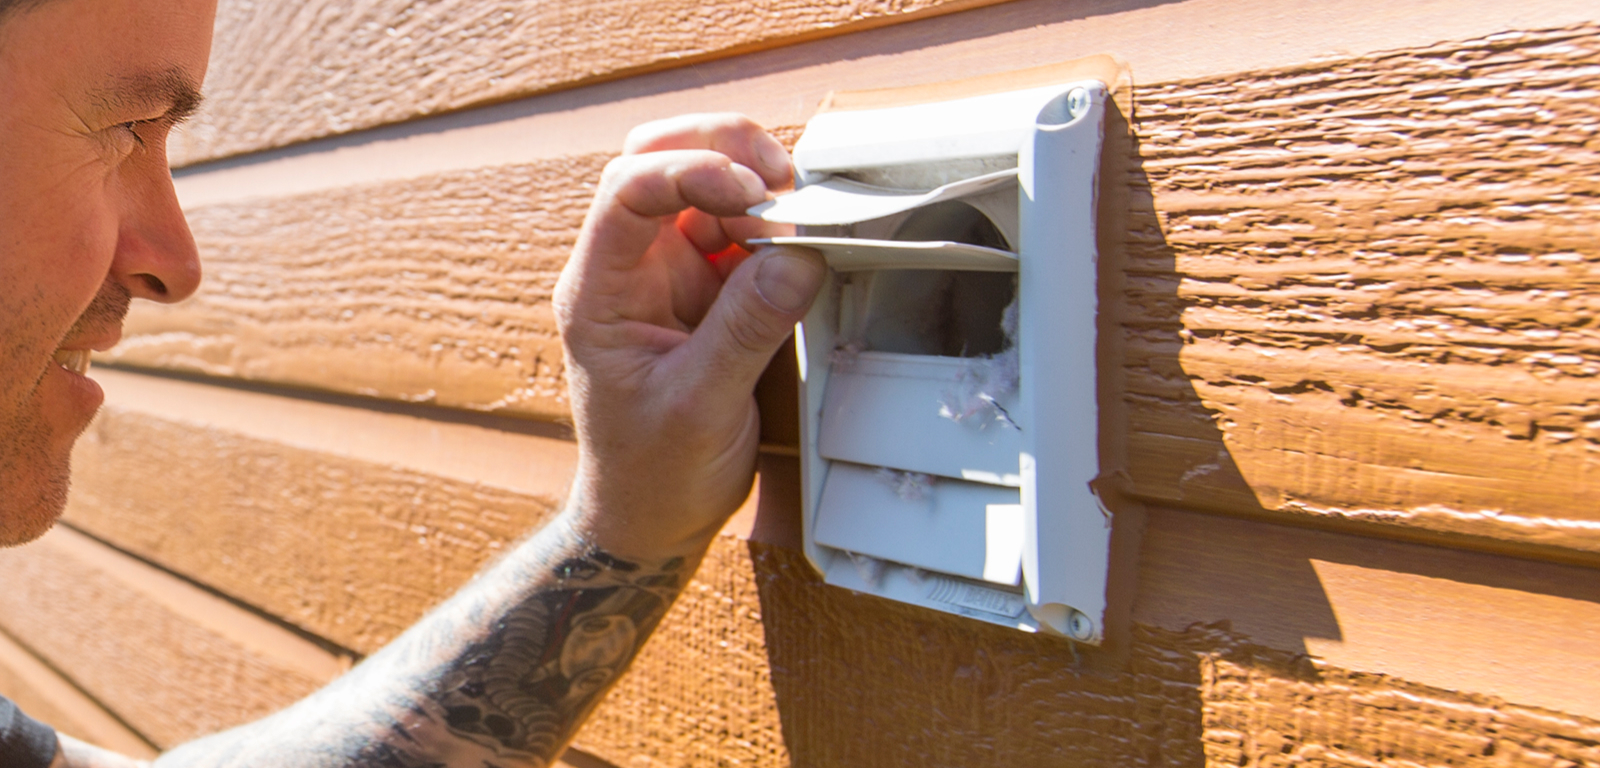
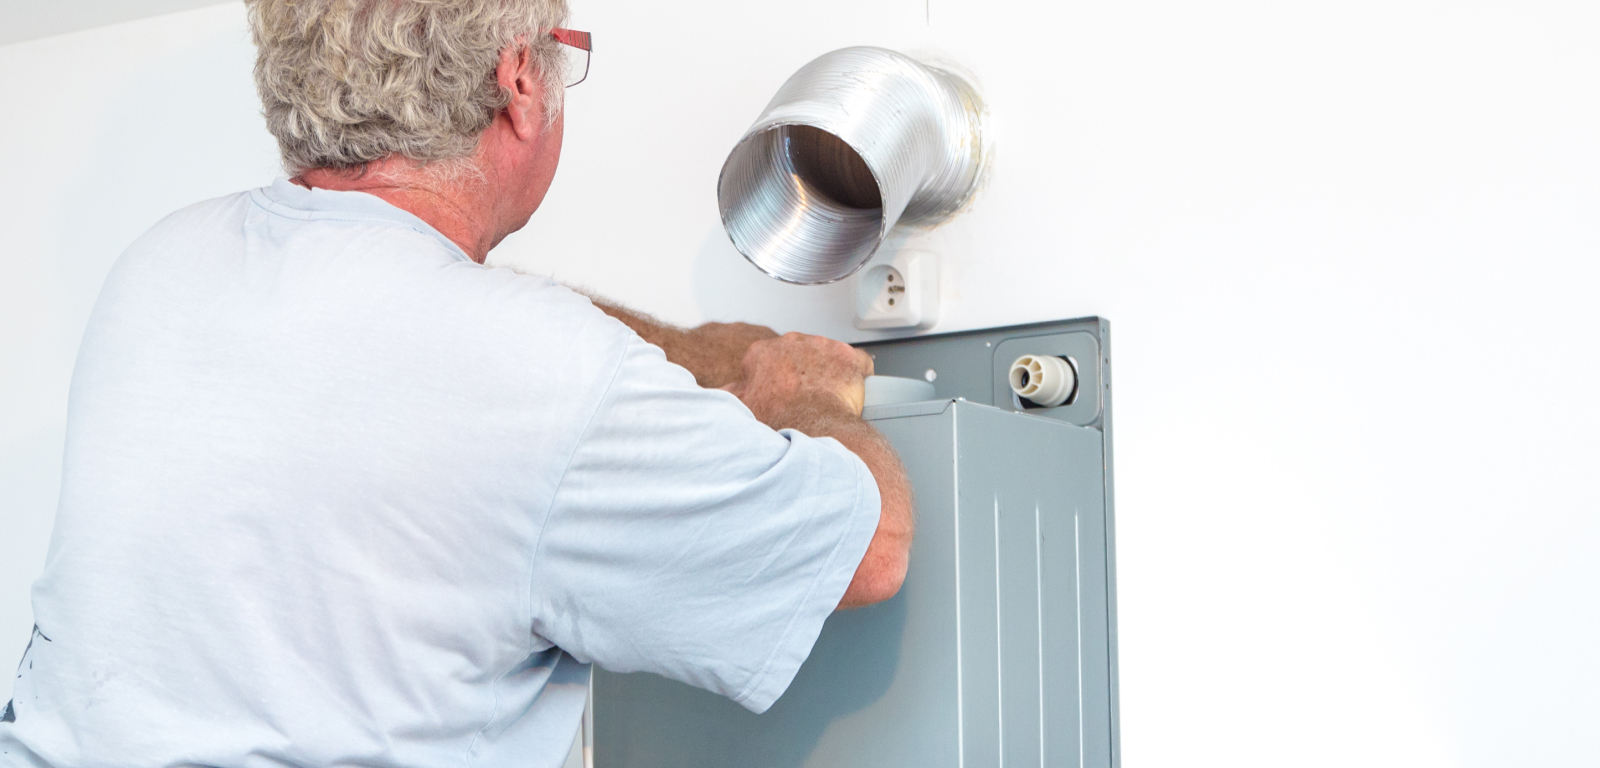
Step 7: Attach the Duct
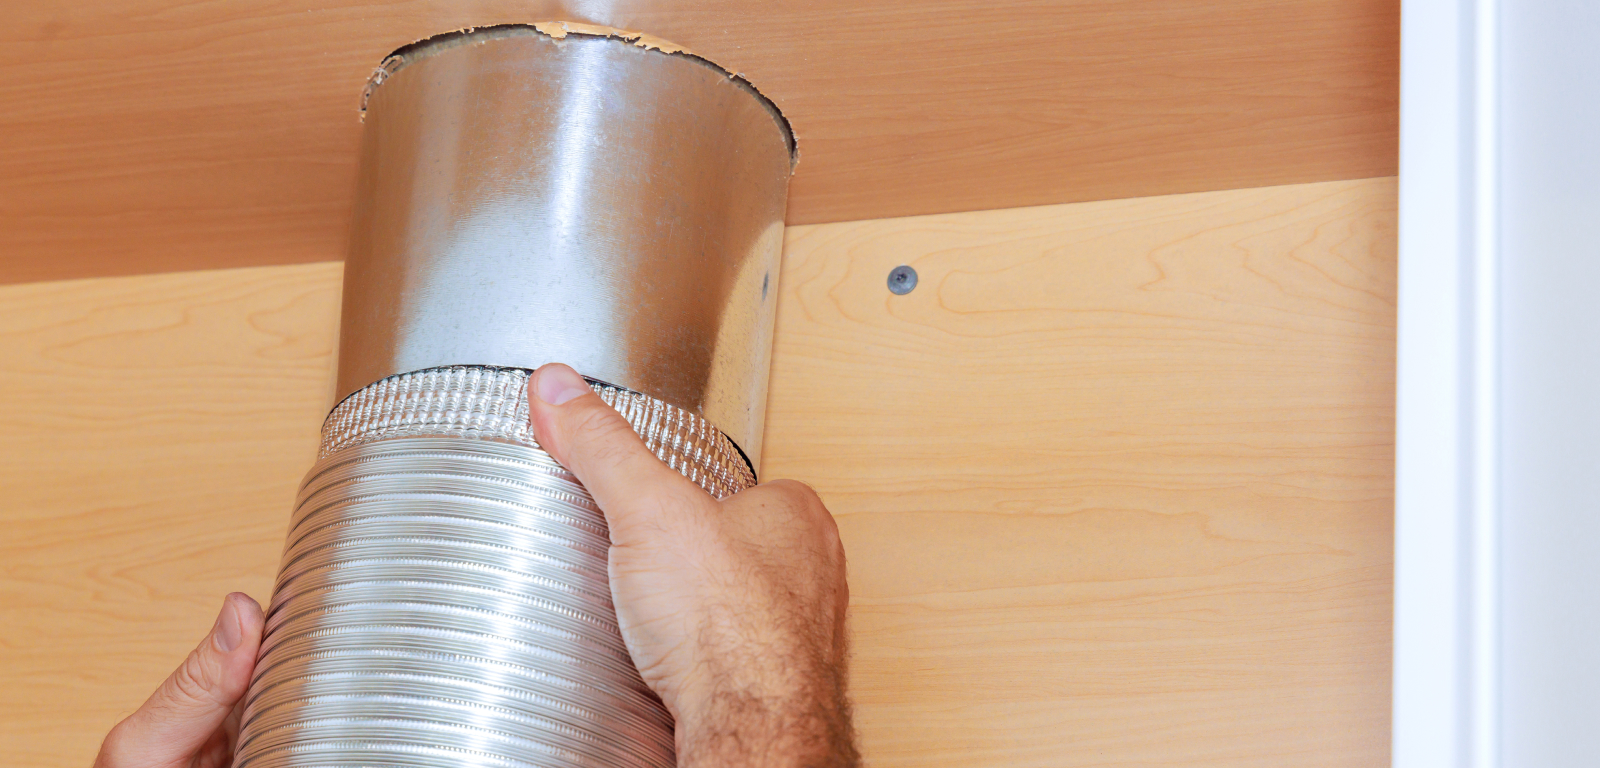
Follow these steps if you’re using a wall cap.
- From the exterior of your home, push the wall cap into the opening to confirm that it’s long enough to reach the range hood.
- If it is too short, you can buy a duct extension and attach it using duct tape and sheet metal screws.
- Determine where the cap flange will rest and apply caulk to the siding in that location.
- Put the cap into place and fasten it with screws.
- Caulk the flange along the edges.
Step 8: Run Electricity to the Kitchen Range Hood
Follow these steps to run power to your range hood. You may need another person for this step to hold the hood while you screw it in.
- Turn off the power to the circuit.
- Ensure that the range hood’s power switches are off.
- Extend the cable from a nearby junction box or receptacle through the hole in the wall.
- Strip the sheathing.
- Attach the cable to the hood using the cable connector.
- Install the screws or mounting brackets into studs or cabinets.
Step 9: Connect All Wiring
Once you’ve double-checked the breaker box to confirm that the power is off, you can begin wiring your range hood with these steps:
- You need to splice each wire to its corresponding fixture lead. Splice the black wire to the black lead, the white wire to the white lead, and the ground wire to the green lead.
- Fold the wires into place.
- Replace the cover.
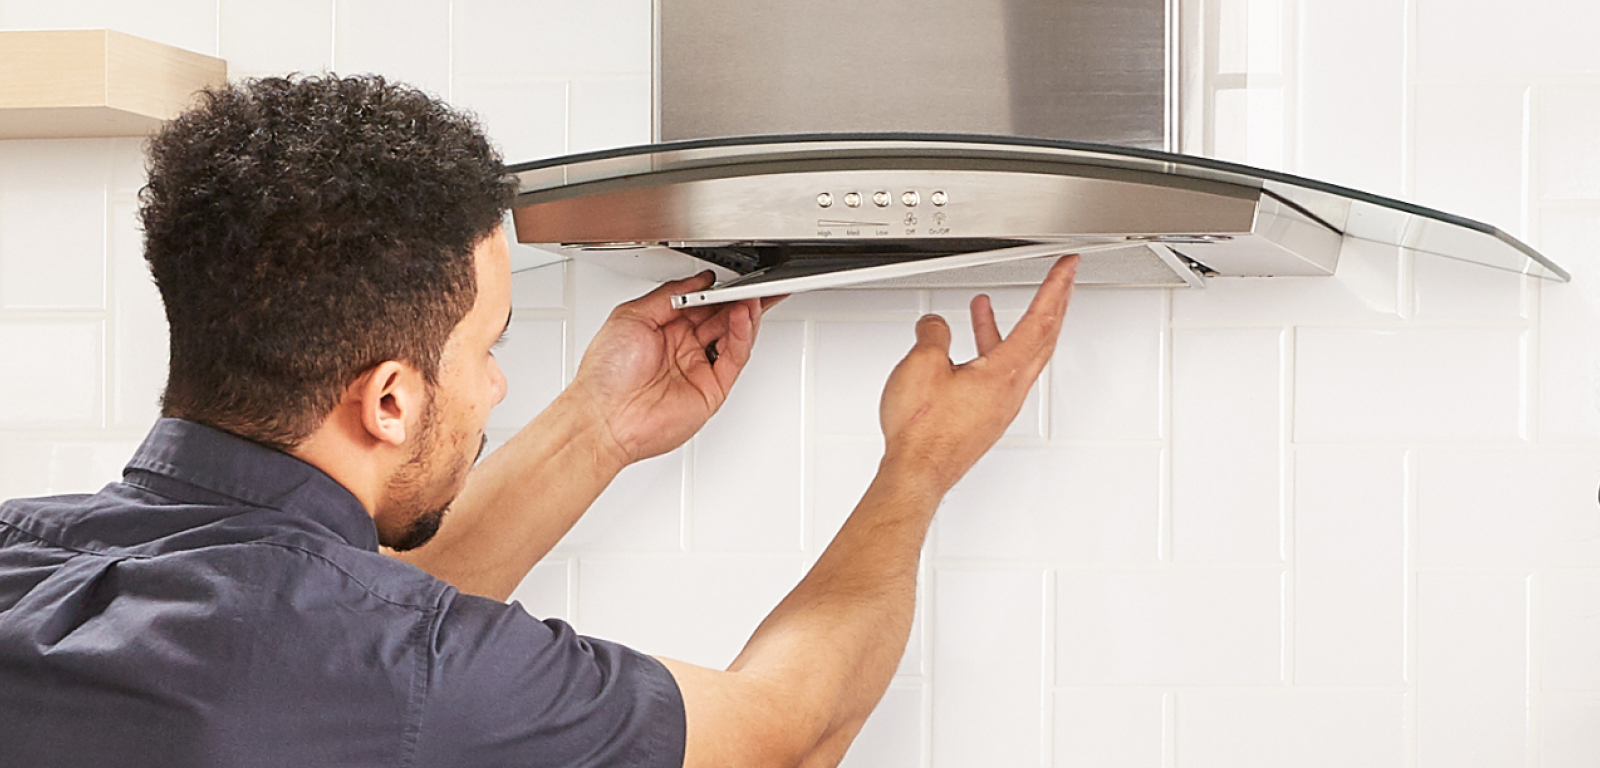
- Reattach the hood fan and filter.
- Turn on the power.
- Test the range vent to ensure everything works as it should.
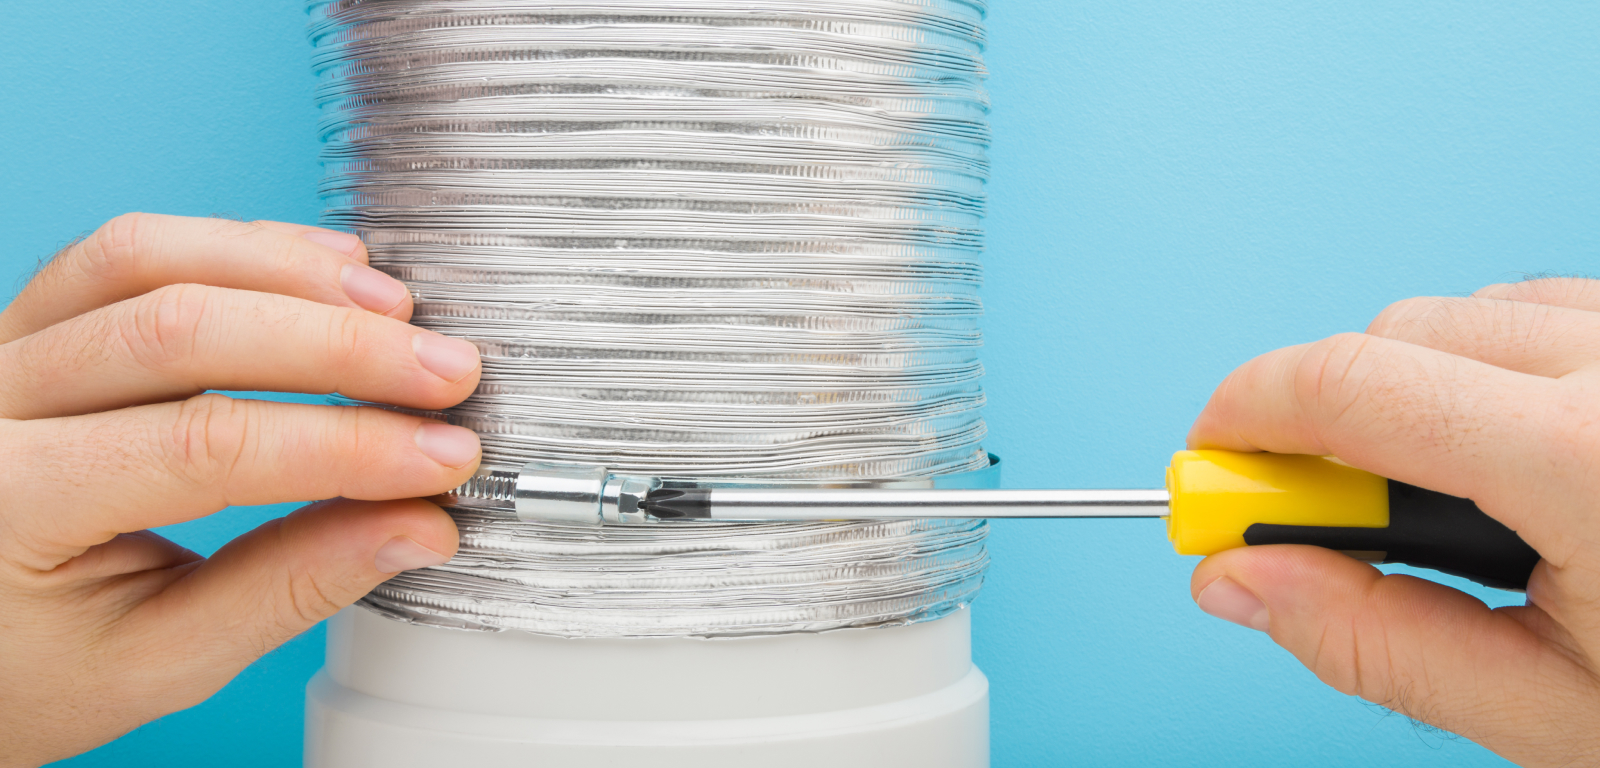
Step 10: Install the Interior Damper
You must install an interior damper if you’re not using a wall cap, which you can do by following these steps:
- Place the damper in the ductwork, ensuring the flap opens to the house’s exterior to allow air to flow outside.
- Attach it using screws designed for sheet metal.
- You can secure and seal it with duct tape as a precautionary measure, but it is not always necessary.
- Test that the flap moves out of the way when the kitchen range hood is turned on. Incidentally, the flap should close the ductwork when the hood is turned off.
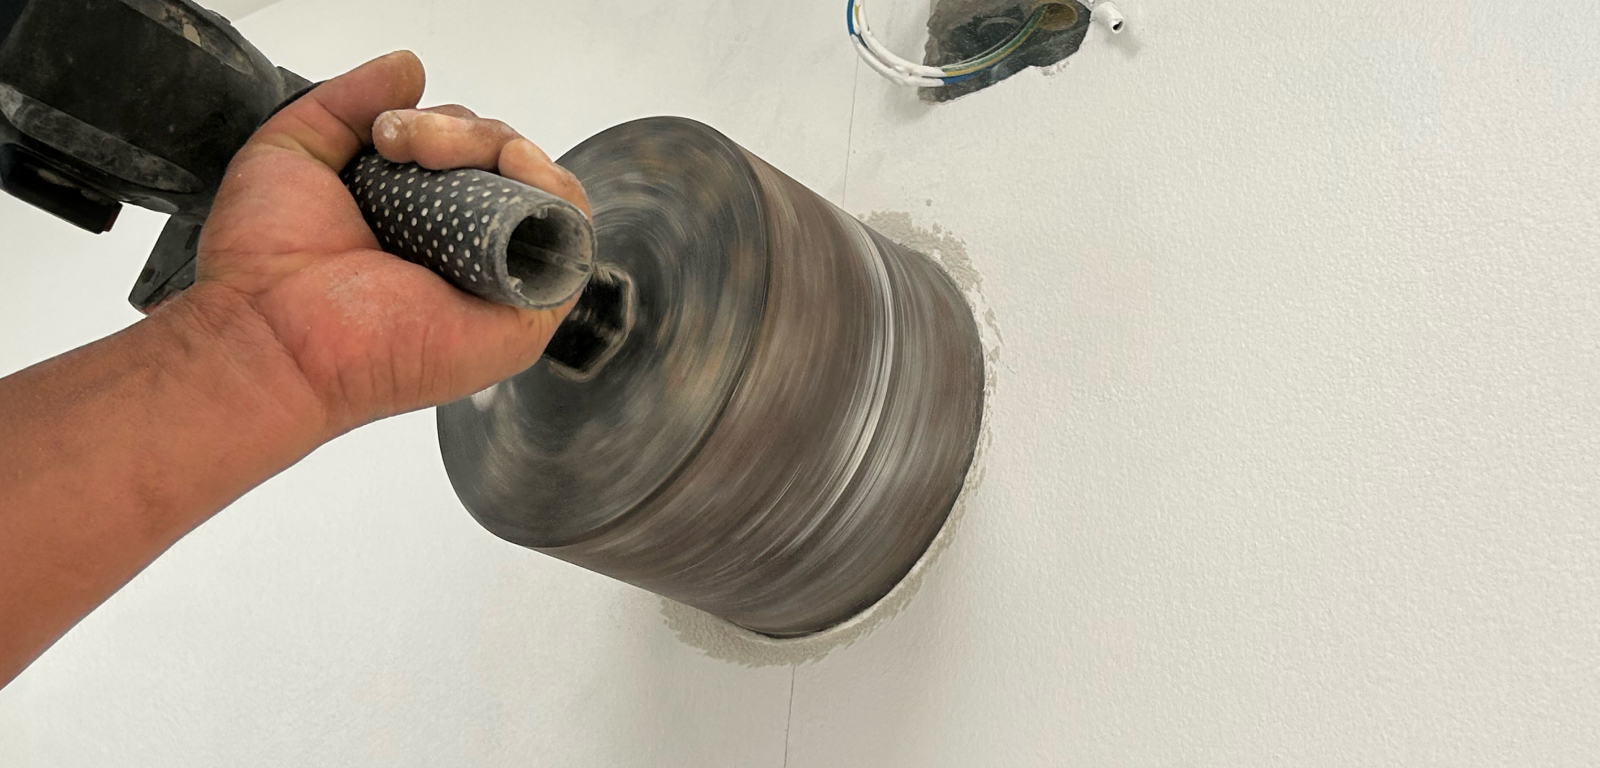
How to Vent Through Masonry
Venting a kitchen range hood through a masonry wall is a different process. Follow these steps to vent through masonry.
- Drill locator holes with a long masonry bit.
- Outline along the locator holes, with enough room for the vent to fit and even a little extra.
- Drill holes roughly an inch apart along the outline.
- Chip between the holes with a hammer and a cold chisel.
- Once the hole is finished, use the above steps to attach the vent.
- Drill holes and drive masonry screws to install the duct cap.
How to Install Kitchen Range Hood FAQ
Can you install a kitchen range hood by yourself?
You can install a kitchen range hood by yourself with the right supplies, knowledge, and instructions. While this is a DIY project for some, you should not undertake this task unless you are fully comfortable and knowledgeable about every step of the process.
Do you need to vent a kitchen range hood outside?
Not all kitchen range hoods need ventilation, but those that are vented or ducted must always vent to the exterior of a house. You will need to hire a professional if you intend to vent through the roof.
How do you vent a kitchen with no outside access?
If venting outside is not an option, you can install a ductless range hood. These models use filters to trap grease and odours before recirculating air back into the kitchen.
Get Help From the Pros
Book a service appointment today if you need help installing or repairing a kitchen range hood.